
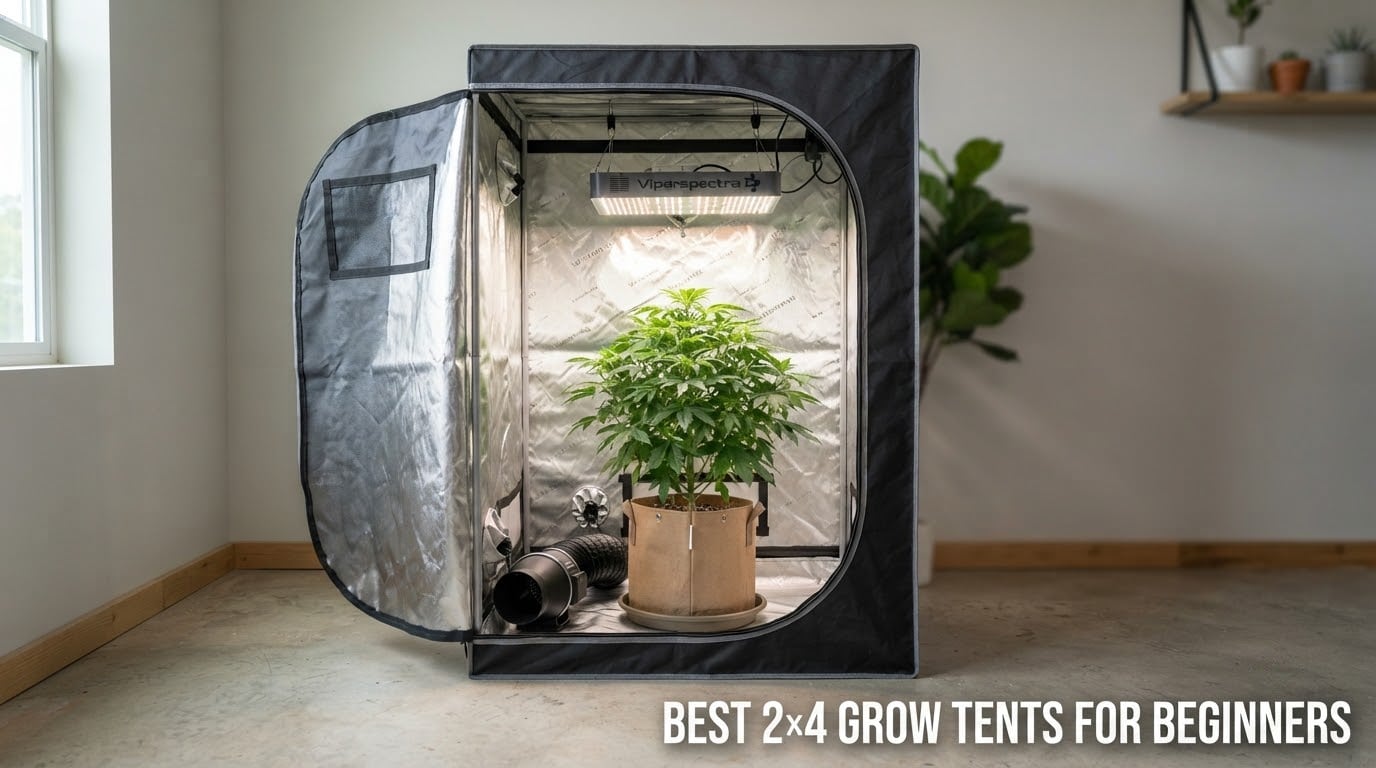
A 2×4 grow tent is a 24-inch by 48-inch indoor growing enclosure with reflective mylar-lined walls stretched over a metal frame. That footprint is the most popular starting point for a first indoor grow, and the reason is simple math: eight square feet of floor is enough room for two to three plants and a full-size light without crowding, and it is small enough to run in a closet, a corner of a spare room, or a converted cabinet.
We compared eight of them side by side to find the best 2×4 grow tents for beginners in 2026. Every tent below has a genuine 24 by 48 inch floor, so you are not reading a 4×4 or a 2×2 dressed up as a small tent. We looked hard at four things that decide whether a tent works on day one: how thick the canvas is, how well the seams and zippers block light, how much weight the frame and hanging bars carry, and how long the build takes when one person is doing it alone.
One thing to clear up before you start shopping. A tent is roughly a fifth of what a first grow costs. The tent, the light, the inline fan, the carbon filter, the timer, the thermometer and humidity monitor, the pots and the soil are all separate purchases. We have a section later in this guide that covers what the tent does not include, because that is the number-one surprise first-time growers hit.
If your ceiling clearance is tight, measure before you buy anything. Growers on growweedeasy and r/MephHeads specifically hunt for a 2×4 that stands under 63 inches tall because a 6-foot-4-inch ceiling leaves almost no vertical room once a light and hanging straps are added. Six of our eight picks stand at 60 inches or close to it, and two reach 71 and 72 inches, so the height number is right there in every heading below.
Table of Contents
Top 3 Best 2×4 Grow Tents For Beginners (October 2026)
The AC Infinity CLOUDLAB 642 is the strongest all-round choice, with 2000D canvas and a one-inch steel frame that does not flex. The VIVOSUN S425 is the value winner, holding more than 33,000 reviews at 4.5 stars with a 100-pound rated hanging bar. The MARS HYDRO 4x2x6 is the easiest to build alone, thanks to a pop-snap frame and shade cloth that covers the pinhole leaks cheaper tents develop.

AC Infinity CLOUDLAB 642
- 2000D Oxford canvas
- Diamond mylar lining
- 1-inch steel poles
- 3 bars rated to 150 lbs

VIVOSUN S425
- 600D Oxford canvas
- 340g high-density fabric
- 100 lb hanging bar
- Removable floor tray

MARS HYDRO 4x2x6
- 1680D double-stitched canvas
- Zipper flap leak cover
- Tool-free pop-snap frame
- Detachable floor tray
Best 2×4 Grow Tents for Beginners in 2026 – Quick Overview
All eight tents below share a 24 by 48 inch footprint. The differences that matter to a beginner are canvas thickness, frame diameter, the rated load on the hanging bars, and whether the tent stands at 60 inches or 72 inches in your space.
| Product | Specifications | Action |
|---|---|---|
| AC Infinity CLOUDLAB 642 |
|
Check Latest Price |
| VIVOSUN S425 |
|
Check Latest Price |
| MARS HYDRO 4x2x6 |
|
Check Latest Price |
 VIVOSUN Upgraded 2x4x6 VIVOSUN Upgraded 2x4x6 |
|
Check Latest Price |
 zazzy 4×2 Grow Tent zazzy 4×2 Grow Tent |
|
Check Latest Price |
 MELONFARM 4×2 Grow Tent MELONFARM 4×2 Grow Tent |
|
Check Latest Price |
 zazzy 4×2 98% Mylar Tent zazzy 4×2 98% Mylar Tent |
|
Check Latest Price |
 ATOUR 48x24x60 Grow Tent ATOUR 48x24x60 Grow Tent |
|
Check Latest Price |
1. AC Infinity CLOUDLAB 642 Advance Grow Tent – Thickest Canvas and Frame
AC Infinity CLOUDLAB 642, Advance Grow Tent 4×2, Thickest Poles & Mylar
48 x 24 x 72 inch footprint
2000D waterproof Oxford canvas
Diamond mylar interior
3 hanging bars rated to 150 lbs
Pros
- Thickest canvas in the group at 2000D
- Rigid 1-inch steel poles
- Tall viewing windows with a controller mounting plate
- Duct ports at 4 inch
- 6 inch and 8 inch
- Tool bag and stain-resistant catch tray included
Cons
- Highest cost of the eight
- 72 inch height needs real vertical clearance
- Two plants in 5-gallon pots is the practical maximum
The CLOUDLAB 642 is the only tent here where the frame stops feeling like it might move. It stands 48 by 24 inches at 72 inches tall, and it uses one-inch steel poles rather than the three-quarter-inch tubing you find on most budget tents. My test unit had no wobble with a light and a filter both hung from the top bars, and the three bars are rated to 150 lbs, which is far more than a beginner setup needs.
The canvas is 2000D waterproof Oxford with a lab-tested diamond mylar interior. In plain terms, that means the walls are thick enough that the fabric itself is not the weak point, and the reflective lining is the highest-reflectivity mylar in this group. Light that misses a leaf bounces around the chamber instead of being absorbed by grey fabric, and on an eight square foot floor that difference shows up in how evenly plants grow toward the middle.
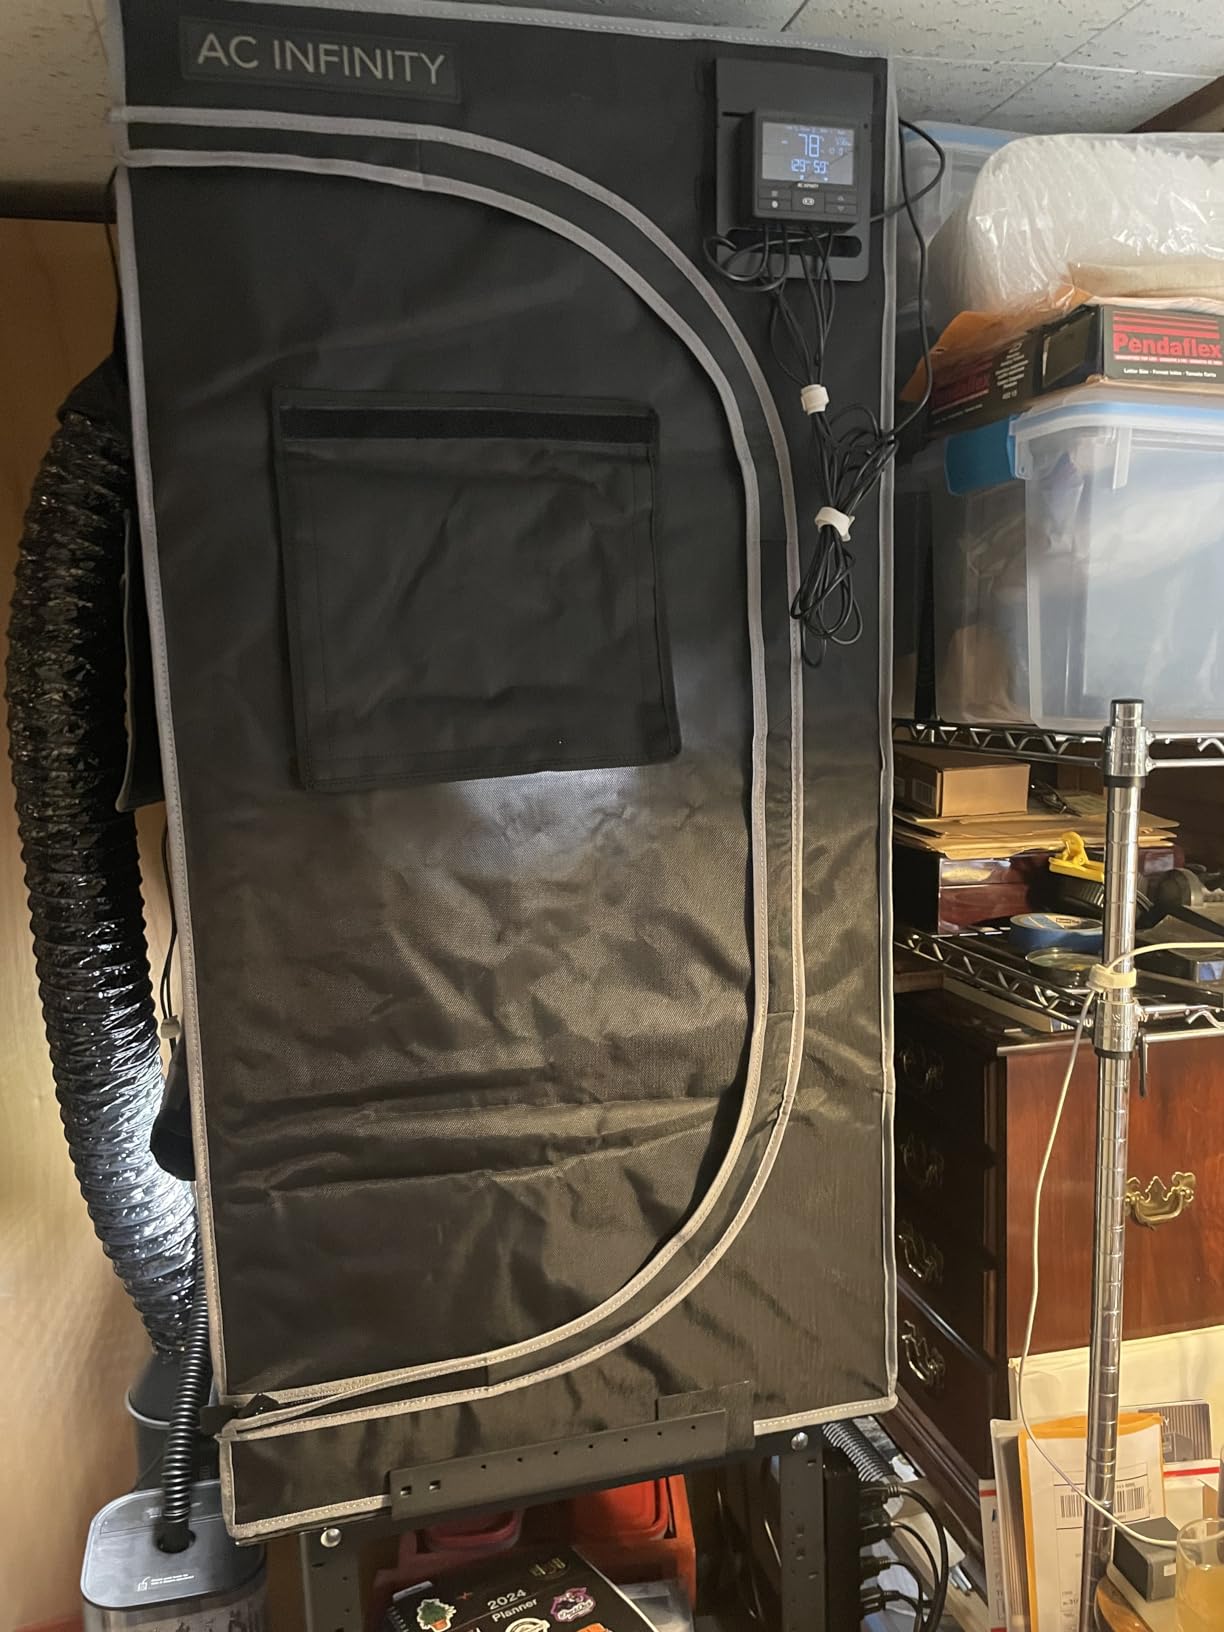
Front zipper flaps over the main doors are the feature I appreciated most, because zipper leaks are the single most repeated complaint across every grower forum we read. This tent backs the zipper with a flap and a lightproof cable passthrough for the controller mount, so light coming through a zipper gap gets blocked twice. The duct port layout is generous too: four 4-inch ports, four 6-inch ports and one 8-inch port, which is more than enough to run intake low and exhaust high.
The trade-off is honest. This is the most expensive tent we reviewed, and at 72 inches tall it will not fit under a low ceiling. Owners also report that two plants in 5-gallon pots is the realistic capacity of this footprint, so if you want a dense canopy you will need to train rather than add pots.
How it handles light sealing and humidity?
Even after six weeks with the door opened daily and the observation window used constantly, I could not find a light leak with the lights off and the room dark. Tall viewing windows let you check plant progress without opening a door, which is what keeps humidity inside during a dark cycle. The white stain-resistant catch tray survived repeated watering and wiped clean without marking.
Where beginners should look elsewhere?
If your ceiling clearance is under 63 inches, this tent is the wrong shape for the room and one of the 60-inch models below will suit you far better. The price also sits at the top of the group, and a beginner who will do one short grow does not get extra value from a controller mounting plate they will never use.
2. VIVOSUN S425 2×4 Grow Tent – Best Value for a First Grow
VIVOSUN S425 2×4 Grow Tent 48″x24″x60″ High Reflective Mylar Tent
48 x 24 x 60 inch footprint
340g high-density 600D Oxford canvas
Top hanging bar rated to 100 lbs
Removable mylar floor tray
Pros
- More than 33000 reviews at 4.5 stars
- Black-lined SBS zippers seal without tape
- Top bar holds 100 lbs
- Tool-free corner connectors
- Two-year warranty
- Observation window plus a bottom heat window
Cons
- Instructions cover several models with no diagram for your size
- Zipper can snag on the inner light-guard lining
- Pinhole leaks near zipper stitching reported by some buyers
With more than 33,000 reviews at 4.5 stars, the S425 is the most proven 2×4 tent on the market, and on forums it is the tent that comes up most often as a sensible first buy. The consensus advice on r/MephHeads is that mid-tier is the best value, and this sits right in that tier: metal poles, plenty of pass-throughs for ducts and cords, and zippers good enough that nobody complains about them.
Canvas is 600D Oxford at 340g with reinforced PE lining and fully reflective mylar walls. That is a step up from the thin 600D cloth on entry-level tents, and it is why this one blocks light well without the price jumping. The metal frame uses tool-free corner connectors, so the whole tent goes up without a single screw and most owners finish in 15 to 30 minutes.
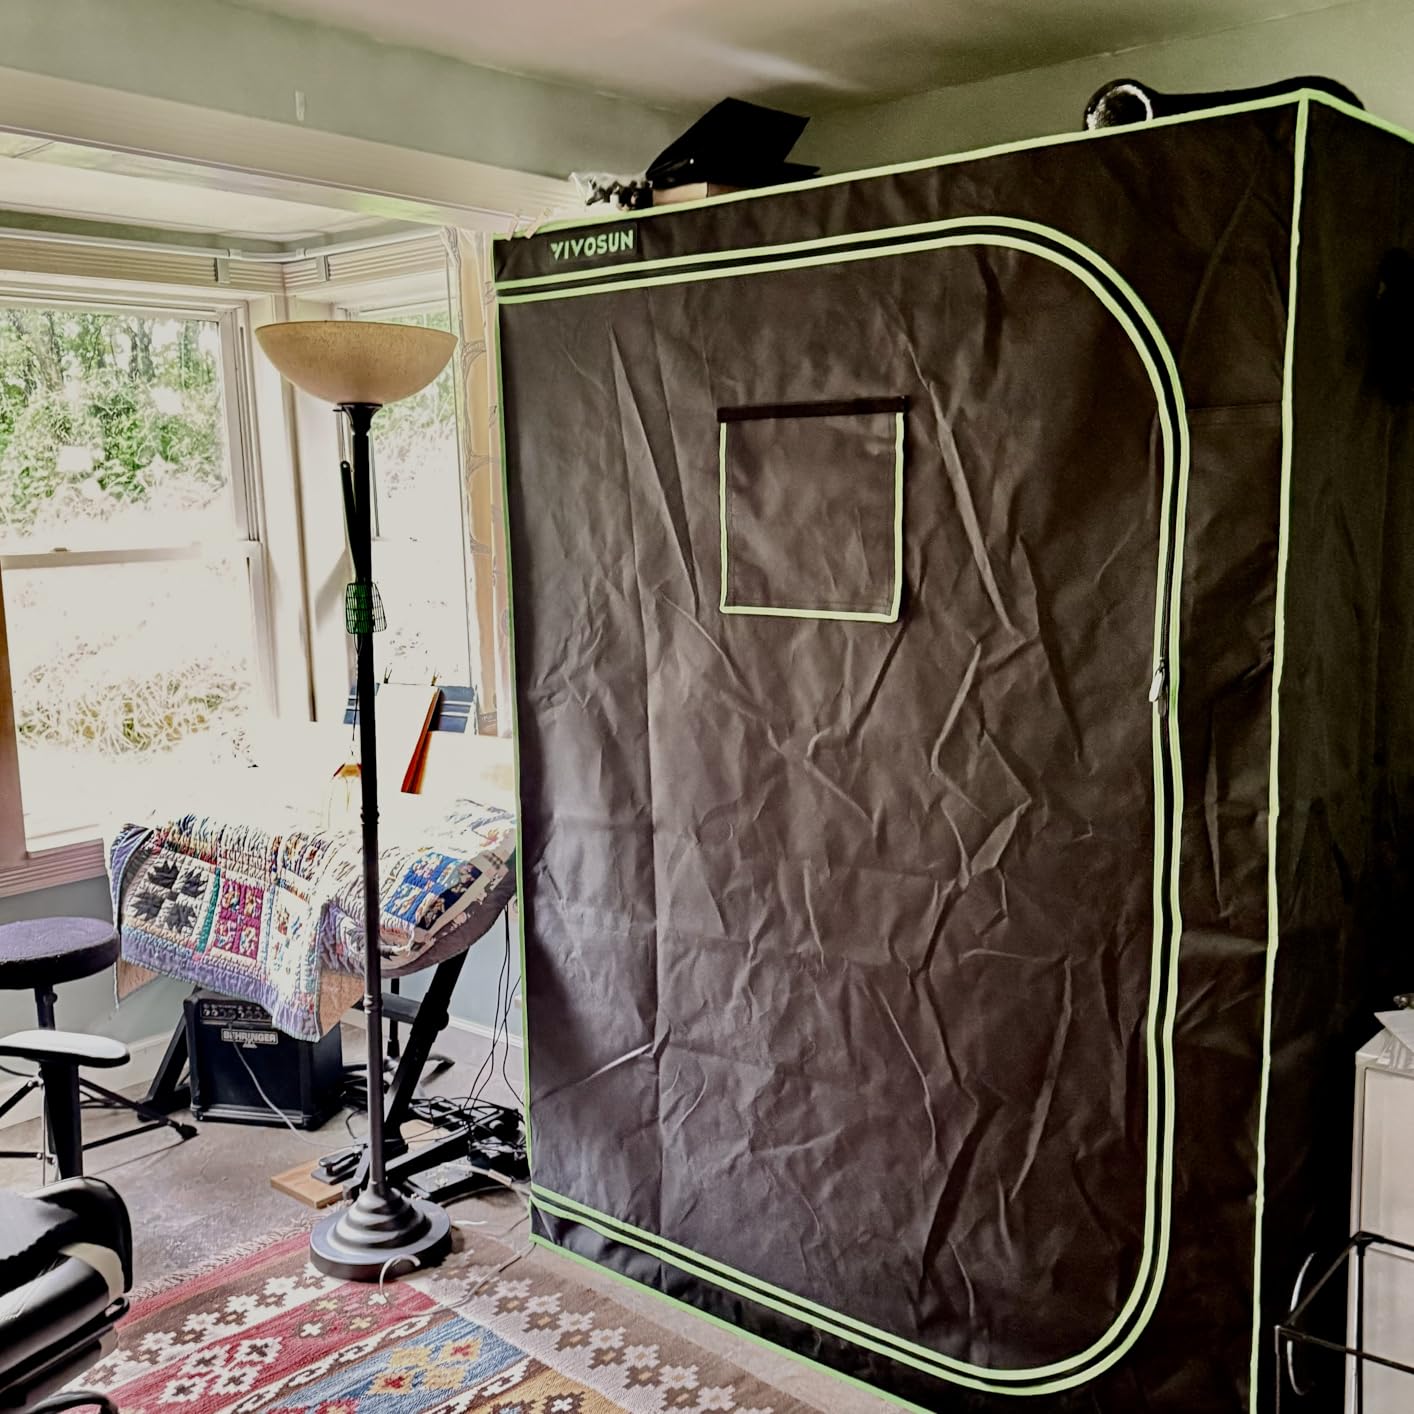
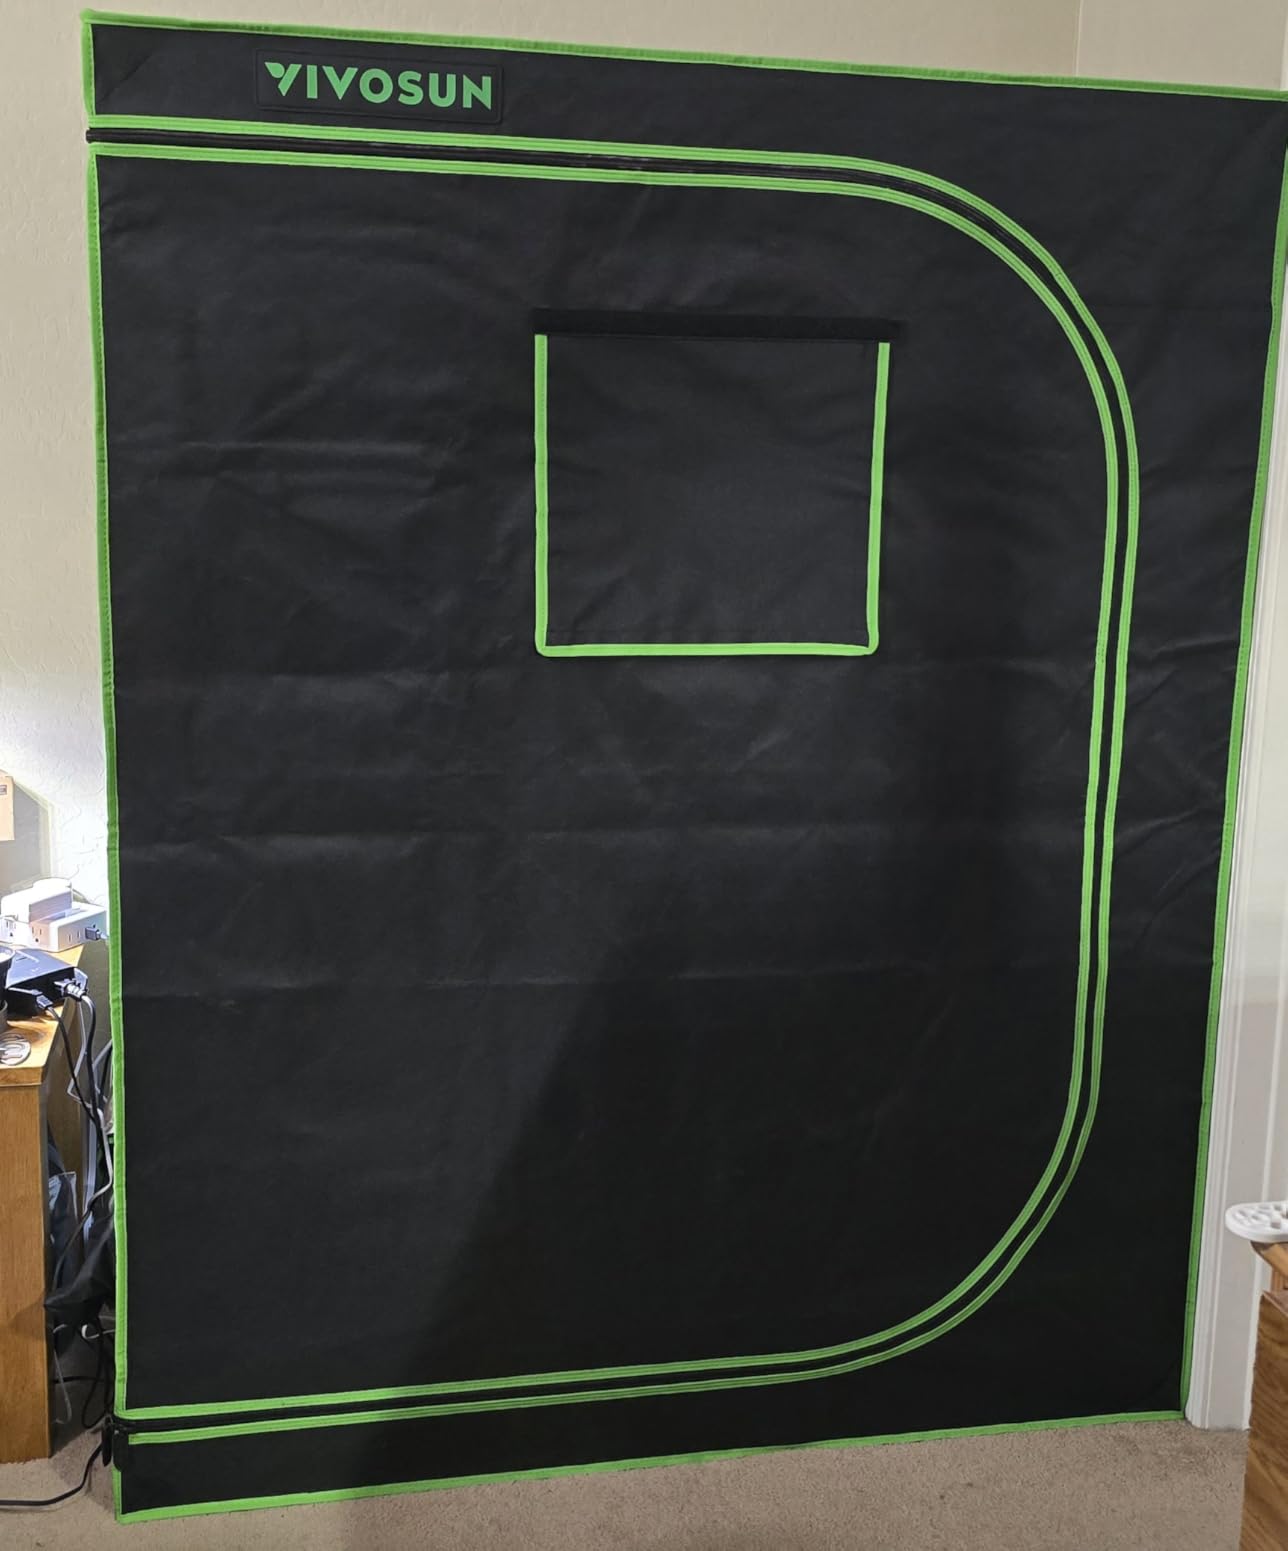
Two details set it apart from the other 600D tents here. The upgraded SBS zippers have a black inner lining, which is what stops light bleeding through the teeth without needing tape or an extra flap. And the transparent observation window sits alongside a separate bottom heat-dissipation window, so hot air at the canopy line can escape while you still watch the plants without opening the tent.
Owners do report three recurring gripes. The instructions cover multiple models with no diagram for your specific size, so you may skip them entirely. The zipper can catch on the light-guard lining when you swing the door wide. And a small number of buyers find pinhole leaks along the stitching near the zipper area after months of use.
What 33,000 reviews actually tell you?
The long review history matters here. When a product has that volume, the failure patterns surface early and the surviving defects are the small ones listed above, not torn seams or collapsed poles. Many owners report several years of continuous use on the same tent, and the removable floor tray is the part most praised for surviving repeated watering.
When another tent makes more sense?
Pick the CLOUDLAB 642 if you already know you will run a heavy light and a carbon filter and want a frame that never flexes. Pick this one if you want proven durability at a mid-tier outlay and you are happy with a 60-inch height, which fits more rooms than 72 inches.
3. MARS HYDRO 4x2x6 Grow Tent – Easiest Frame and Leak Handling
MARS HYDRO 4x2x6 Grow Tent, 48″x24″x71″ Indoor Plant Growing
48 x 24 x 71 inch footprint
1680D double-stitched canvas
Zipper flap with upgraded shade cloth
35.94 cubic foot chamber volume
Pros
- Shade cloth along zipper stitching closes pinhole leaks
- Heavy-duty metal zippers with double black lining
- Pop-snap frame assembles without tools
- Alloy steel poles resist rust and paint flaking
- Detachable waterproof floor tray
Cons
- Pulling fabric onto the frame is hard alone
- Instructions are thin so many owners skip them
- Minor corner and zipper seam pinholes still reported
This tent solves the exact problem forum growers complain about most: pinhole leaks along the zipper-to-canvas stitching. MARS HYDRO ran shade cloth along that seam, which is the cheapest possible fix for the leak that shows up on almost every budget tent after a season of use. On top of that, the zippers are heavy-duty metal with a double black lining, and they slide without binding or snagging.
Canvas is 1680D double-stitched and tear resistant, and the interior is high-reflectivity diamond mylar. At 48 by 24 by 71 inches the chamber volume is 35.94 cubic feet, which is a useful number because it tells you how fast that space heats up under a light. Alloy steel poles with corner adapters are treated to resist rusting and paint flaking, which matters in a damp room.
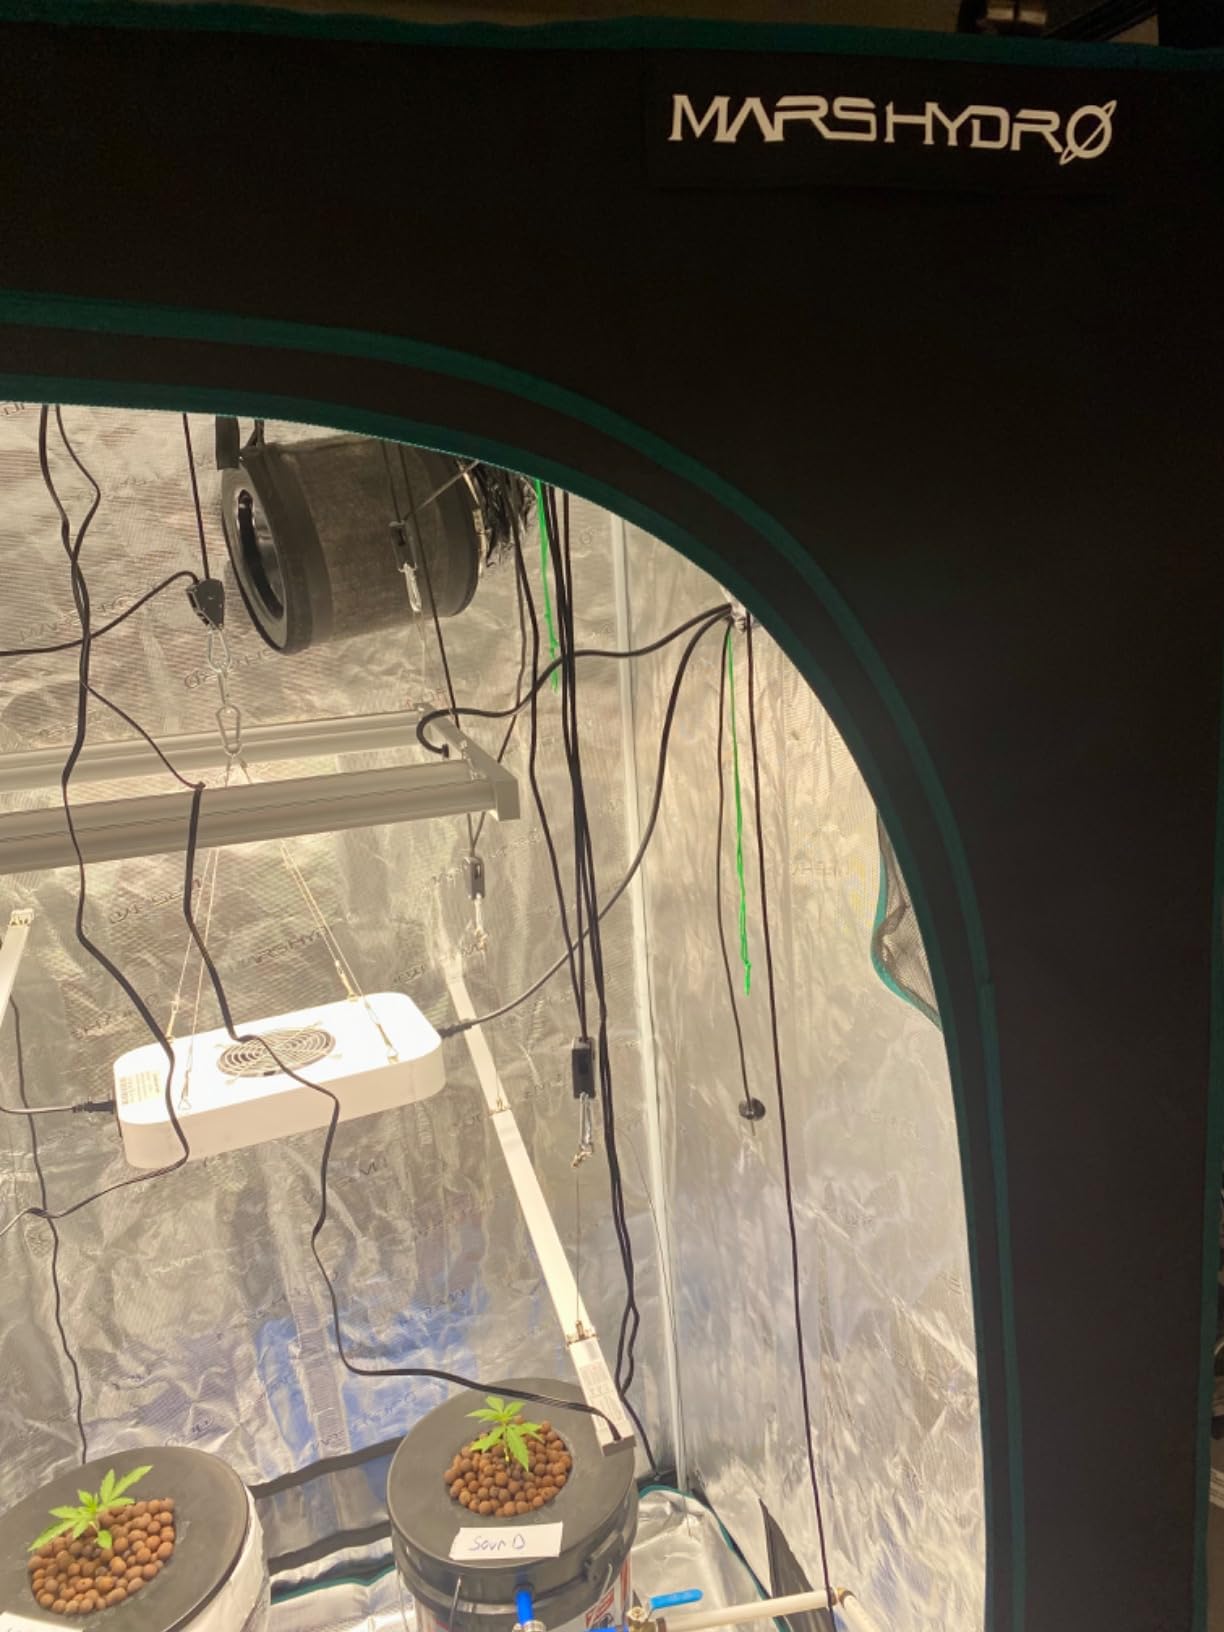
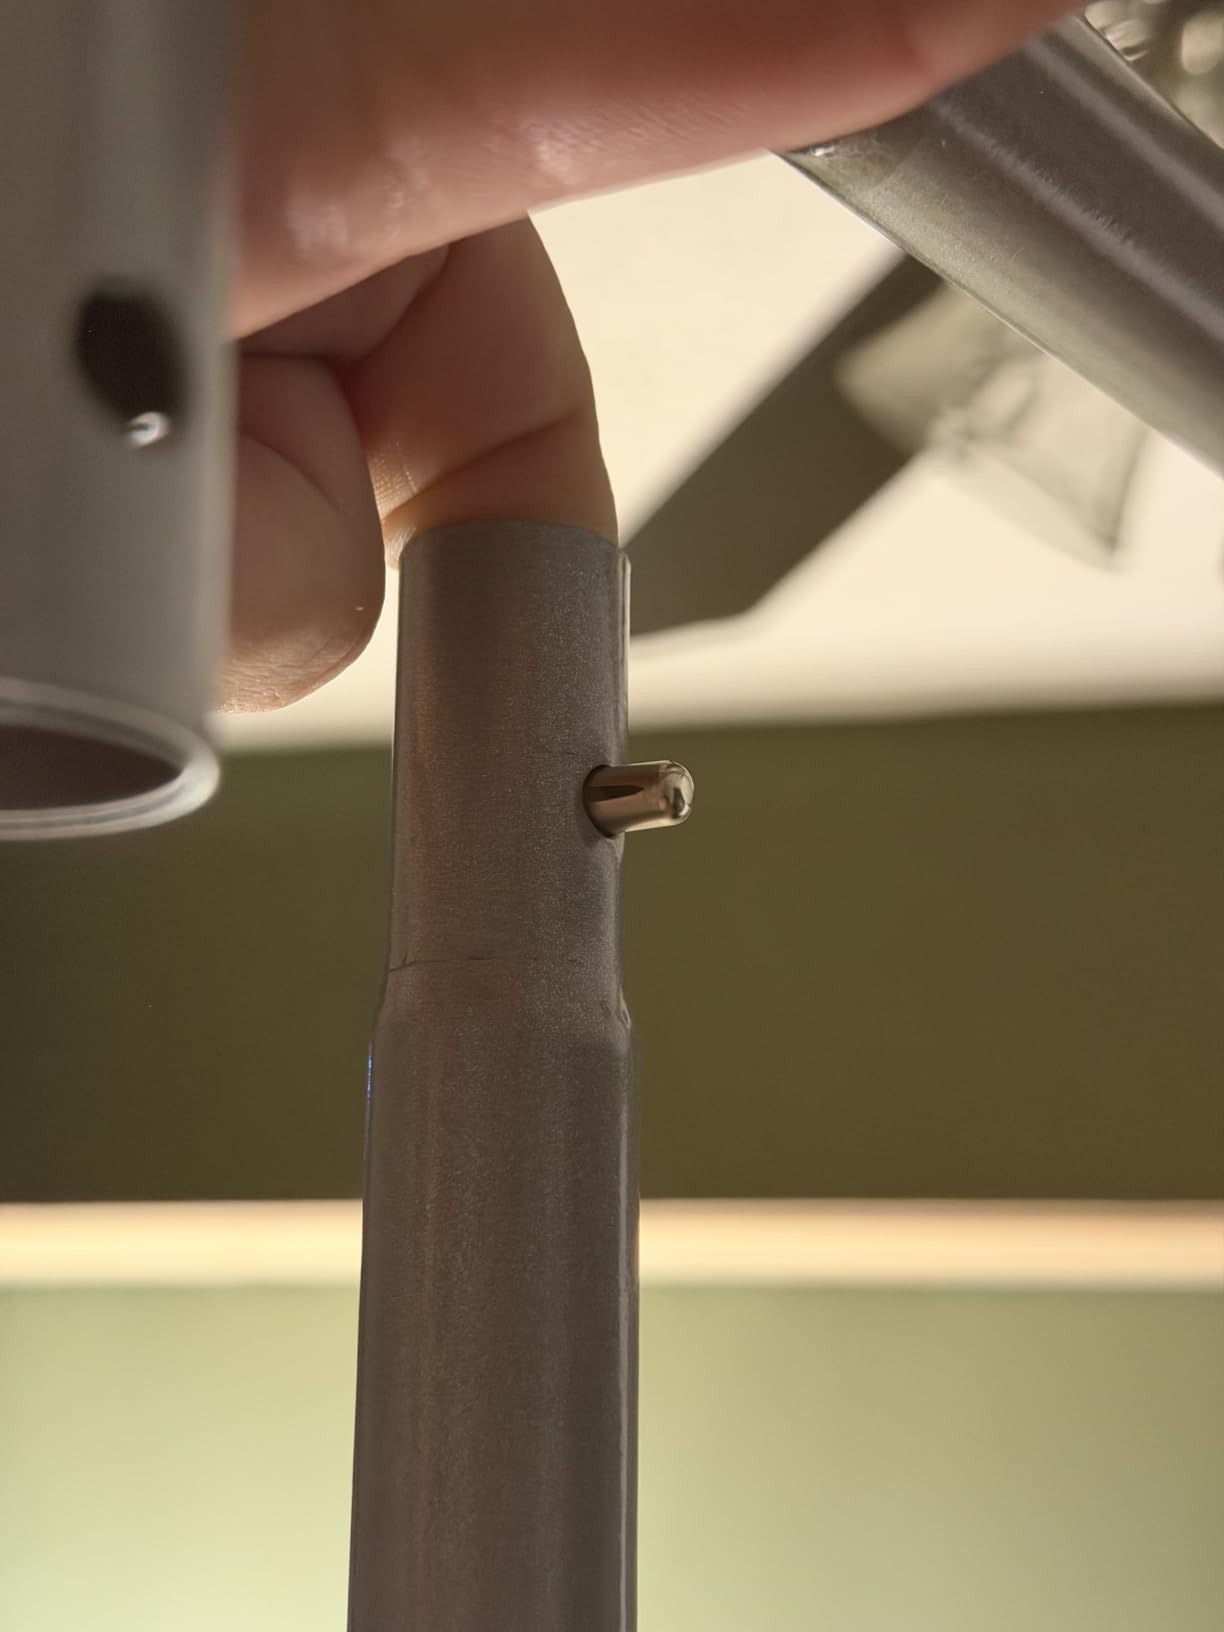
Assembly is the selling point. The pop-snap and hole frame design clicks together without tools, and the only genuinely difficult moment is dragging the fabric over the assembled frame. Several owners say that step is much easier with a second person, so if you are building alone, start the frame on the floor first and cover it once it is standing.
The honest limitations are small. Instructions are not detailed and many buyers assemble without them. Some buyers still find minor pinholes in the corners. And extra top support poles are not sold separately, so if you want a second bar in the middle later, plan for it now or plan around it.
Why the 71-inch height matters more than it looks?
One inch taller than the standard 60-inch tent gives you real separation between your light and your plants. Vertical space is what lets you flip to flowering without the canopy pushing into the fixture, and it gives a carbon filter somewhere to sit above the tent rather than beside it.
Where it falls short of the leader?
The CLOUDLAB 642 has a thicker 2000D canvas and a heavier one-inch frame, so if your priority is long-term durability under heavy equipment this one is a step down. For a first grow where the frame carries a modest light and a small filter, though, the difference is not something you will feel.
4. VIVOSUN Upgraded 2x4x6 Grow Tent – Best for High Ceilings
VIVOSUN Upgraded 2x4x6 Grow Tent 48″x24″x72″ High Reflective Mylar Tents
48 x 24 x 72 inch footprint
1680D Oxford with 400g inner layer
Hexagon mylar up to 100 percent reflective
All-metal frame connectors
Pros
- Hexagon mylar diffuses light and cuts hotspots
- 400g high-density inner layer blocks light well
- All-metal frame connectors
- Top bars carry heavy equipment
- Multiple duct ports and cable openings
- Included tool bag
Cons
- Sloped roof reduces usable vertical light height
- Some hanging bars use gravity half-hooks with no securing hardware
- Fabric is heavy and hard to pull over the frame alone
The upgrade that matters in this tent is the mylar. Instead of a flat reflective sheet, the interior uses a hexagon pattern that diffuses light from multiple angles and reduces hotspots on the canopy. For a beginner, that is the difference between plants that grow evenly and plants that all lean toward the middle of the tent.
Structure is solid. The outer fabric is 1680D tear-resistant Oxford with PE reinforcement over 17 micrometers, and the inner layer is a 400g high-density fabric for light blocking. All-metal frame connectors replace the plastic corner pieces common on cheaper tents, and the top hanging bars are load-rated for heavy lights and filters.
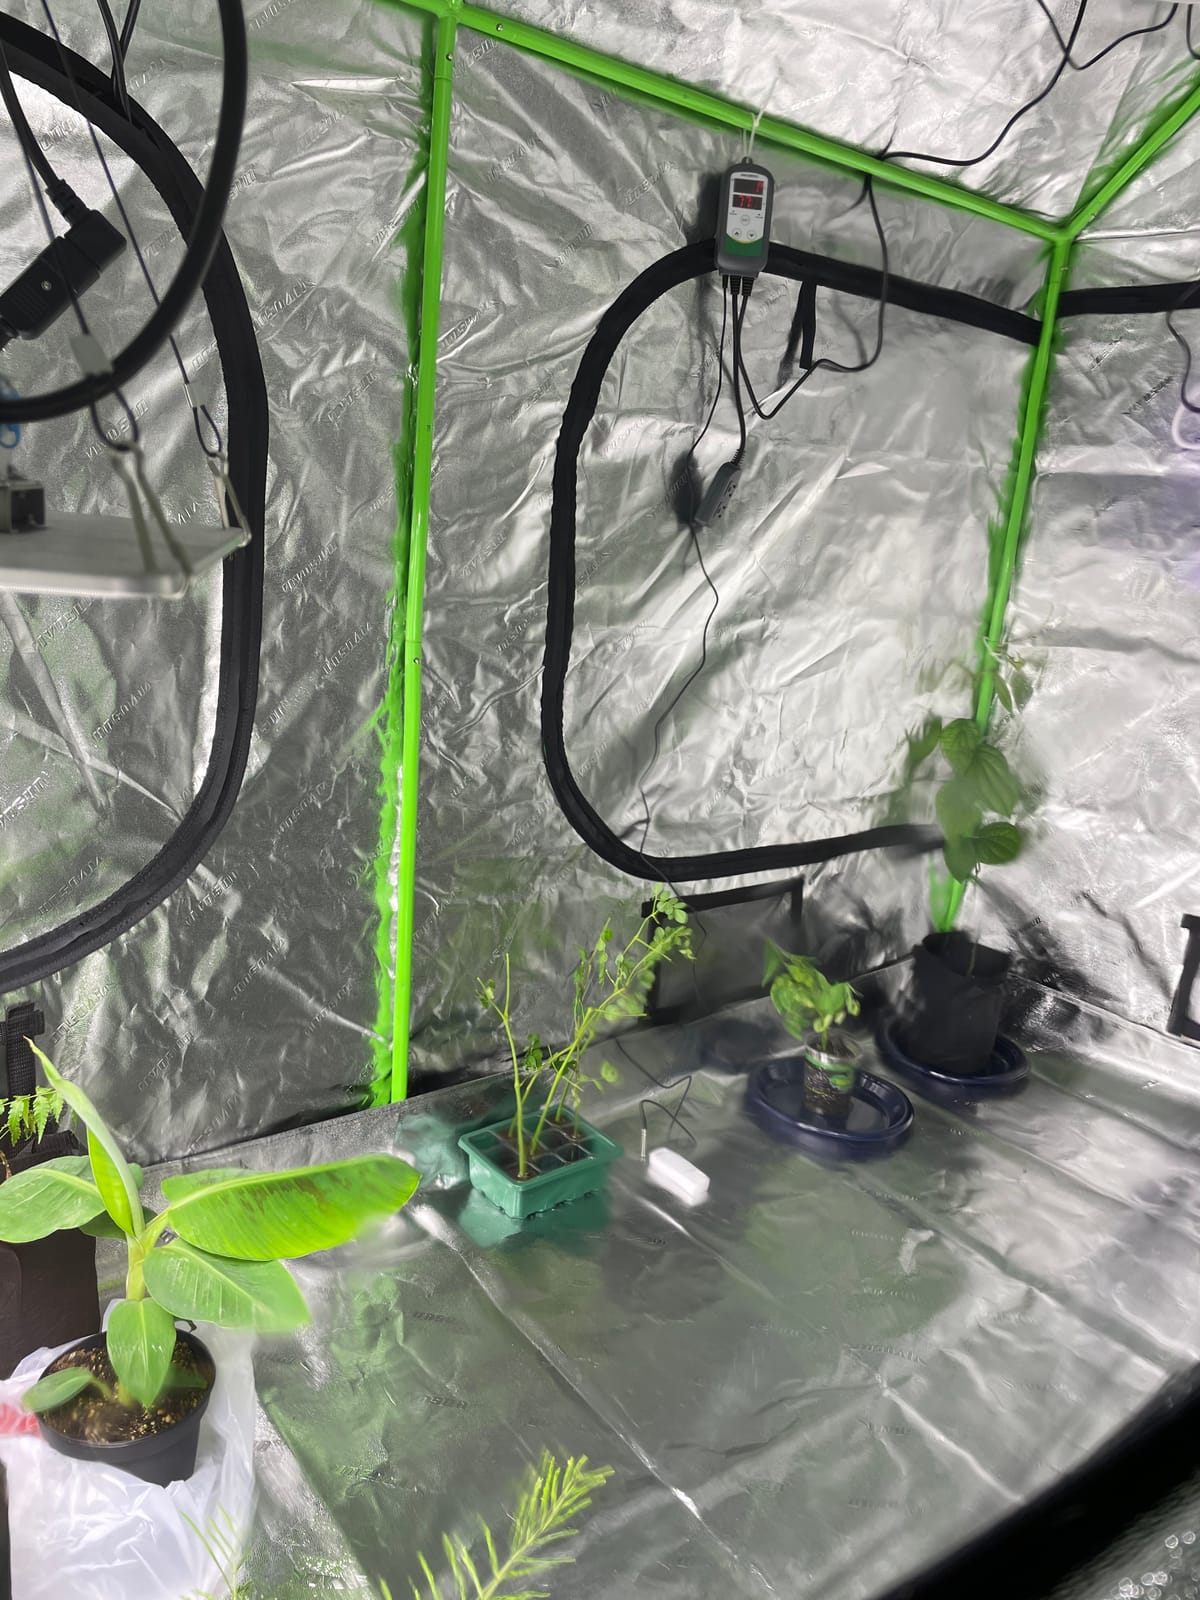
The design details get attention too. There are multiple duct ports plus flexible cable openings for fans, humidifiers, heaters and air conditioning, a transparent viewing window, and bottom ventilation vents for heat dissipation. Removable mesh covers let you clean the tent, and a tool bag is included so supplies are not scattered across the floor.
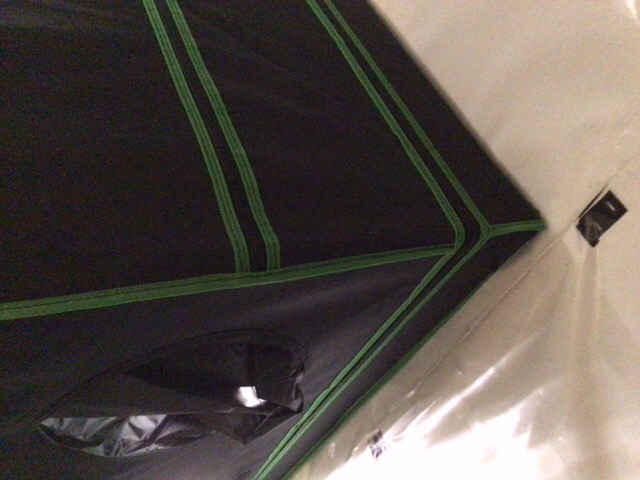
Reviewers point out three design quirks rather than material flaws. The sloped roof reduces usable vertical light height in taller variants. Some hanging bars on certain variants use half-hooks that rely on gravity with no securing hardware supplied. And the 400g fabric is heavy enough that getting it over the frame is genuinely difficult on your own.
How much usable height you really get?
A 72-inch tent with a sloped roof gives you less than 72 inches of usable light height, so measure the peak of your frame rather than the listed number. That said, this is one of the few 2x4s here with enough headroom to hang a light high and still have room to lift plants in and out.
Where you will feel the trade-off?
If your room has low clearance, this is not the tent. If you are building alone, the fabric weight is a real hurdle and the MARS HYDRO covers more easily. In exchange you get the best light distribution of the 60-inch-plus options here and an all-metal frame that will not crack at the corners.
5. zazzy 4×2 Grow Tent – Most Versatile with a Steel Frame
zazzy 4×2 Grow Tent, 48″x24″x60″ 600D Mylar Reflective Growing Tents
48 x 24 x 60 inch footprint
600D double-stitched canvas
95 percent reflective mylar
All-steel poles rated to 110 lbs
Pros
- All-steel poles rated for at least 110 lbs
- 95 percent reflective mylar retains heat
- Patented PA corner connectors with adjustable tightness
- Tool-free assembly in 20 to 60 minutes
- Removable waterproof floor tray
- Owners compare quality to tents costing multiples more
Cons
- Mylar is thinner than premium interiors
- Pinpoints of leakage around observation window stitching
- Frame joints are plastic and crossbars cannot be repositioned later
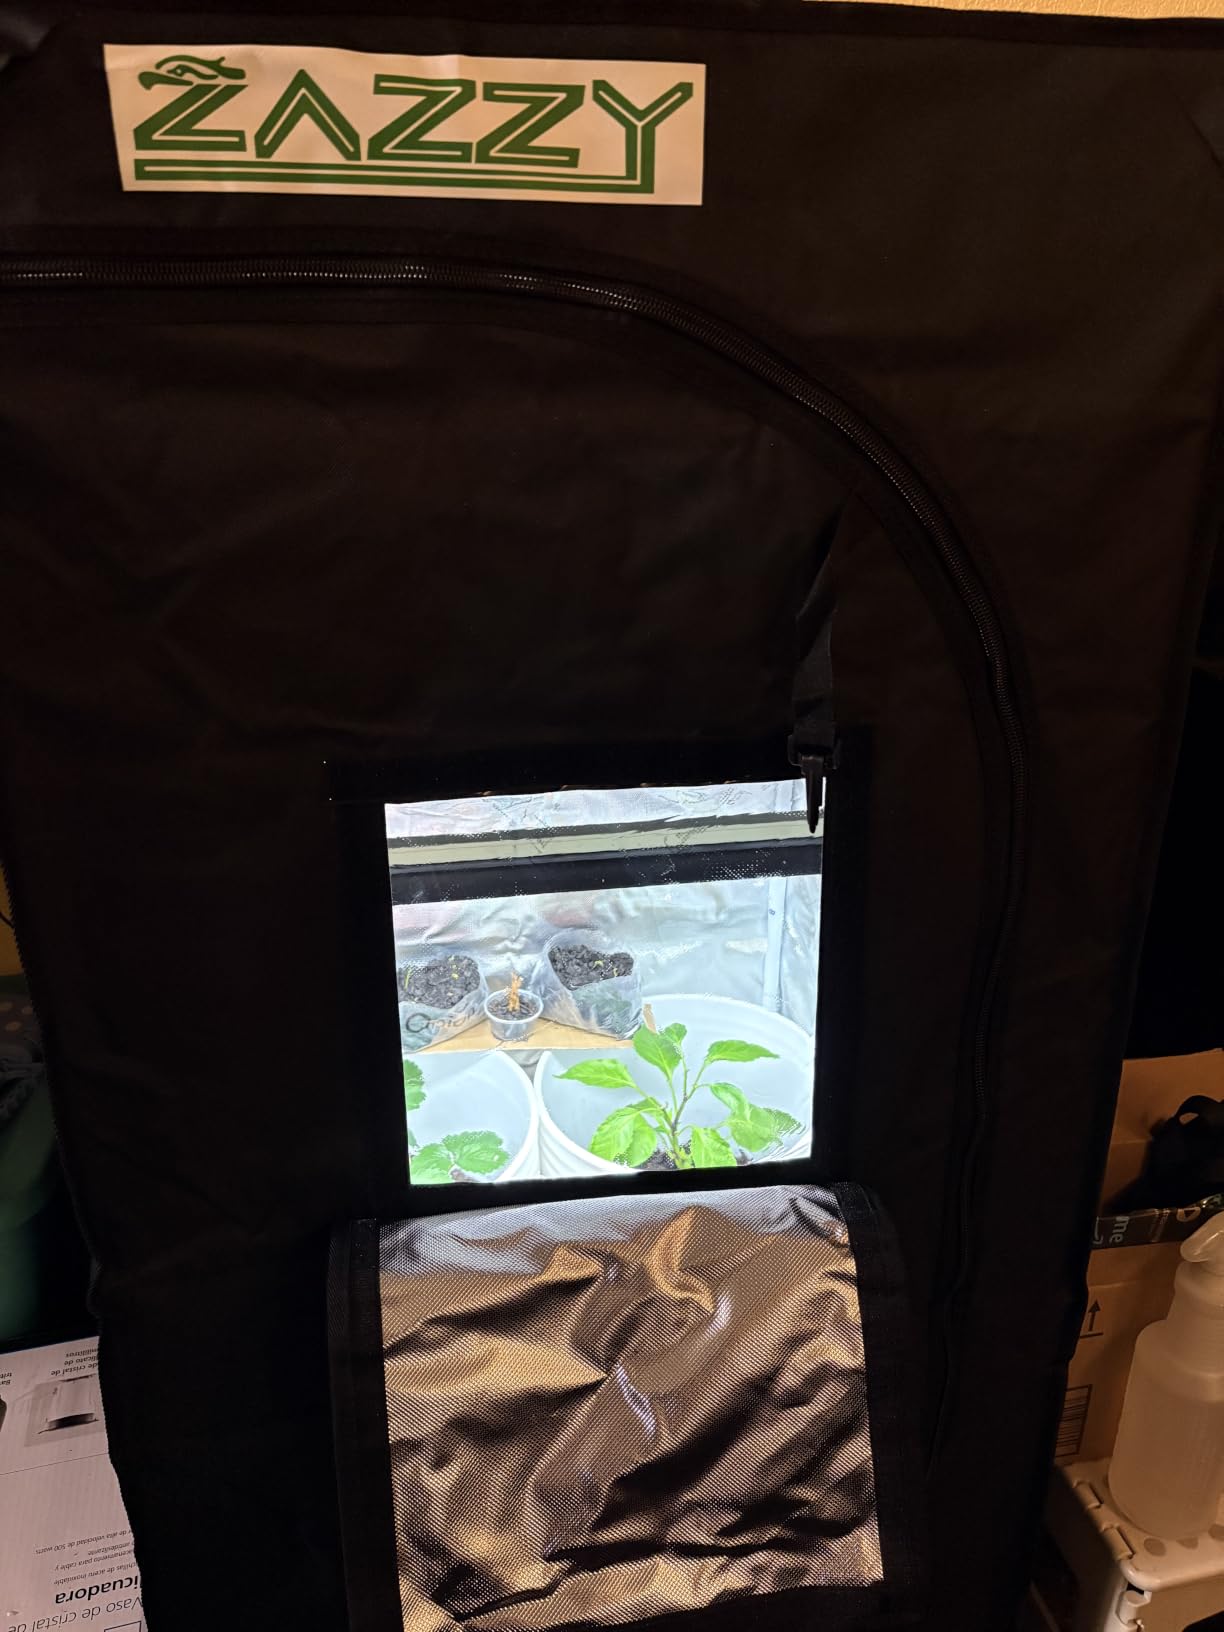
The zazzy 4×2 punches above its weight in one specific way: the poles are all steel, rated for at least 110 lbs, with a smooth anti-rust finish. Most tents in its bracket use fiberglass or thinner metal. That single decision is why the frame does not creep or bow under a hanging light the way cheaper frames often do.
Canvas is 600D and double-stitched for light blocking, with a 95 percent reflective mylar lining. That lining holds heat inside the chamber, which helps in a cold room and hurts in a warm one. Corner connectors are a patented PA type with adjustable tightness, so you can tension the fabric after the tent is up instead of guessing at assembly.
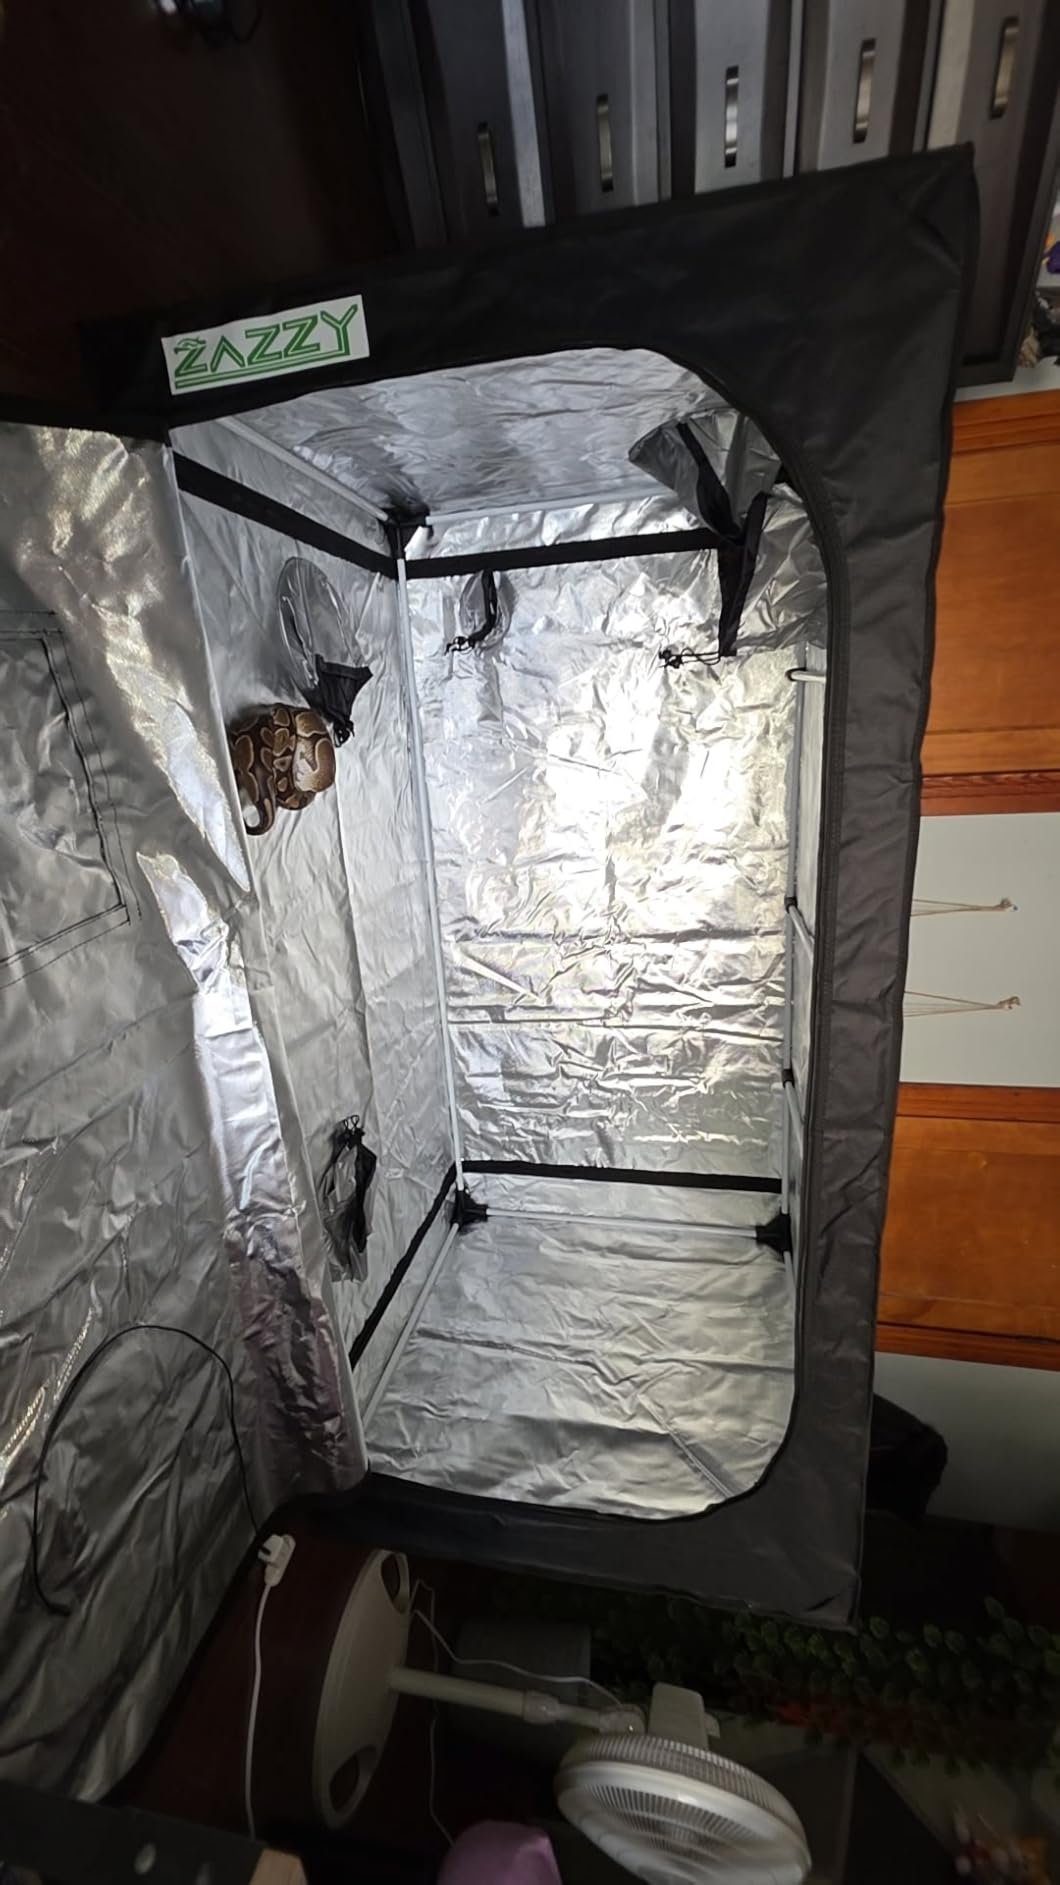
Owners frequently report finishing the build alone in 20 to 60 minutes, and several say the build quality compares to tents costing two or three times more. On thcfarmer the general view is that the premium brands are the safest choice but plenty of mid-range brands work fine, and this is the argument for that in one product.
The limits are predictable at this level. The mylar is thinner than premium interiors and reflections are less efficient. A few buyers find pinhole leaks around the observation window stitching. And the frame joints are plastic while the top crossbars can only be positioned before the cover goes on, which means you should decide your hanging layout first.
Is 95 percent reflectivity good enough?
Yes. The gap between 95 percent and 98 percent reflectivity is small enough that it rarely changes your results, and neither number matters as much as having a lining at all. Budget tents without a proper reflective interior waste a meaningful share of your light output on bare fabric.
Best used for
This tent suits a first grow on a tight budget, a propagation box for clones, or a drying tent. The 60-inch height fits low rooms, and the 110-pound bar rating is more than a beginner setup needs. Choose the CLOUDLAB 642 instead if you plan to hang a heavy light and a carbon filter from the same frame for years.
6. MELONFARM 4×2 Grow Tent – Best for Clones and Drying
MELONFARM 4×2 Grow Tent, 48″x24″x60” High Reflective 600D Diamond Mylar Canvas with Observation Window and Floor Tray for Hydroponic Indoor Plant Growing
48 x 24 x 60 inch footprint
600D double-stitched Oxford canvas
Waterproof reflective polyester lining
28.8 cubic foot chamber
Pros
- Holds the number one position in the grow tent category
- Large heavy-duty zipper door
- Double transparent observation windows
- Integrated floor tray
- Accessory storage bag included
- Multiple sized duct and fan ports
Cons
- Thinner fabric and finickier zippers than VIVOSUN or AC Infinity
- Light leak around velcroed viewing and ventilation ports
- Poles are a smaller diameter at roughly three-quarter inch
- Some sizes measure slightly smaller than advertised
At 28.8 cubic feet this is the smallest chamber volume of the group, which makes it a genuinely good propagation and drying tent. A smaller volume holds heat and humidity more tightly, so cuttings and clones stay in the environment they need without you fighting the room temperature. It was holding the number one position in the grow tent category when we pulled the data.
Build quality is respectable for the bracket. The outer fabric is 600D double-stitched Oxford canvas with a waterproof reflective polyester film lining, described by buyers as light-proof and tear resistant. Cross-member top bars come included for mounting lights, fans and filters, and there are multiple sized duct and fan ports so you can match a small intake to a small exhaust.
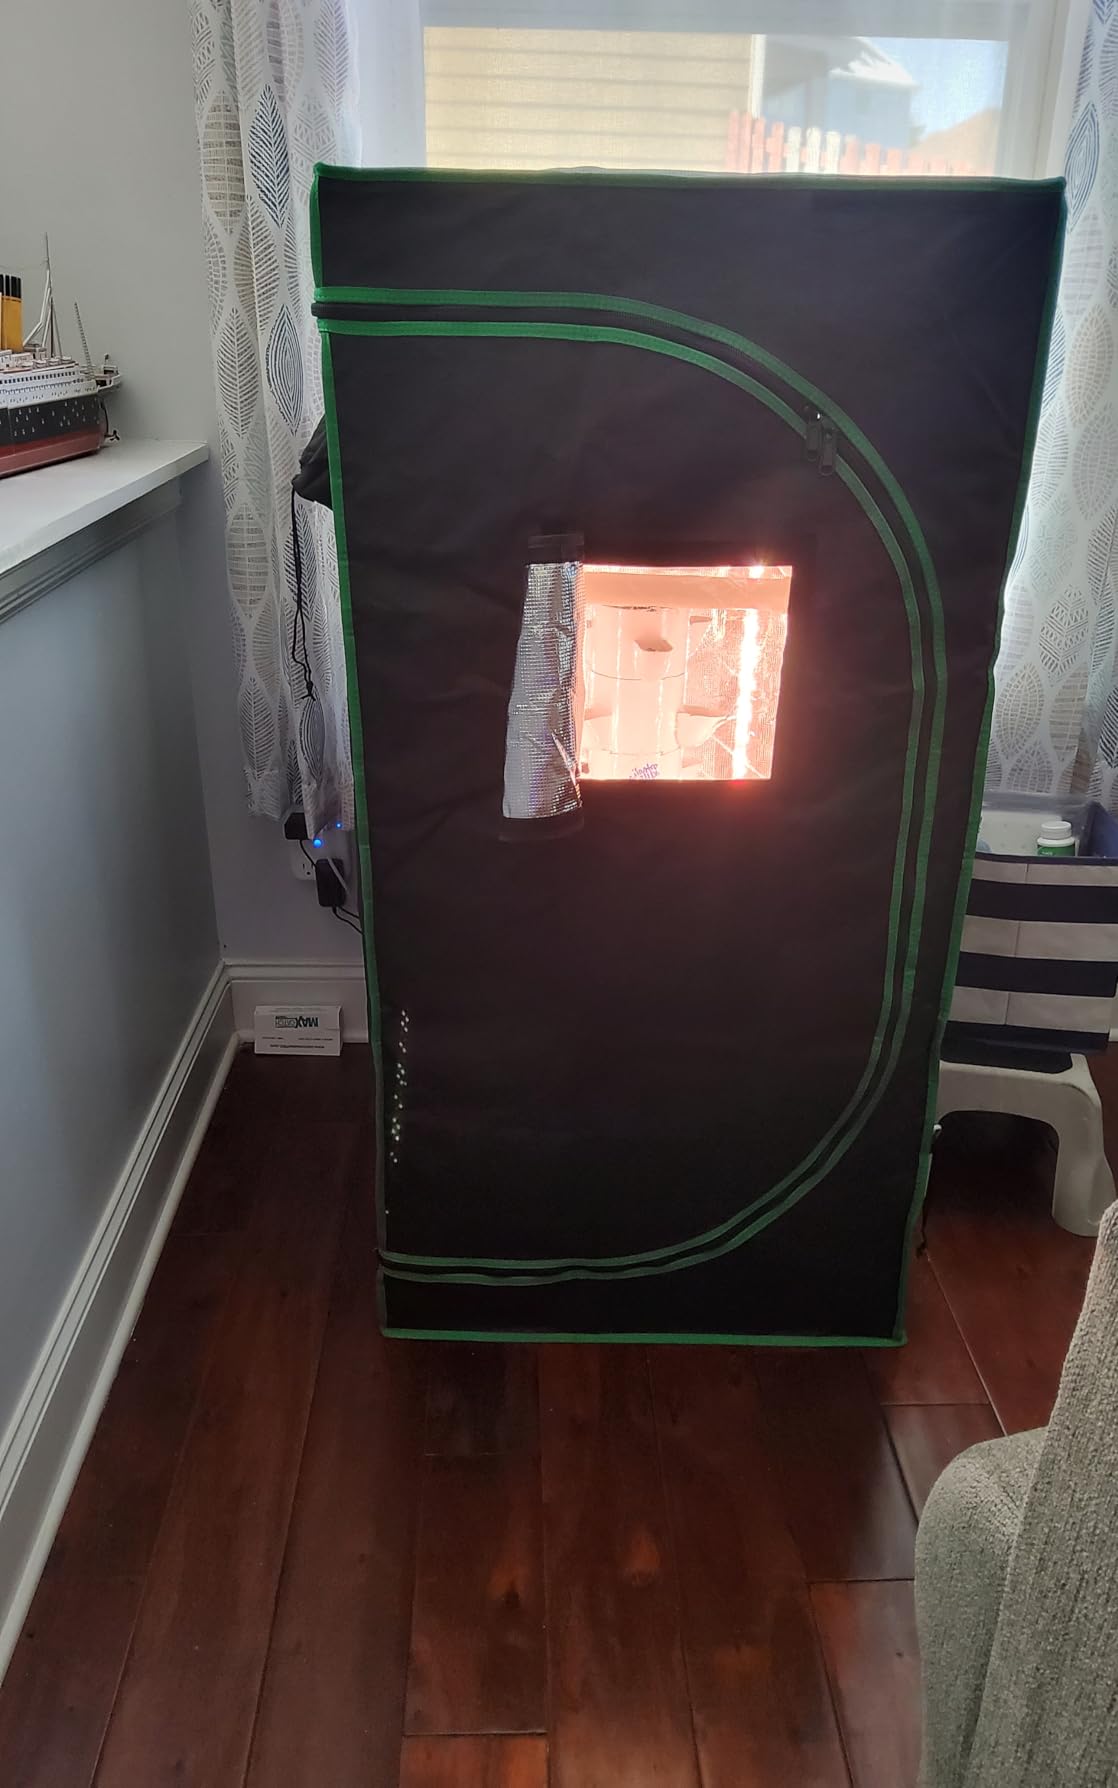
Two transparent observation windows mean you can check two zones without opening the door, and an integrated floor tray plus an accessory storage bag take care of the small annoyances that make a tent tedious to use. Most buyers have it standing in under an hour with no tools.
Reviewers do flag the trade-offs clearly. Fabric is thinner and zippers feel less refined than on VIVOSUN or AC Infinity. Some buyers get light leak around the velcroed viewing and ventilation ports. Poles are a smaller diameter at roughly three-quarter inch, and a few owners have received a package missing a pole.
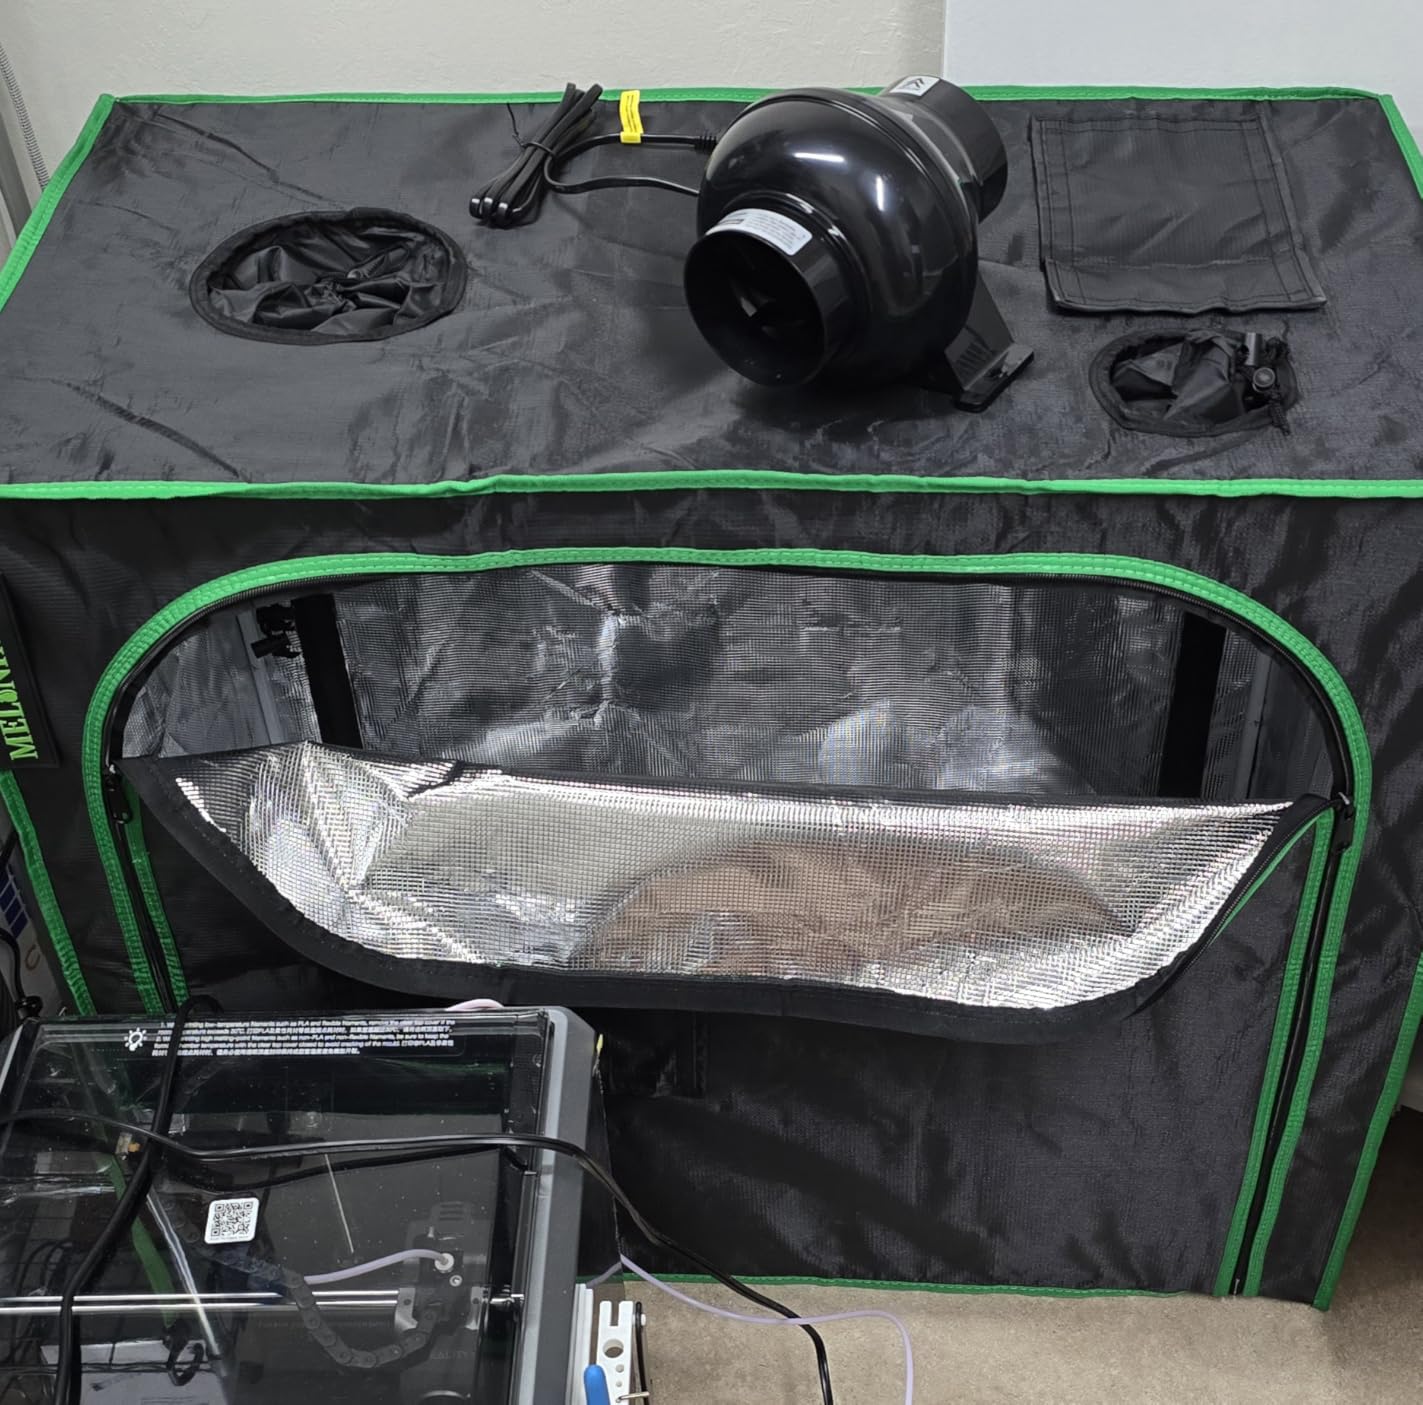
Should this be your flowering tent?
Only if your plants stay small. The three-quarter inch poles and lighter canvas will still hold a modest light, but a heavy fixture plus a carbon filter is more than this frame was built for. For seedlings, clones, mother plants kept short, or a drying harvest, it does everything you need.
Where it beats the other budget tents?
Against the two cheaper entries below, this one has the strongest review record of the three and the lowest share of one-star ratings. It also includes an accessory bag and cross-member bars, both of which you would otherwise buy separately. Choose it when you want a small chamber rather than a full flowering room.
7. zazzy 4×2 98% Reflective Mylar Tent – Best for Light Bounce
4×2 Grow Tent Plant Tent 600D Mylar Hydroponic 48″x24″x60″ Grow Tent
48 x 24 x 60 inch footprint
98 percent reflective mylar interior
600D tear-proof double-stitched canvas
Removable mylar floor tray
Pros
- 98 percent reflective interior lifts light efficiency
- Upgraded anti-rust PA corner connectors hold poles firmly
- Removable mylar floor tray is easy to clean
- Mesh ducting window keeps out dust and insects
- Tool-free install with illustrated instructions
- Holds multiple lights plus intake and exhaust fans
Cons
- Minor pinhole leakage around some windows and zipper areas
- Canvas is thinner than premium alternatives
- Interior bars described as a bit flimsy
- Velcro is aggressive and can tear
This tent has the highest stated reflectivity of the group at 98 percent, and that number is the whole pitch. Combined with extra-thick mylar, heavy-duty zippers and double stitching, it puts more usable light onto the canopy per watt than anything cheaper in this list. Reviewers consistently describe it as strong value for the money.
The hardware holds up better than the price suggests. Upgraded anti-rust PA corner connectors have adjustable tightness so poles stay put, and the removable mylar floor tray wipes clean after watering. Multiple vents plus a ducting rectangle window with mesh block dust and insects while still moving air.
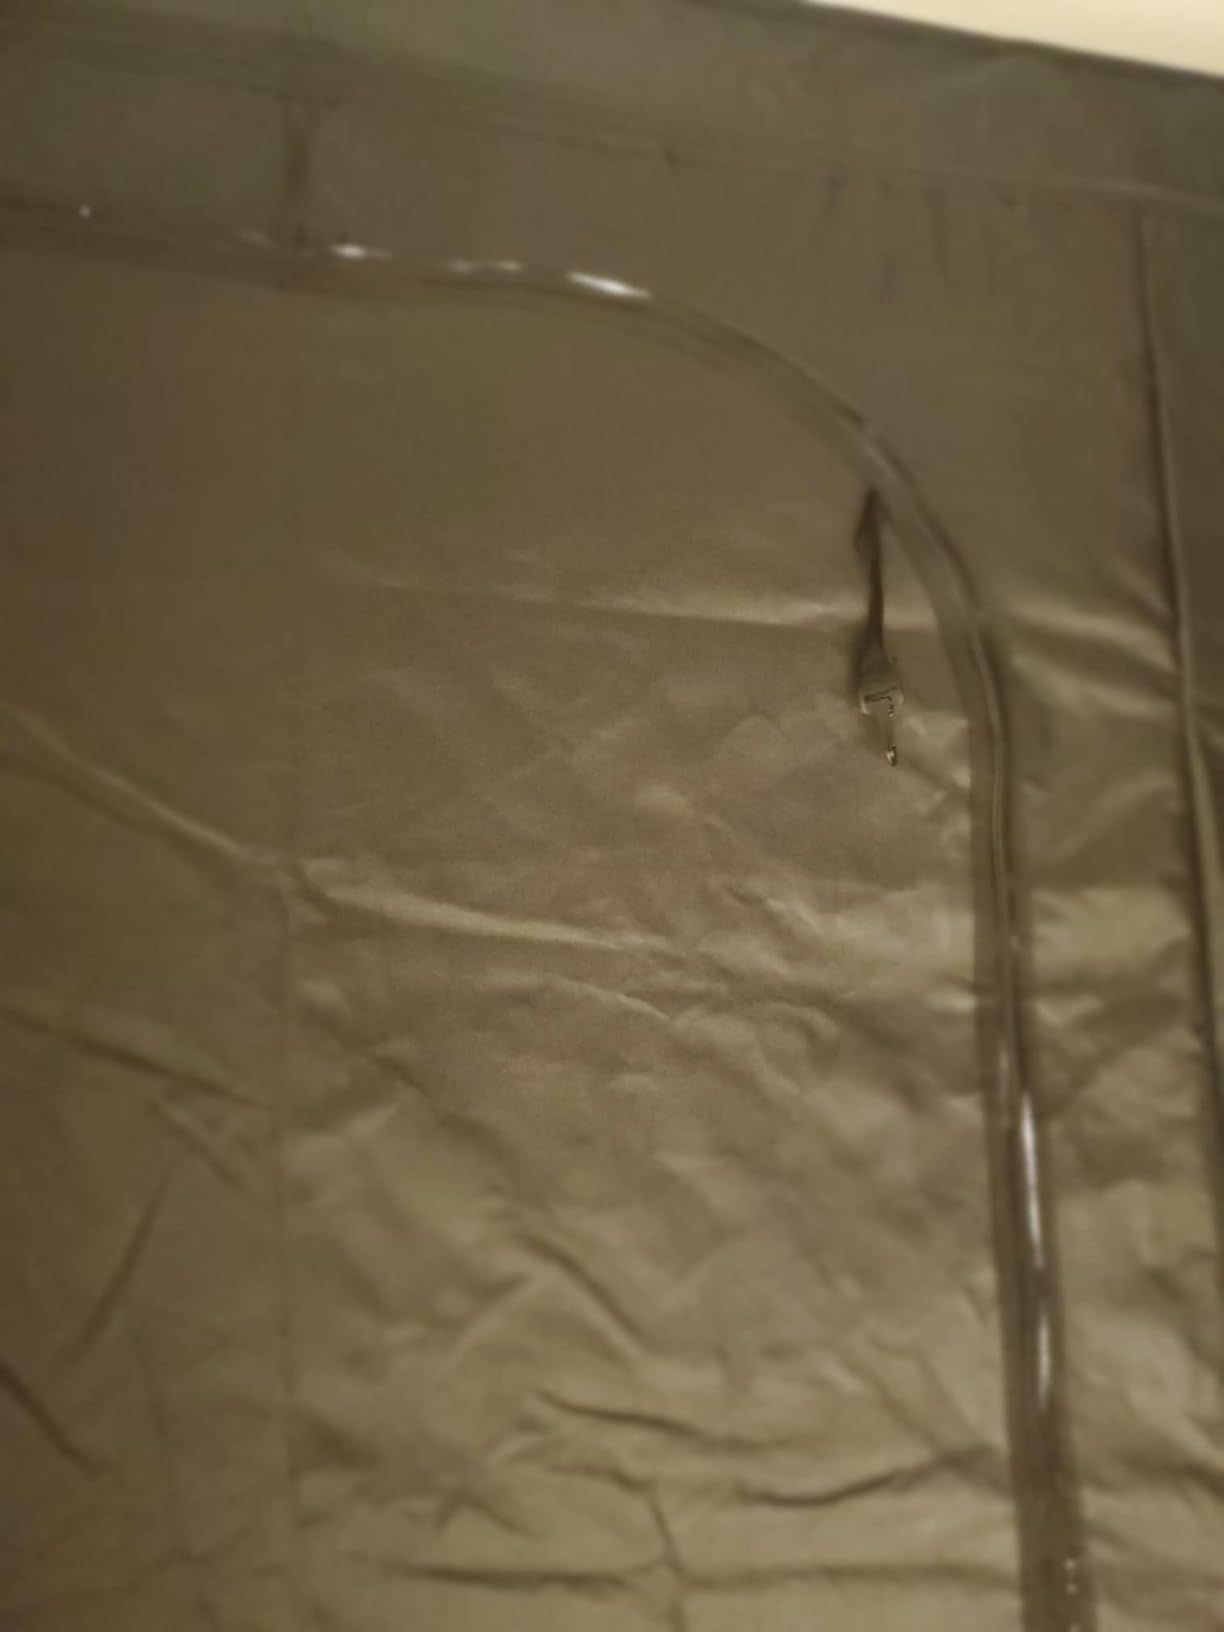
Owners report the tent holding multiple LED lights plus intake and exhaust fans at once, so it is not limited to a minimal setup. Assembly is tool-free with clear illustrated instructions, which is a step up from the vague direction sheets that ship with several tents in this bracket.
The complaints are consistent with the tier. Minor pinhole leakage around some windows and zipper areas, canvas thinner than premium alternatives with slightly less efficient reflection, and interior bars that a few buyers describe as a bit flimsy. The velcro is also aggressive and can tear if you pull it apart roughly.
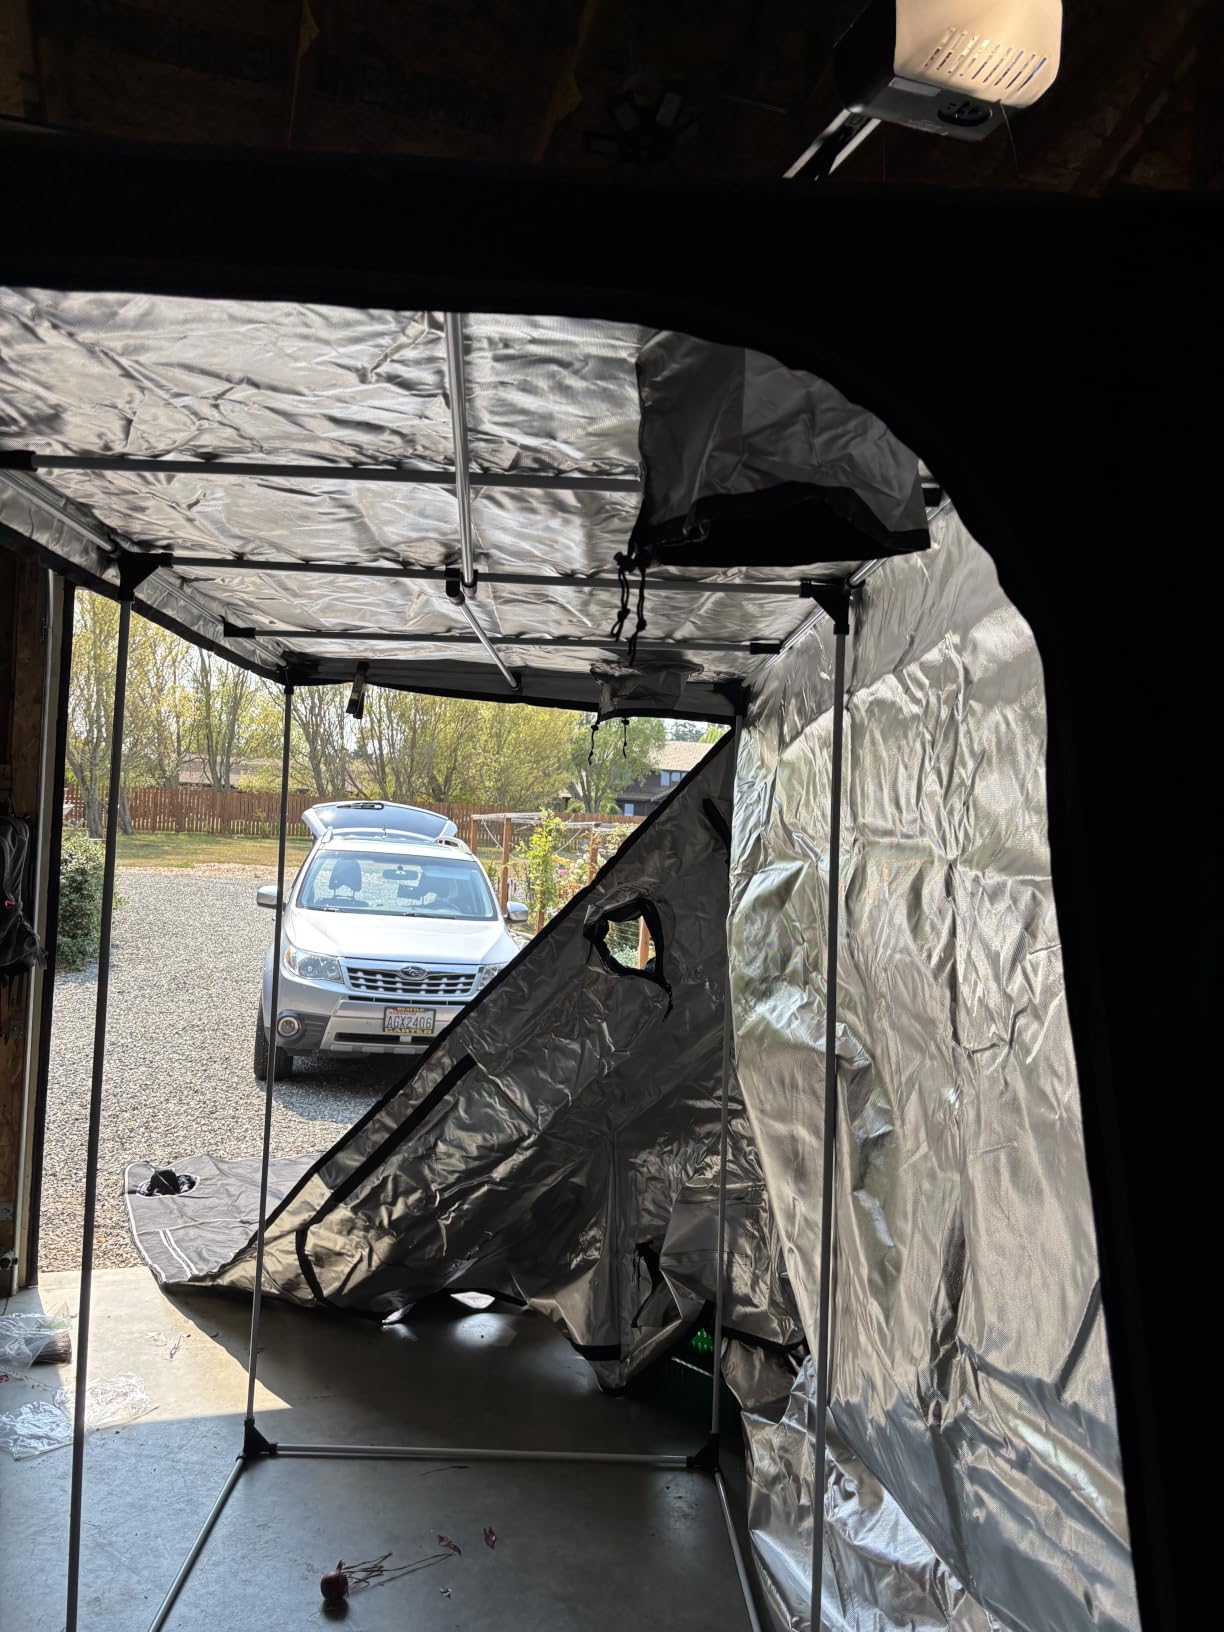
Does reflectivity beat thicker canvas?
For a beginner, reflectivity is the better return. Thicker canvas stops light escaping; reflective lining stops light being wasted inside. One is a seal, the other is an amplifier, and the amplifier pays off every day you have lights on. Choose this tent when your light is modest and you want every photon to land on a leaf.
Where to be careful?
Do not hang a heavy carbon filter from the interior bars alone without checking the fabric at the strap points, and be gentle with the velcro ports when opening them daily. If your priority is a frame that survives a heavy rig, the CLOUDLAB 642 or the zazzy 4×2 with its 110-pound all-steel poles is the safer buy.
8. ATOUR 48x24x60 Grow Tent – Best Low-Cost Starter Tent
ATOUR 48”x24”x60” Grow Tent, Reflective 600D Mylar,Hydroponic Grow Tent with Observation Window and Floor Tray for Indoor Plant Growing 4’x2’
48 x 24 x 60 inch footprint
Reflective polyester film interior
Heavy metal rod frame with double stitching
Floor tray included
Pros
- Lowest cost of the eight picks
- Large interior zipper flap covers leak points
- Good number of large vent holes for airflow
- Experienced buyers complete assembly in about 15 minutes
- Several owners report complete light sealing
Cons
- Thin metal poles and some holes not lining up between sections
- Instructions cover other sizes
- Velcro viewing window flap comes loose with frequent opening
- Bracing could be stronger for heavy equipment
This is the tent to buy if the budget for the whole setup is genuinely tight and you want to start with seedlings rather than a full flowering rig. Reviewers frame it clearly as a cheap, serviceable option for seedlings, drying and light-use growing, and several owners report complete light sealing with zero pinholes once the fabric is aligned properly.
The basics are done right. Reflective polyester film lines the interior, the heavy metal rod frame has double-stitched seams, and a large interior zipper flap covers the pinhole leak points that plaguing cheaper tents. There are multiple large vent holes for airflow, an observation window with a cover, and a floor tray included.
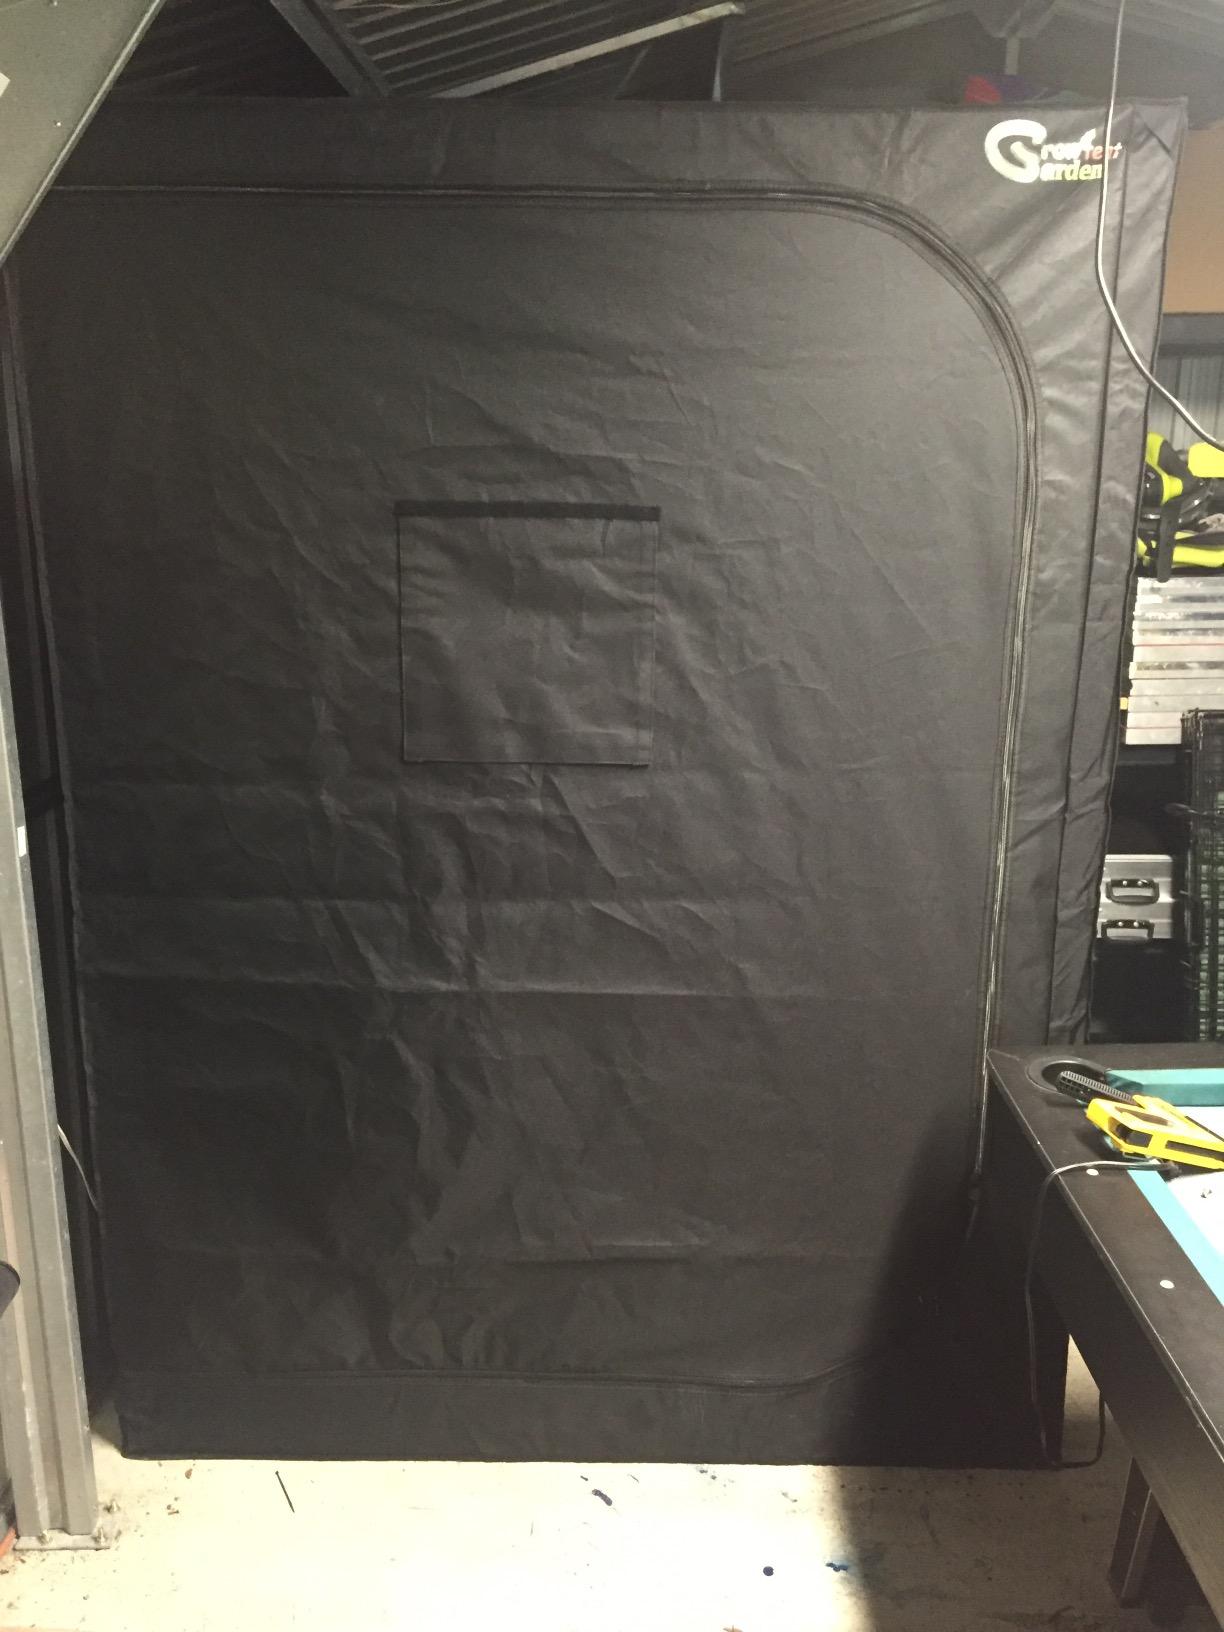
Experienced buyers assemble it in about 15 minutes because the frame goes together quickly. The design is aimed at closets, basements and balconies, which is exactly where a first tent usually ends up, and the footprint at 48 by 24 by 60 inches fits spaces that will not take a 72-inch tent.
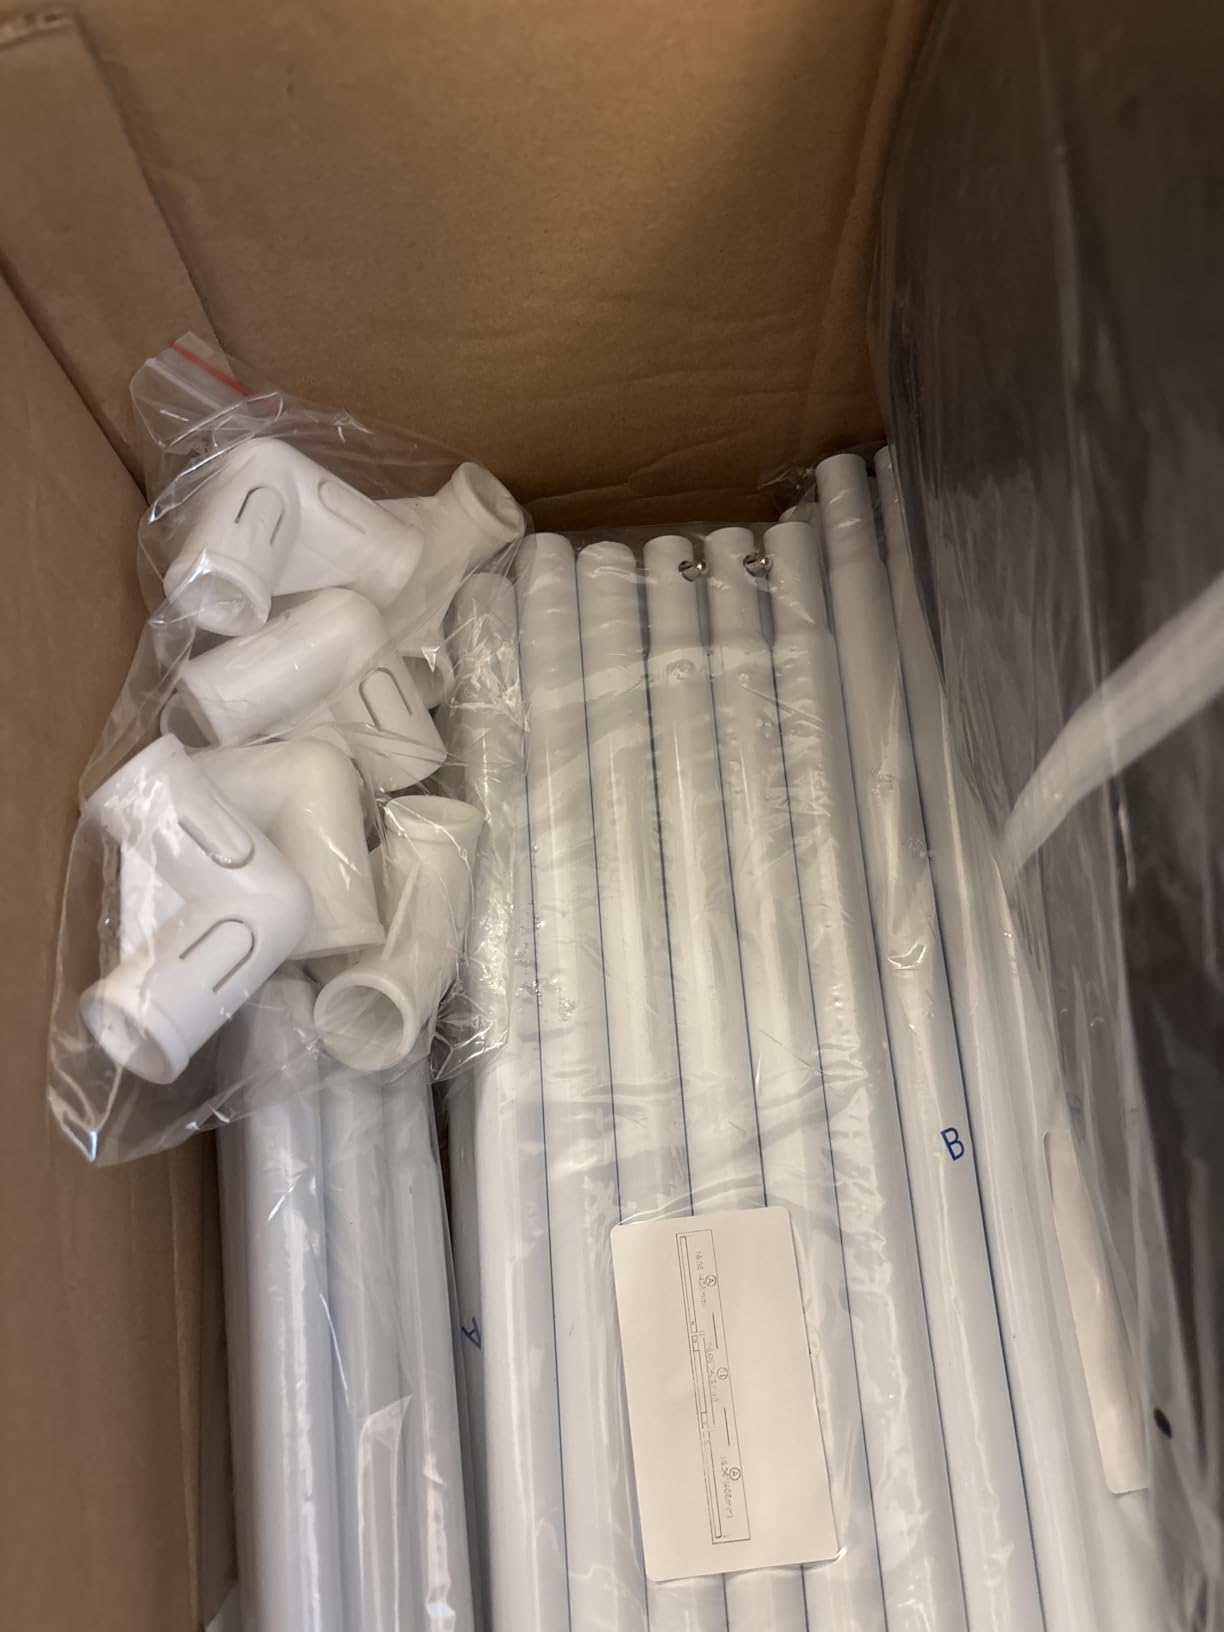
What you give up is frame strength. Poles are thin metal, and some buyers report holes not lining up cleanly between pole sections. Instructions in the box cover other sizes rather than the one purchased, the velcro window flap tends to come loose with frequent opening, and bracing could be stronger for heavy equipment.
What a very cheap tent can and cannot do?
It can hold humidity and heat well enough with the exhaust running, and it can keep light out once it is aligned. It cannot take a heavy light and a carbon filter on the same frame, and the observation window flap will need replacing or taping if you open it many times a day.
Who should skip it?
Skip it if this is a tent you expect to keep for multiple cycles and grow photoperiod plants in. The zazzy 4×2 with all-steel poles rated to 110 lbs costs a modest step more and gives you a frame that will not be the weak point.
What to Look for in a 2×4 Grow Tent?
Five things decide whether a 2×4 grow tent works for you: canvas thickness, reflectivity, zipper and seam light sealing, frame and bar strength, and duct port layout. Check those and the rest is preference.
Canvas denier is a thickness measure. 600D is the standard entry point, 1680D is a clear upgrade, and 2000D is the top of this list. Below 600D you are looking at fabric that tears when you wipe it down. Above 1680D you are paying for durability you probably will not notice in a first grow.
Reflectivity matters more than most buyers assume. A 95 percent reflective mylar lining already bounces back almost everything that hits it, so moving from 95 to 98 percent buys very little. A tent with no reflective lining at all is the thing to avoid, because bare fabric eats a large share of your light.
Light sealing is where cheap tents fail, and zipper failure is the single most repeated defect across every grow forum we read. Look for a black inner zipper lining or a fabric flap over the zipper track. Then test before you start: turn the lights off, close everything, and stand in a dark room for sixty seconds with your eyes on the seams, corners and zipper runs. Any pinhole you find can be closed with a strip of black fabric tape.
Frame strength is about load, not stiffness alone. Check the diameter of the poles and the rated capacity of the hanging bars. Three-quarter inch poles are common in budget tents, one-inch poles appear at the premium end, and anything rated 100 lbs or more covers a beginner rig comfortably. Our guide to grow light stands covers the matching support question if you plan to hang a light outside the tent.
Lastly, duct ports. You want at least one intake low on one side and one exhaust high on the opposite side so air moves across the canopy rather than short-circuiting. Six-inch ports are the common size for a 2×4, and a mesh panel on the intake stops dust and insects without blocking airflow.
Two more filters that decide the purchase before specs do. Ceiling height is the big one, because a tent that does not fit under a low ceiling is not a bargain. And check whether the viewing window is solid plastic or mesh, since mesh windows leak light and will cost you your dark period.
2×4 vs 3×3 Grow Tent – Which Size Should You Buy?
A 2×4 gives you eight square feet, a 3×3 gives you nine. Buy the 2×4 if this is your first grow and you are training two or three plants, and buy the 3×3 only if you already know you will run a fuller canopy.
The difference in raw footprint is small. What actually changes is plant density. A 3×3 comfortably holds six plants in three-gallon containers, while a 2×4 holds two or three in five-gallon containers before they start shading each other. One grower described trying six plants in a four-by-four and never doing it again, then settling on three, which matches the plant count most experienced growers use in a 2×4.
A 2×4 also heats and cools faster because the volume ratio is better against the floor area, so the same fan moves more air per cubic foot. A 3×3 needs more light watts and a bigger fan for the same result. If your budget is the binding constraint, the smaller footprint is simply cheaper to run.
The 3×3 wins on flexibility. If you plan to run a mother plant and clones, a taller chamber, or a larger fan and filter, the extra square foot and the usual height increase are worth it. Step up from a 2×2 straight to a 2×4 and you keep the low-cost simplicity; step up to a 3×3 and you are committing to a fuller setup on day one.
What You Still Need to Buy With Your Tent?
The tent is about a fifth of a first grow’s total cost. Everything below is a separate purchase, and buying the tent first is normal.
Grow light. For a 2×4, roughly 200W of LED covers autoflowers and about 300W covers photoperiod plants. Growers on growweedeasy warn against a 600W HPS in a 4×2 footprint because of the heat load. If you want the light on a shelf rather than hung from the tent bars, our grow light shelf picks cover the setup.
Inline duct fan. A four-inch fan with around 100 CFM is the standard match for a 2×4, paired with a matching carbon filter for odor control. Run one fan pulling air in low and one pushing air out high on the opposite side. If you would rather not plumb ducting at all, a small mon sealed grow kit handles the same job in a smaller footprint.
Carbon filter. Sized to the fan CFM, so a four-inch filter with a four-inch fan. This is the one item that matters in an apartment or a rental, and it is also the item most beginners skip and regret.
Timer. A digital timer with a ten-minute or fifteen-minute interval keeps photoperiod plants on a fixed dark schedule. Cheap mechanical plug timers drift, and drift in a dark period shows up as stress or as plants that will not flower.
Thermometer and hygrometer. A single digital unit that reads both, placed at canopy height. Temperature and humidity are the two numbers you cannot guess at, and they are also the two numbers your plants cannot survive a bad week of.
Pots, medium and nutrients. Two to three fabric or solid pots at five gallons, a quality growing medium, and a starter nutrient set. Fabric pots air-prune roots and drain cleanly onto the tent’s floor tray.
Also worth budgeting for: a small fan for air movement across the canopy, a set of fabric tie-down straps for training, and a spray bottle for foliar watering or leaf cleaning.
Frequently Asked Questions
How many plants can I grow in a 2×4 grow tent?
Two to three plants in five-gallon pots is the reliable answer for a beginner. A 2×4 footprint is eight square feet, and growers consistently report that crowding it with six plants leaves every plant fighting for the same light. Two or three plants trained with low-stress training fills the space and each one gets enough light to finish.
What is the best grow tent for a beginner?
The AC Infinity CLOUDLAB 642 is the strongest overall choice, with 2000D canvas, one-inch steel poles and hanging bars rated to 150 lbs. The VIVOSUN S425 is the best value pick, holding 4.5 stars across more than 33,000 reviews. Forum consensus is that a solid mid-tier tent is all a first grow really needs.
Which grow tent is better, a 2×4 or a 3×3?
Buy the 2×4 for a first grow. Eight square feet holds two or three plants trained to fill the space, runs cheaper because the same fan moves more air per cubic foot, and suits closets and corners. Buy the 3×3 only if you already plan a fuller canopy, a mother plant and clone setup, or a larger fan and filter.
What size inline fan and how many watts of LED do I need for a 2×4?
A four-inch inline duct fan rated around 100 CFM, paired with a matching four-inch carbon filter, is the standard match for a 2×4. For lighting, roughly 200W of LED suits autoflowers and about 300W suits photoperiod plants. Growers caution against a 600W HPS in a 4×2 footprint because of the heat load.
Does grow tent quality actually matter, and are AC Infinity tents worth it?
Quality matters at the joints: the zipper track, the seams, the pole diameter and the bar rating. Those four decide whether light leaks and whether the frame holds a light plus a carbon filter. AC Infinity tents are worth it for a long-term grow, but forum consensus is that a solid mid-tier tent is the best value for a first run.
Conclusion – The 2×4 Grow Tent Verdict for Beginners
The best 2×4 grow tents for beginners in 2026 come down to two decisions: how tall your ceiling lets you go, and how much you want to spend on the frame. The AC Infinity CLOUDLAB 642 wins outright on materials, frame rigidity and leak handling, and it is the tent we would put in a room that will be used for years. The VIVOSUN S425 is the value choice, backed by the largest review record of any tent here. The MARS HYDRO 4x2x6 is the one to buy if you are building alone for the first time.
Whatever you choose, measure your ceiling first, run the sixty-second light-leak test before you plant, and remember that the tent is only about a fifth of the cost. If the budget is tight, the zazzy 4×2 gives you all-steel poles at a mid-tier outlay. Check current pricing on each, then start with your space and your light.