
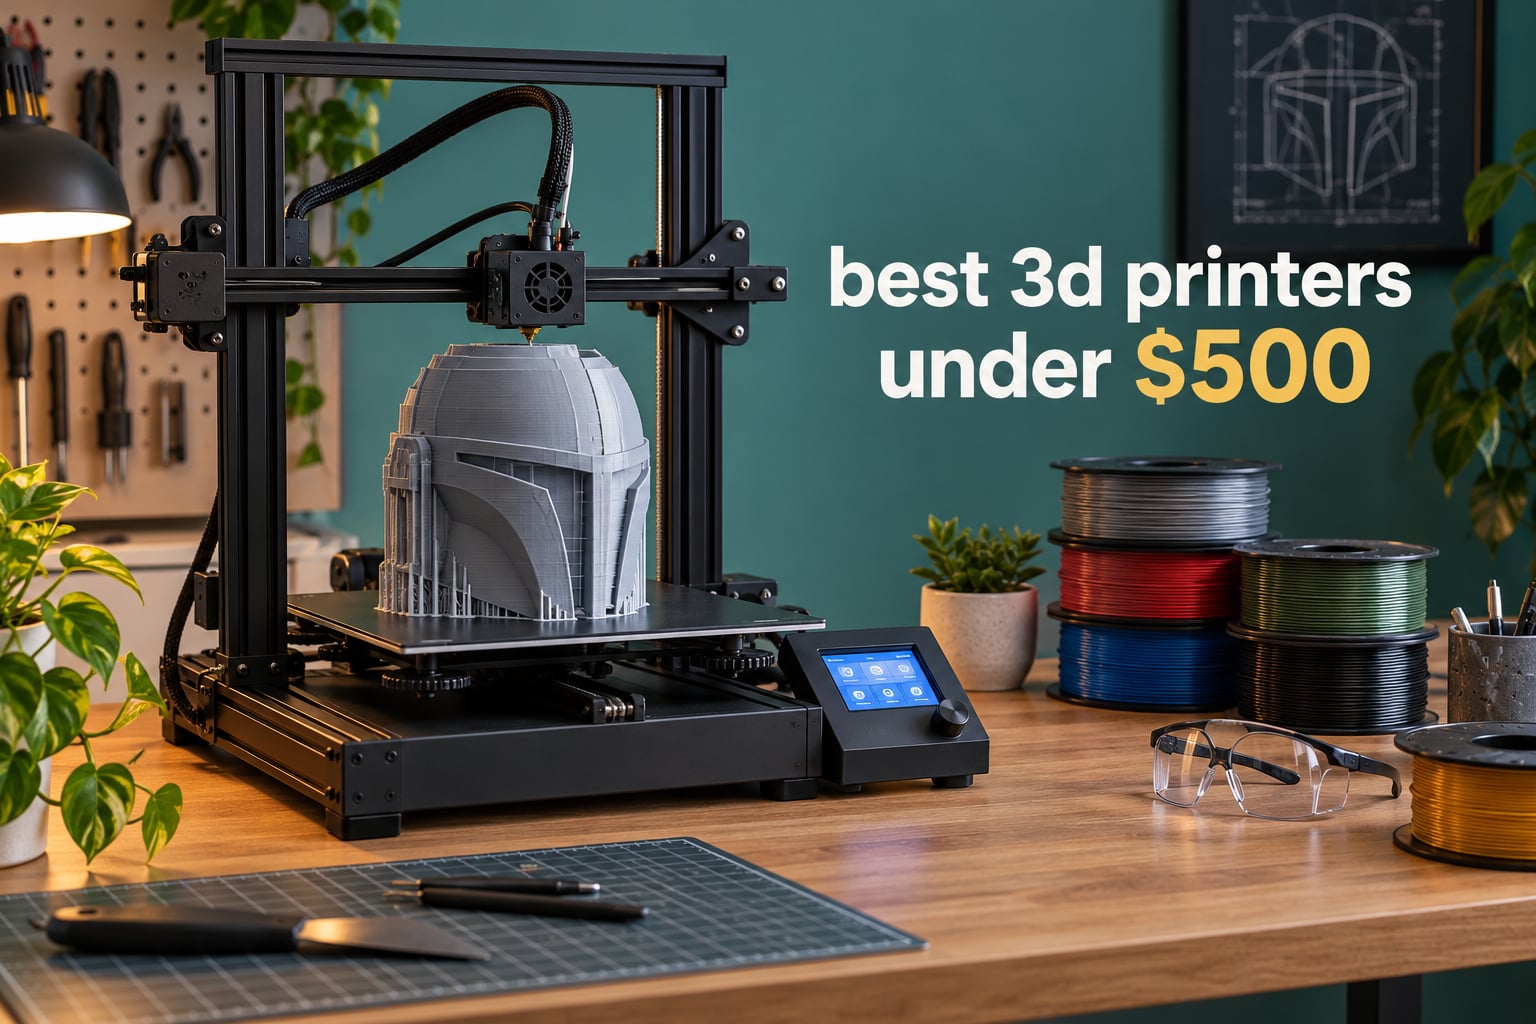
Short answer: the Creality K1C is the best 3D printer under 500 dollars for most people in 2026 — a CoreXY machine rated at 600mm/s with one-tap calibration, an AI camera and a build plate big enough for cosplay shells. If you want the least tinkering of the lot, the Bambu Lab A1 is the pick. If multi-colour printing is the whole point, the Anycubic Kobra X does it natively with no extra unit bolted to the side.
I have spent the last few months living with printers in this price bracket, and the gap between a bad 500-dollar machine and a good one has almost nothing to do with the spec sheet. Every one of the ten machines below now comes with automatic bed levelling, resonance compensation and a direct drive extruder. Those features were flagship-only a few years ago.
What still separates them is quieter motors, sensors that catch a failed print before you wake up to a mess, and slicer software that does not fight you. That is what the rankings below weigh up, alongside the running costs nobody puts in a spec sheet. If you want the full picture on the wider category, our general 3D printer roundup covers machines above this budget too.
Two things changed while we were testing. Several printers that sat comfortably under the cap have drifted upward as brands repriced bundles, so treat every price here as a street price rather than a fixed one. And a handful of picks are first-generation hardware, which is worth factoring into any decision about long-term reliability.
Table of Contents
Top 3 Picks for 3D Printers Under $500 in 2026



Best 3D Printers Under $500 in 2026
Every pick below sits inside the 500-dollar ceiling at the street prices we verified for this guide. Features are drawn from the manufacturers’ own listings, and the rating and review counts come straight from the Amazon listing so you can cross-check them yourself.
| Product | Specifications | Action |
|---|---|---|
| Creality K1C |
|
Check Latest Price |
| Bambu Lab P1S |
|
Check Latest Price |
| Bambu Lab A1 |
|
Check Latest Price |
 FLASHFORGE Adventurer 5M FLASHFORGE Adventurer 5M |
|
Check Latest Price |
 ANYCUBIC Photon Mono 4 ANYCUBIC Photon Mono 4 |
|
Check Latest Price |
 Creality Ender 3 V3 SE Creality Ender 3 V3 SE |
|
Check Latest Price |
 Anycubic Kobra X Anycubic Kobra X |
|
Check Latest Price |
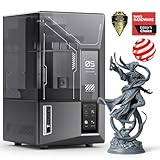 ELEGOO Mars 5 Ultra ELEGOO Mars 5 Ultra |
|
Check Latest Price |
 FLASHFORGE AD5M FLASHFORGE AD5M |
|
Check Latest Price |
 Entina Tina2C Entina Tina2C |
|
Check Latest Price |
1. Creality K1C — Best Overall 3D Printer Under $500
Creality K1C 3D Printer, 600mm/s with AI Camera and Auto Leveling
CoreXY at 600mm/s
20000mm/s2 acceleration
One-tap auto calibration
AI camera monitoring
Rated 45dB or quieter
35.2 pounds
Pros
- 600mm/s CoreXY motion
- One-tap automatic calibration
- AI camera catches failed prints live
- Tri-metal nozzle suits carbon fibre filament
- Rated at 45dB or quieter
- Deepest review history of any pick here
Cons
- Very heavy machine at 35.2 pounds
- Higher price point than most rivals
The K1C is the machine I recommend to someone who wants one printer and does not want to think about it. Out of the box it is a CoreXY gantry rated at 600mm/s with 20000mm/s² of acceleration, and the frame is metal rather than the plastic-and-rod construction that still dominates this price band. That rigidity shows up in surface finish.
The one-tap calibration routine handles bed levelling, first-layer height and flow in a single sequence. That is a bigger deal than it sounds, because a calibration cycle you actually trust is what stops a beginner from spending an evening fighting a bad first layer. Add the AI camera and you get a live feed that flags a stalled or spaghetti print, which on a machine this fast is worth having.
The direct extruder carries a tri-metal nozzle that reviewers say handles carbon fibre filaments well, and the machine is rated for 45dB or quieter with activated carbon air purification. In a shared space that noise figure is the difference between a printer you run at night and one you only run when the house is empty.
Those carbon fibre-capable materials are the reason experienced makers keep coming back to it. Combined with the CoreXY layout, the K1C is the pick if your prints are functional parts and brackets rather than figurines, and if you want headroom for tougher filament later without changing machines.
What the K1C does better than the rest
Two things stand out. The metal CoreXY frame holds its geometry under acceleration in a way that open-frame bed slingers at this price cannot, and at 2,728 reviews it has by far the deepest review pool in the group, which makes it the safest pick if you want to read about problems before you hit them.
The camera is not a gimmick on a fast machine. At 600mm/s a print can go wrong in the time it takes to walk across a room, and live monitoring means you find out immediately rather than at the end.
Where the K1C falls short
It weighs 35.2 pounds and needs a solid desk. That matters in a flat or a dorm where you might want to move it to a shelf between prints.
Its 4.2 rating reflects a spread of experiences rather than one specific fault, which is normal for a machine with this many owners. Reviewers describe it as a solid step up rather than a flawless product, so expect the occasional adjustment instead of a set-and-forget appliance.
2. Bambu Lab P1S — Best Fully Enclosed Pick for ABS and ASA
Bambu Lab P1S 3D Printer, Ready-to-Use FDM 3D Printer
Fully enclosed chamber
500mm/s with 20000mm/s2
Automatic bed levelling
Setup in 15 minutes
Supports PLA to PC
38.9 pounds
Pros
- Fully enclosed chamber for ABS and ASA
- 500mm/s with 20000mm/s2 acceleration
- Bambu Studio slicer needs almost no tuning
- Setup quoted at 15 minutes
- Holds the number one Best Sellers rank in 3D Printers
Cons
- AMS sold separately for multi-colour
- No touchscreen on the base model
- Some quality control issues reported
- Ecosystem lock-in concerns
The P1S is the pick if your prints need a chamber. An enclosure is not a luxury — ABS and ASA warp badly when they hit moving air, and the only reliable fix is a closed box that keeps the temperature stable from the first layer to the last. This machine has one, and it lists support for PLA, PETG, TPU, PVA, PET, ABS, ASA, PA and PC.
Underneath it is a CoreXY-class machine rated at 500mm/s and 20000mm/s² acceleration with automatic bed levelling. The manufacturer quotes a 15-minute setup, which is about right if you have printed before and considerably optimistic if you have not.
Where it earns its reputation is the slicer. Bambu Studio needs almost no intervention for a standard PLA or PETG profile, which removes the single biggest time sink for a new owner. Reviewers consistently call out remote monitoring through the app as a genuine convenience for long prints.
At 4.5 stars across 407 reviews it scores better than almost anything else in this list, and it holds the number one Best Sellers rank in 3D Printers. That combination of rating and sales volume is why we rate it as the strongest enclosed option inside the cap.
What the P1S does better than the rest
The enclosure is the headline, but the software is the reason most owners keep it. Reviewers of the other machines here describe more manual profile work to produce a clean first layer, and that is time you do not get back.
Multi-colour is possible too, but it depends entirely on the AMS unit, which is a separate purchase. Buyers who come here specifically for four-colour printing should read our beginner buying guide first, because the cost changes the maths.
Where the P1S falls short
The base machine has no touchscreen, which means the only way to start a print is the app or the slicer on your computer. Plenty of owners love that. Plenty of others would rather not dig out a phone at midnight.
Reviewers also report quality control lapses — missing feet and display issues on early units — and note that the closed ecosystem limits tinkering compared with an open community printer. If you enjoy modifying firmware and profiles, this is not the machine for you.
3. Bambu Lab A1 — Best 3D Printer Under $500 for Beginners
Bambu Lab A1 3D Printer, Ready-to-Use FDM 3D Printer for Beginners and Kids
10000mm/s2 acceleration
Full-auto calibration
Active flow rate compensation
1-clip quick swap nozzle
Quiet operation
22 pounds
Pros
- Highest rated printer in the group at 4.7 stars
- Full-auto calibration handles levelling and flow
- Active motor noise cancelling keeps it quiet
- Quick-swap nozzle simplifies maintenance
- Weighs 22 pounds
Cons
- Open frame so no ABS or ASA
- AMS lite sold separately for multi-colour
- Initial calibration hiccup if USB-C is not fully seated
At 4.7 stars from 671 reviews, the A1 is the highest-rated printer in this roundup, and the gap over everything else is wide. It is the machine we hand to someone buying their first 3D printer because the reasons people normally give up in week one have been engineered out of it.
Full-auto calibration is the core of that. It levels the bed, sets first-layer height and runs active flow rate compensation automatically. Flow compensation is the underrated part — it measures extrusion and adjusts for filament diameter variations, which is exactly what stops a first print from being a hair too thin or a blobby mess.
The rest of the feature list is aimed at the same audience. A 1-clip quick swap nozzle means maintenance takes seconds rather than a session. Active motor noise cancelling, plus quiet operation as a headline claim, makes it viable in a flat. At 22 pounds it is also noticeably lighter than the K1C.
Performance figures are modest next to the K1C — 10000mm/s² acceleration rather than 20000mm/s² — but the A1 makes up for it in the software and in how little it asks of you. If you want the multi-colour version, our roundup of printers for miniatures covers the trade-offs in more depth.
What the A1 does better than the rest
Reliability after setup. Reviewers describe it as a machine that just works once the initial calibration has run, and the 87% five-star share backs that up. That is not a spec you can measure, but it is the one that decides whether you keep printing.
It costs less than the K1C and the P1S while keeping most of their automation, which makes it a strong pick if you never plan to print engineering filament.
Where the A1 falls short
It is an open-frame machine. Without an enclosure, ABS and ASA will warp and PETG will need a draft shield, so if engineering materials are on your list you should look at the P1S instead.
Multi-colour still needs the AMS lite, sold separately. There is also a recurring report of a first calibration failure when the USB-C cable is not fully seated, so plug it in properly before blaming the machine.
4. FLASHFORGE Adventurer 5M — Best Value CoreXY
FLASHFORGE Adventurer 5M 3D Printer, 600mm/s High-Speed, 1 Click Fully Auto Leveling, Upgraded Direct extruder Quick Detachable 280°C Nozzle, Dual-Sided PEI Coating Plate, Print Size 220x220x220mm
CoreXY at 600mm/s
20000mm/s2 acceleration
One-click auto levelling
230C nozzle reaches heat in 35 seconds
Dual-sided PEI plate
23.8 pounds
Pros
- CoreXY speed and acceleration at a budget price point
- One-click automatic levelling with vibration compensation
- Heats to 200C in 35 seconds
- Dual-sided PEI steel plate sticks well and releases cleanly
- Responsive tech support
- Run-out sensor and power loss recovery
Cons
- Firmware occasionally freezes
- Dark print area with no built-in light
- Touchscreen sensitivity issues on some machines
The Adventurer 5M is the pick if you want CoreXY speed and acceleration without spending half your budget on it. It runs the same 600mm/s and 20000mm/s² headline figures as the K1C for roughly half the money, which is the single most striking spec-to-cost ratio in this guide.
Everything practical is present: one-click automatic levelling, vibration compensation, a filament run-out sensor, power loss recovery and a dual-sided PEI steel plate that both grips PLA and PETG and releases them without a fight. The nozzle reaches 200C in 35 seconds, which matters more than it sounds on short prints.
Setup is quoted at 10 to 15 minutes and reviewers consistently describe it as straightforward. There is also a genuine point in its favour that rarely shows up in comparisons: Flashforge support responds, and replacement parts for this generation are easy to obtain.
For most people reading a buying guide, this is the honest answer to the value question. You give up the camera, the flow compensation and the refinement of the Bambu slicer, and you keep the part of the hardware that actually determines print quality.
What the Adventurer 5M does better than the rest
Cost per unit of speed is where this machine leads the list. Few rivals near this price run a CoreXY gantry with 20000mm/s² acceleration and dual-sided PEI plating together.
The sensor suite is also more complete than the price suggests. Filament run-out detection and power loss recovery are the two features that save the most prints in real use, and plenty of pricier machines offer only one of them.
Where the Adventurer 5M falls short
The firmware and network layer are the weak points. Reviewers report occasional freezes and note that the proprietary network interface limits your slicer options, so the community generally recommends OrcaSlicer rather than the bundled tool.
There is no light inside the chamber, which makes watching a print harder, and the touchscreen can be unresponsive. Minor, but both are the kind of friction that shows up every time you use the machine.
5. ANYCUBIC Photon Mono 4 — Best Resin Pick for Miniatures
ANYCUBIC Photon Mono 4, Resin 3D Printer with 7” 10K Mono LCD Screen
7-inch 10K mono LCD at 9024x5120
17x17 micron XY resolution
LighTurbo matrix light source
153x87x165mm build volume
One-time 4-point levelling
7.7 pounds
Pros
- 10K mono screen resolves 17x17 micron detail
- Tilt release is faster and kinder to the FEP film
- One-time levelling that stays set
- Quiet and compact at 7.7 pounds
- Power loss recovery included
- Sharpest LCD in this guide
Cons
- Exposure settings need real dialling in
- Some screen and vat failures reported
- Lid has no hinges
- Resin handling needs gloves and ventilation
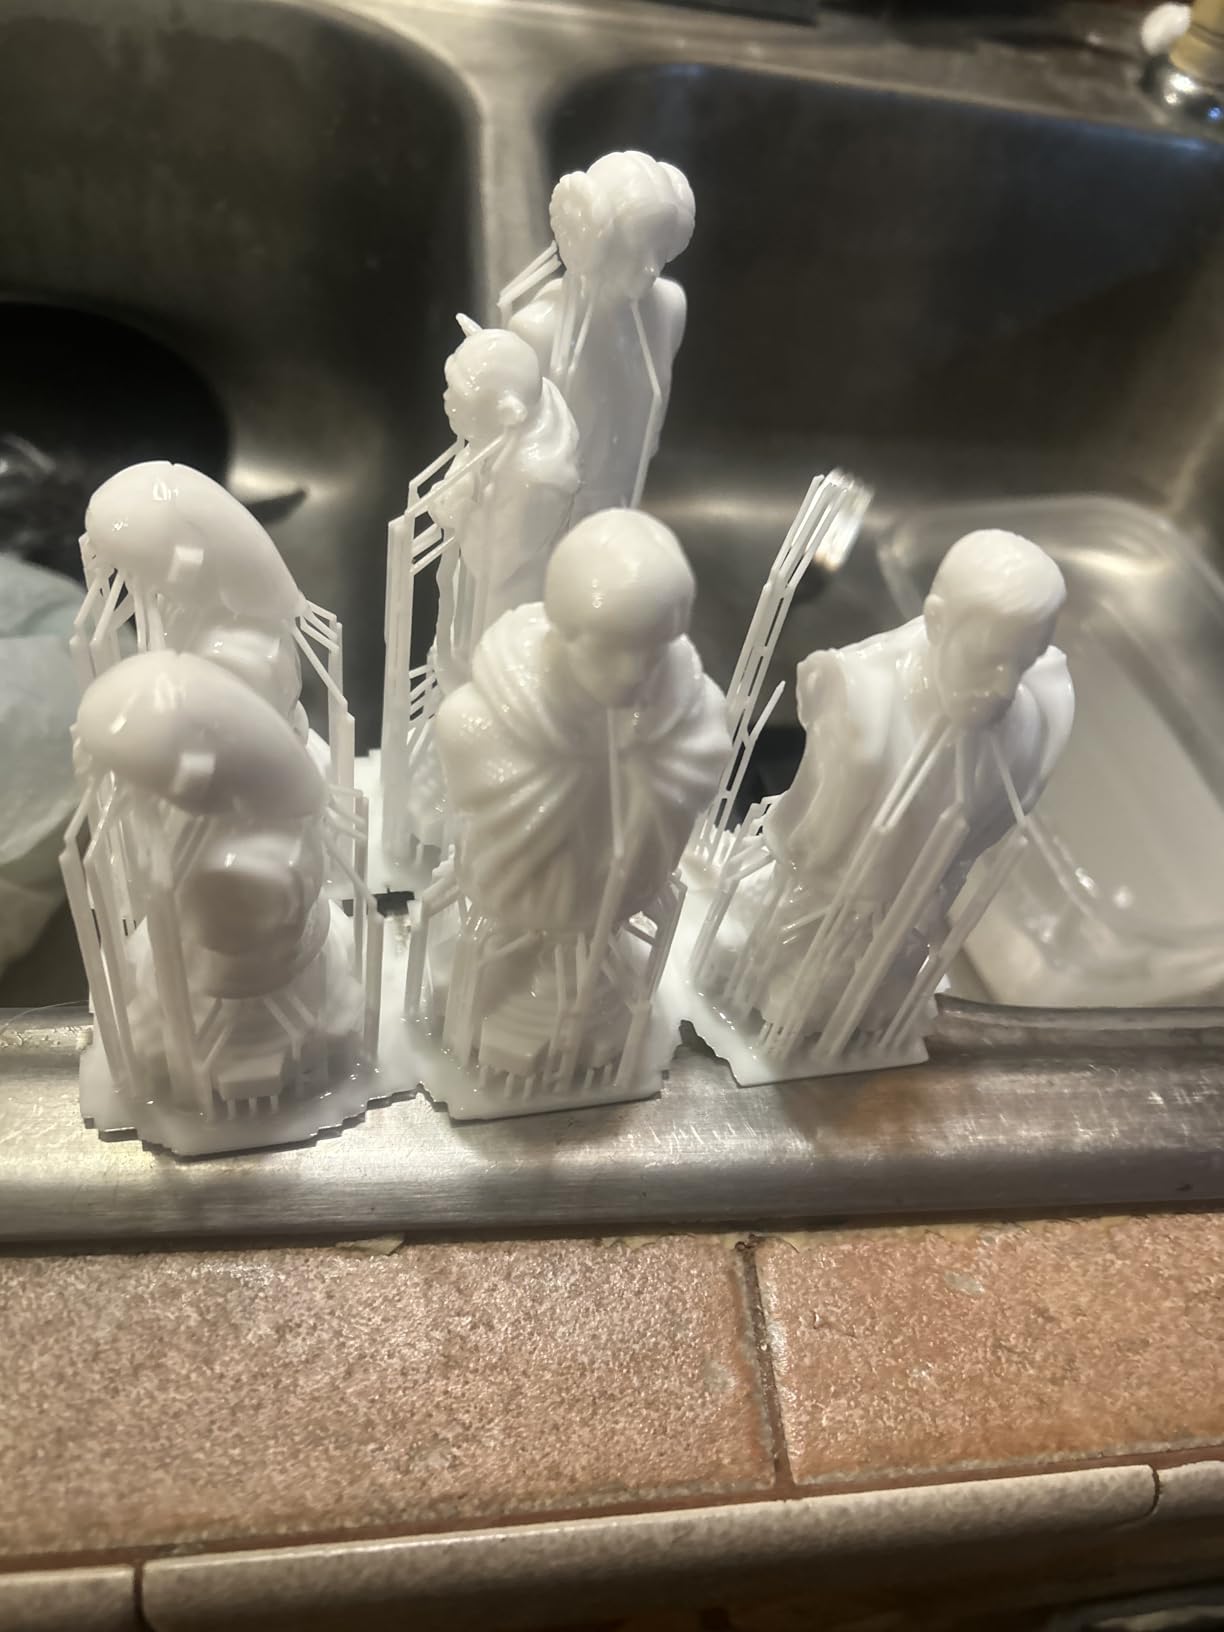
Resin printing is a different category, and if you want miniatures, jewellery or tabletop figures this is the machine to buy. It cures a whole layer of liquid photopolymer at once through a 7-inch 10K monochrome LCD at 9024 by 5120, giving XY resolution of 17 by 17 microns. No FDM machine anywhere near this price produces that kind of surface detail.
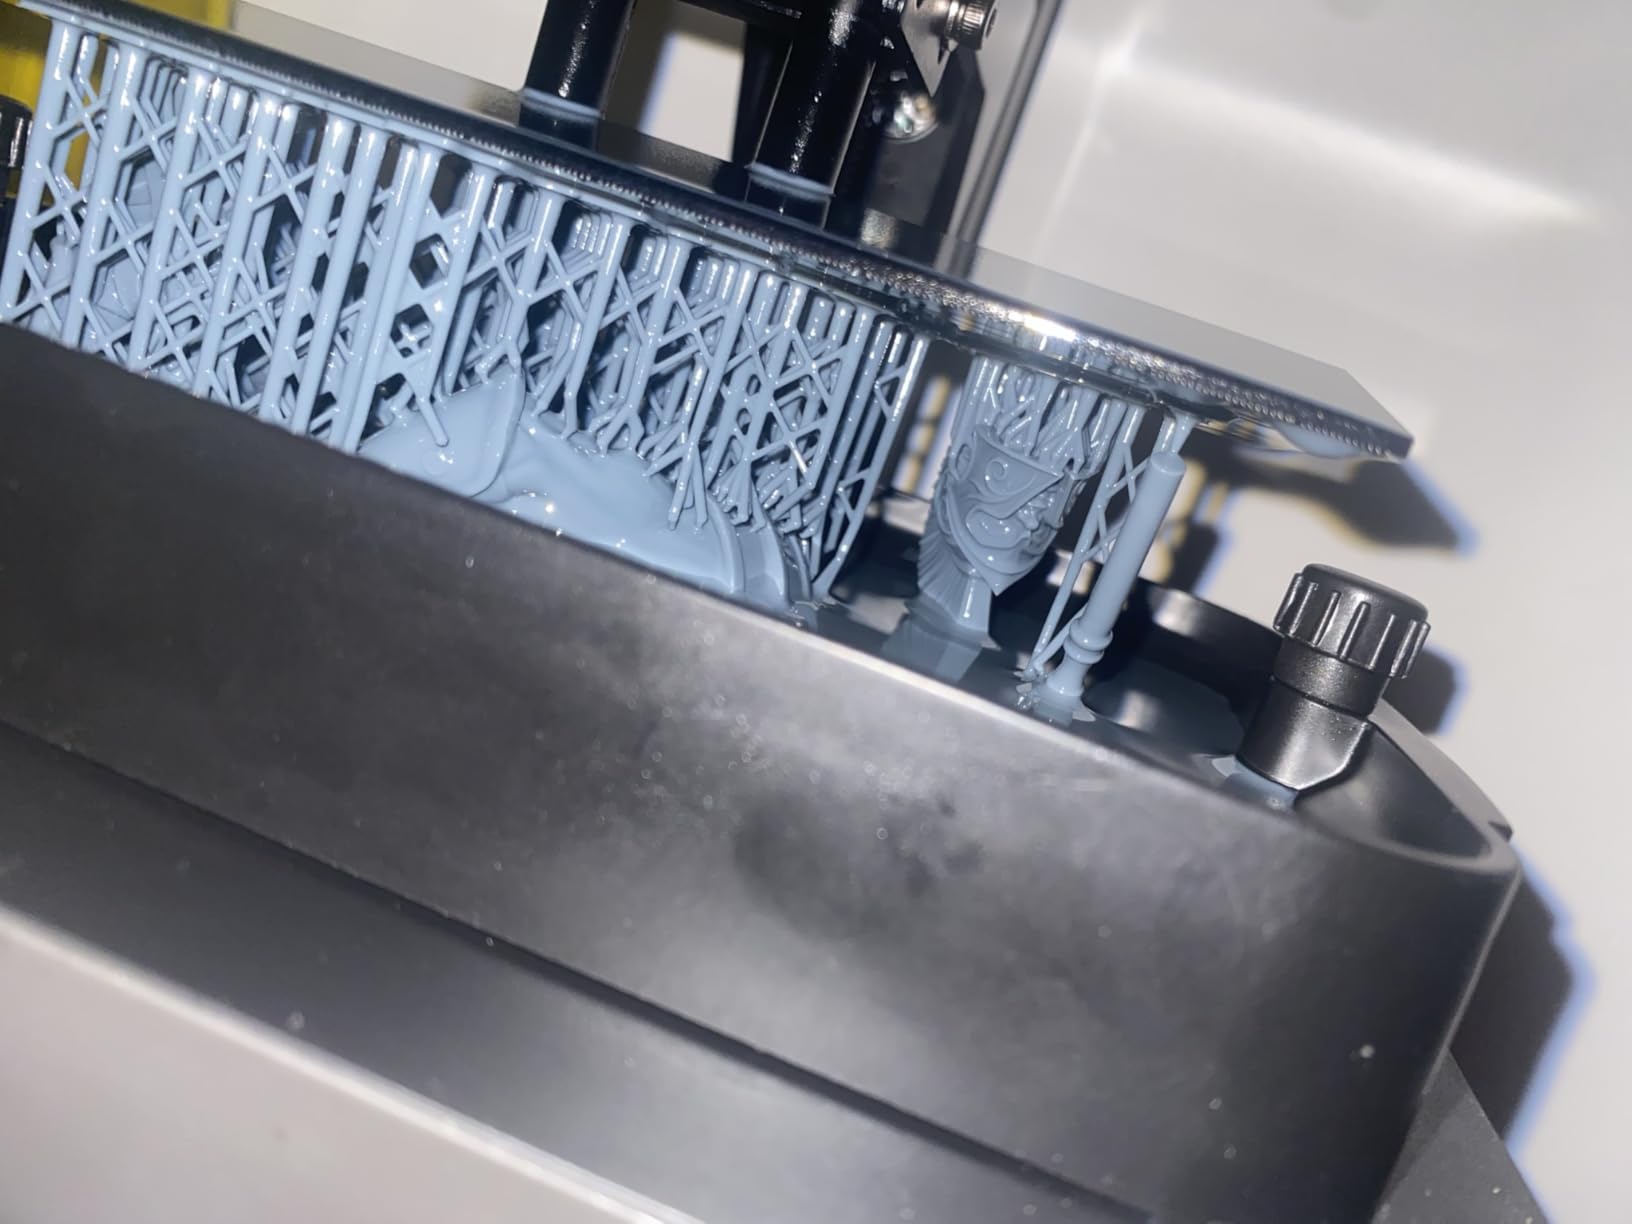
The Anycubic LighTurbo matrix light source spreads light across the LCD rather than pulling it from a single point, and the whole layer cures more evenly. Tilt release separates the part from the film using the tilt motion instead of the full peel cycle, which is faster and puts far less stress on the FEP.
Levelling is a one-time job thanks to four-point levelling that does not drift, and power loss recovery means a tripped breaker does not cost you the print. At 7.7 pounds with a 153.4 by 87 by 165mm build volume, it is small enough for a desk in a home office.
What you are signing up for is the workflow. Every layer needs washing in isopropyl alcohol and curing under UV light afterwards, resin smells strongly, and gloves are not optional. Experienced makers treat that as a normal part of the process; first-time buyers should read our resin printer guide before committing.
What the Photon Mono 4 does better than the rest
Resolution first, workflow second. The 10K mono panel is the sharpest screen in this guide, and tilt release means fewer failed films and fewer torn supports.
The footprint is the other quiet advantage. It weighs less than a fifth of the K1C and fits on a shelf, so resin work does not have to monopolise your desk.
Where the Photon Mono 4 falls short
Exposure settings have to be tuned and re-tuned when you change resin brand, which is the single most common beginner complaint. Budget an afternoon with a calibration matrix before you judge the machine.
Reviewers also report screen and vat failures, and the unhinged lid is awkward for large parts. Support response times vary widely. Treat it as a specialist tool rather than a first printer.
6. Creality Ender 3 V3 SE — Cheapest Way Into Filament Printing
Creality Ender 3 V3 SE Beginner-Friendly 3D Printer with Auto Leveling
250mm/s with 2500mm/s2 acceleration
CR Touch auto levelling
Automatic Z-offset
Sprite direct drive extruder
Dual Z lead screws
Flexible PC spring steel plate
Pros
- Entry-level price with direct drive and auto levelling
- CR Touch auto levelling plus automatic Z-offset
- Sprite direct drive handles TPU
- Assembly takes about 20 minutes
- Flexible spring steel plate
- Large community for troubleshooting
Cons
- Bed slinger is less stable at speed
- 250mm/s is slow next to CoreXY rivals
- Manual 110V and 220V switch
- Some early machines had fan and noise issues
The Ender 3 V3 SE is the cheapest credible way into filament printing here, and at 791 reviews it has the second-deepest review pool after the K1C. That matters more than it sounds, because the Ender line is the most documented beginner printer of the last decade and troubleshooting advice for it is everywhere.
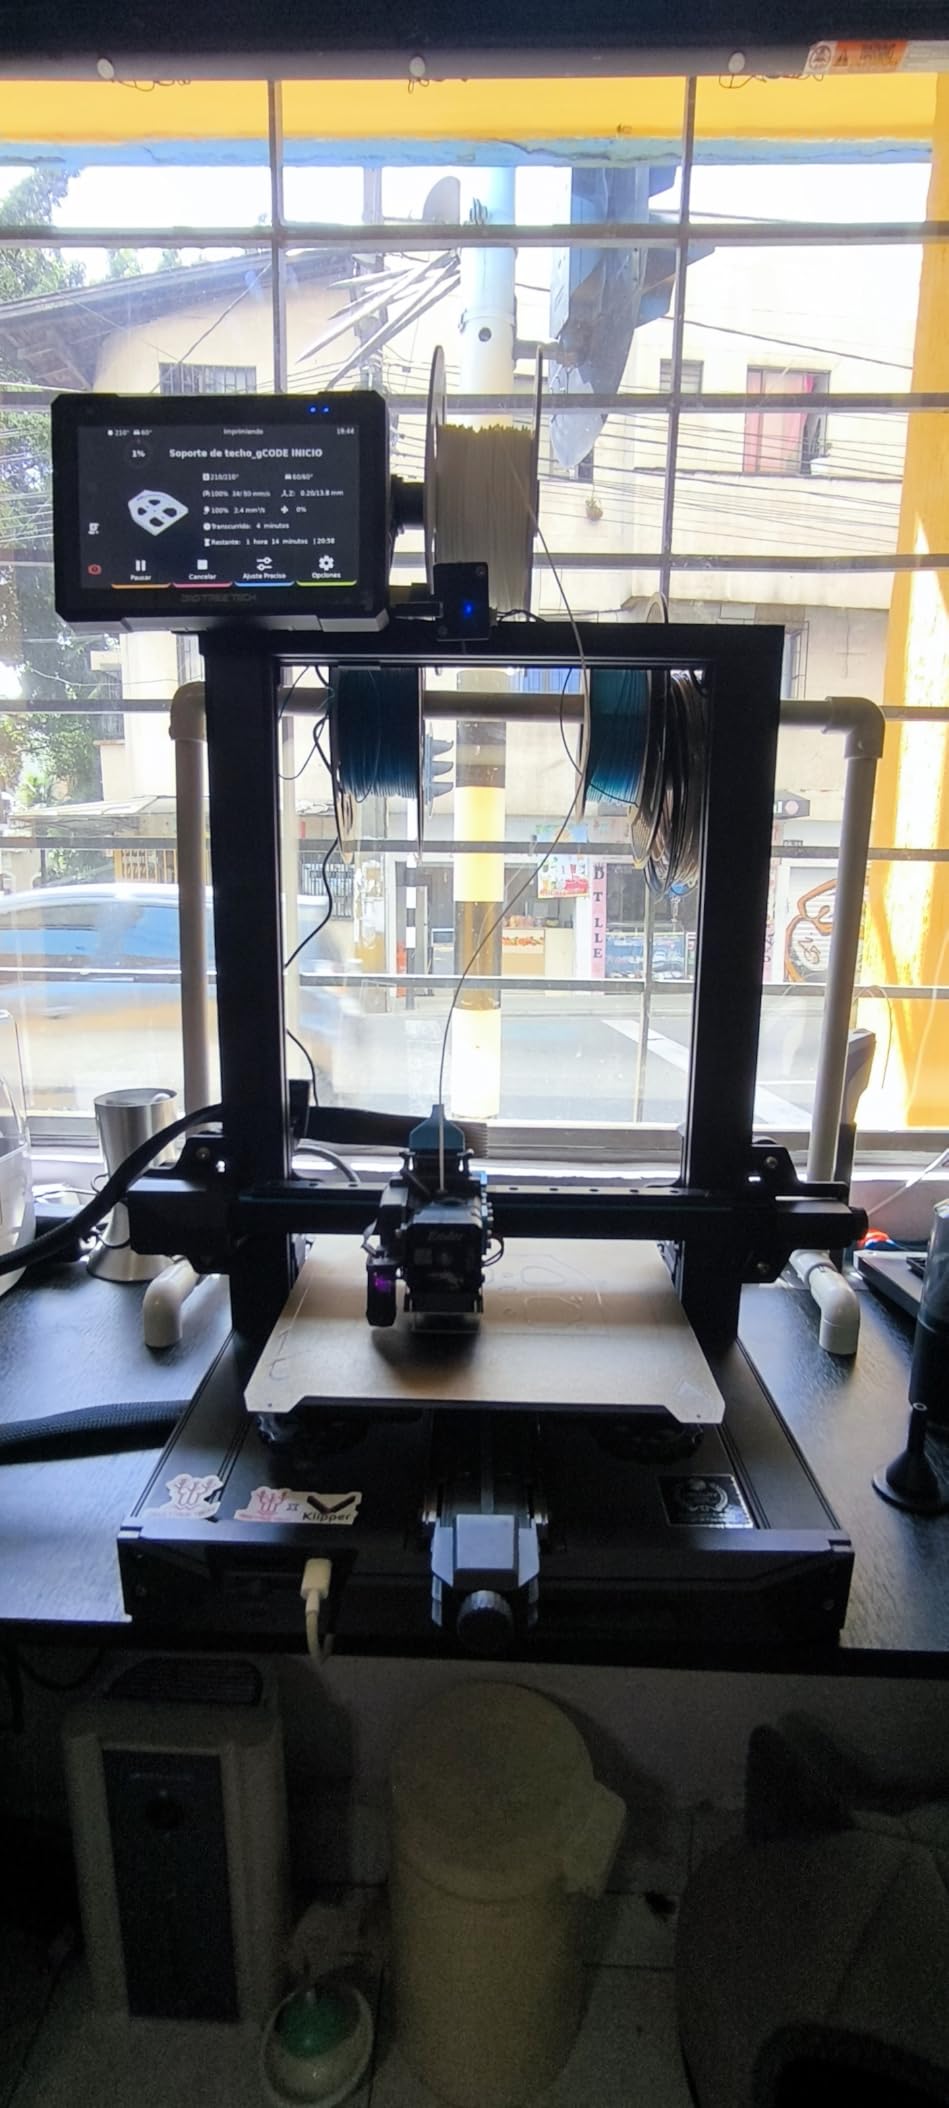
It also fixes the two complaints that defined the classic Ender. CR Touch automatic levelling and automatic Z-offset calibration replace the manual ritual, and the Sprite direct drive extruder means TPU is on the menu rather than aspirational. Assembly is around 20 minutes for the shipped frame.
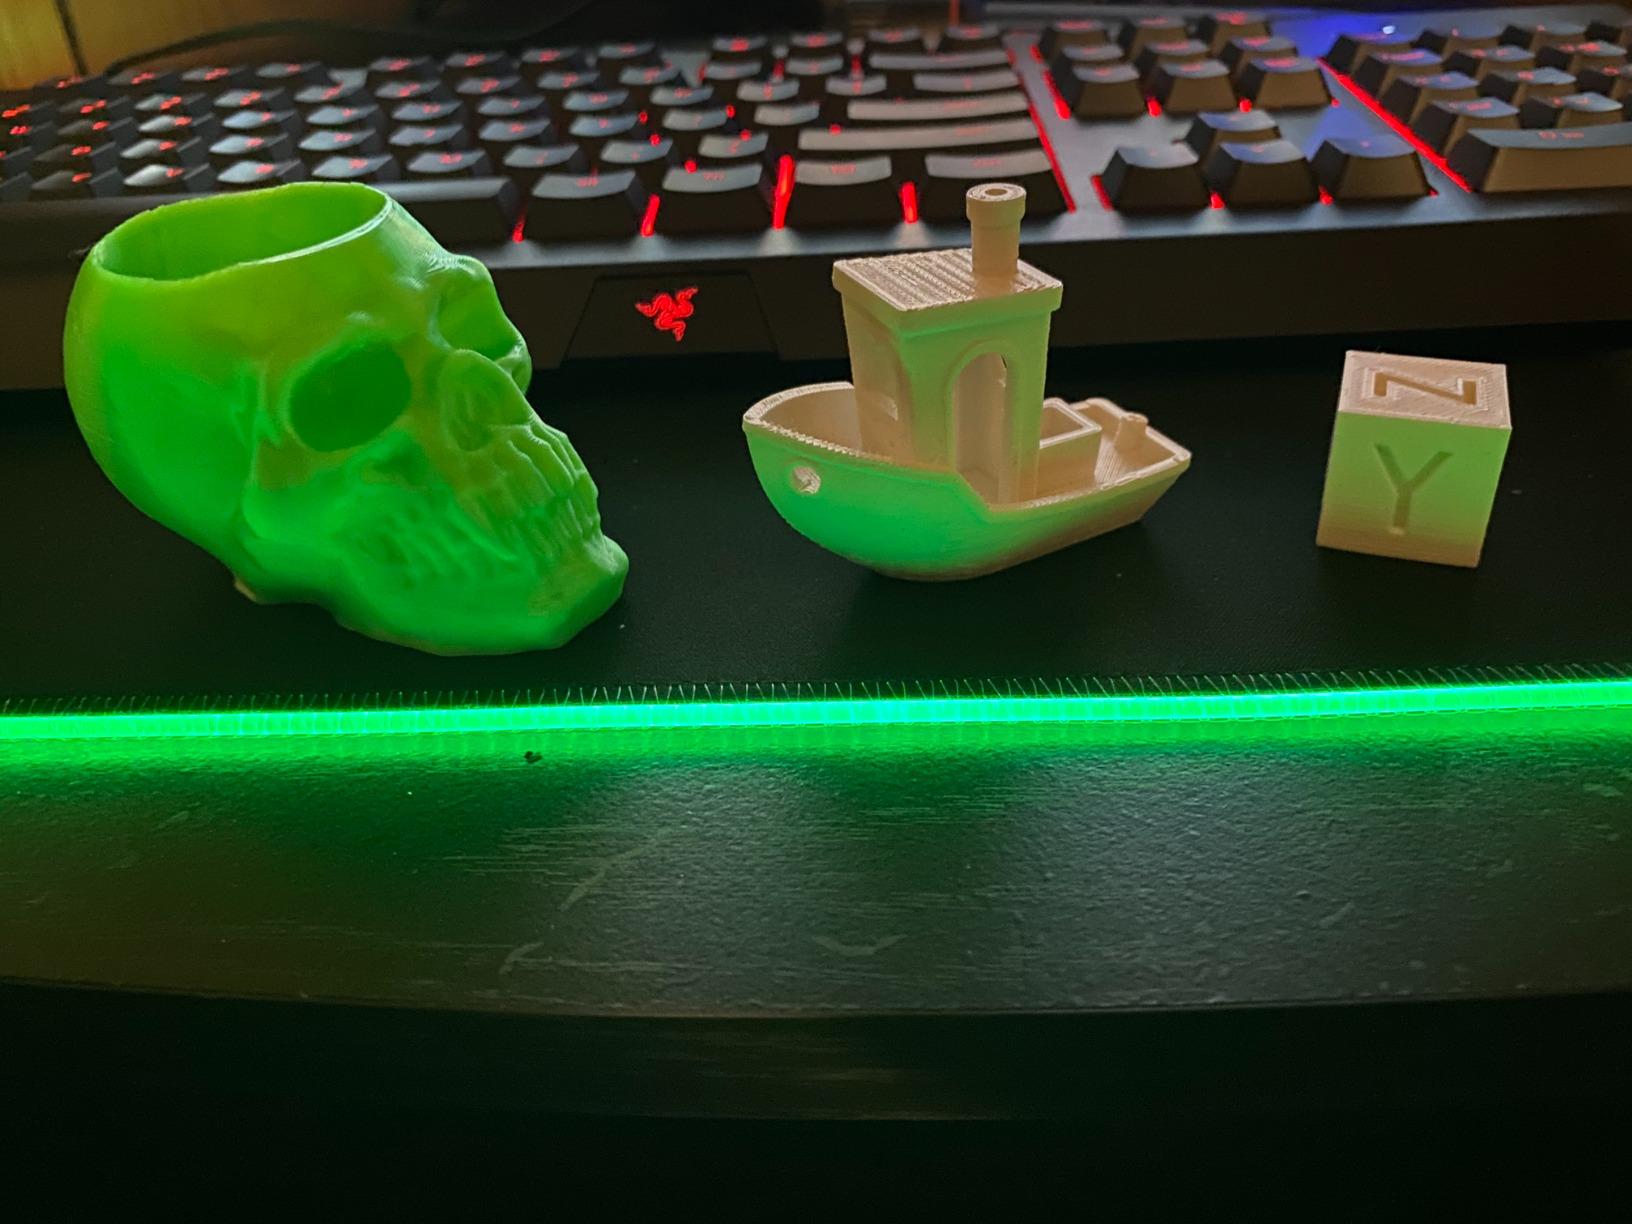
Underneath, it is still a bed slinger at 250mm/s and 2500mm/s² acceleration, on dual synchronized Z lead screws, Y-axis linear shafts and a 32-bit silent mainboard. The flexible PC spring steel plate grips well. Silent is relative — the frame is still an open extrusion design.
Our honest view is that this machine exists so you can learn filament printing for the least money and then move up. If your plan is to stay on this tier for two years and print large cosplay helmets, the savings will evaporate in lost print speed.
What the Ender 3 V3 SE does better than the rest
Price against capability. Direct drive, auto levelling and automatic Z-offset on a machine at the bottom of the range is the whole point.
Documentation and community. Every failure mode you are likely to hit has a video and a forum thread, which is the best safety net a first-time buyer can have.
Where the Ender 3 V3 SE falls short
The bed slinger layout is the structural limit. A bed that moves in Y means print acceleration comes from the bed mass, so at 250mm/s the machine is already at its ceiling and cannot absorb a fast print profile.
At 4.1 stars it is the lowest-rated pick with a large review base, and some early machines had fan and noise issues. There is also a manual voltage switch for 110V and 220V that is easy to get wrong on day one. Check it before the first print.
7. Anycubic Kobra X — Best Native Multi-Colour Printer
Anycubic Kobra X Multicolor 3D Printer, Easy Setup, Native 4-Color
Native 4-colour expandable to 19
600mm/s with vibration compensation
LeviQ 3.0 49-point levelling
300C hardened steel nozzle
260mm cube build volume
Dual-band WiFi and LAN
Pros
- Four colours out of the box with no add-on unit
- Expands to 19 colours with ACE 2 Pro units
- 260mm cube build volume
- LeviQ 3.0 uses a 49-point bed scan
- RFID filament detection
- 300C hardened steel nozzle
Cons
- Very new release so little long-term data
- Some clogging and jam reports
- Support can be hard to reach
- Occasional Z-axis issues
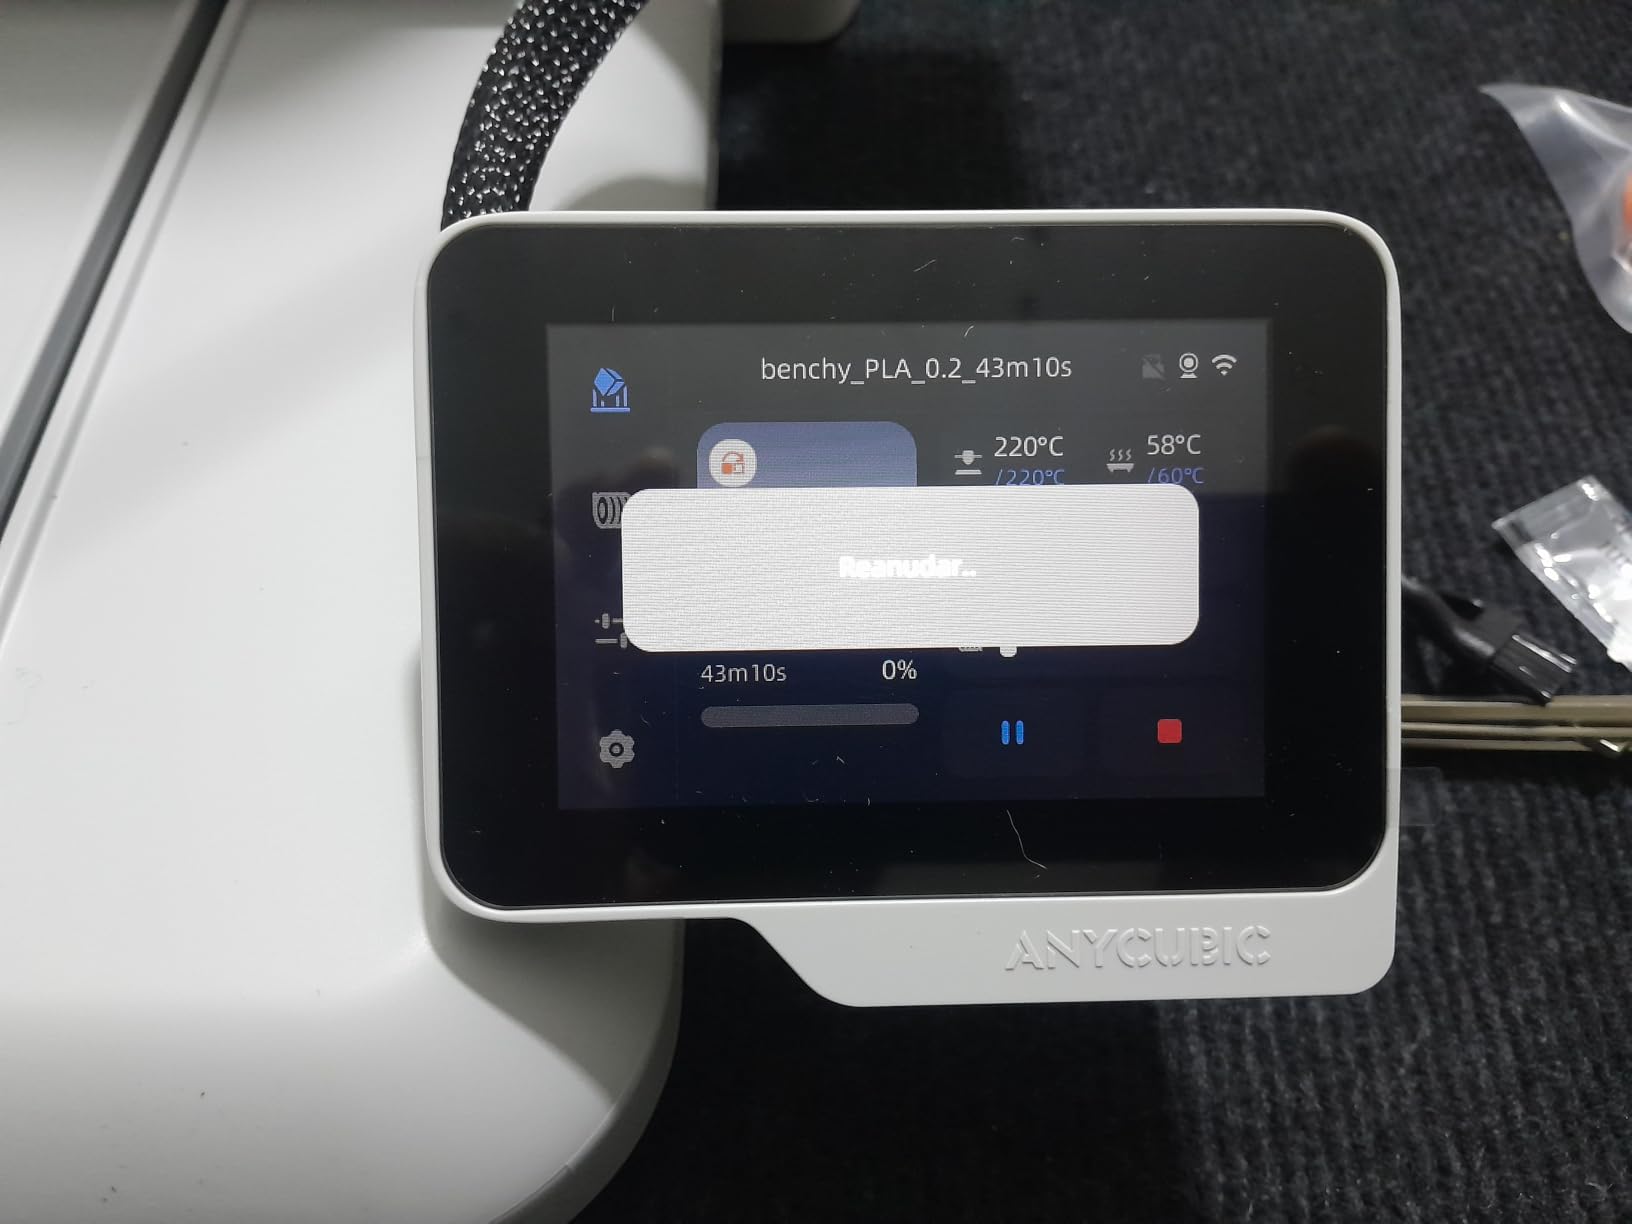
Multi-colour printing has traditionally meant buying a printer and then buying a multi-material unit to attach to it, which pushes the real cost well past the headline number. The Kobra X does four colours natively and expands to 19 with ACE 2 Pro units, so the feature is in the box on day one.
The rest of the hardware is competitive with anything else in this list: 600mm/s with vibration compensation, a 300C hardened steel nozzle, and a 260mm cube build volume that is one of the largest here. LeviQ 3.0 levelling scans 49 points across the bed, which is thorough enough that you rarely revisit it.
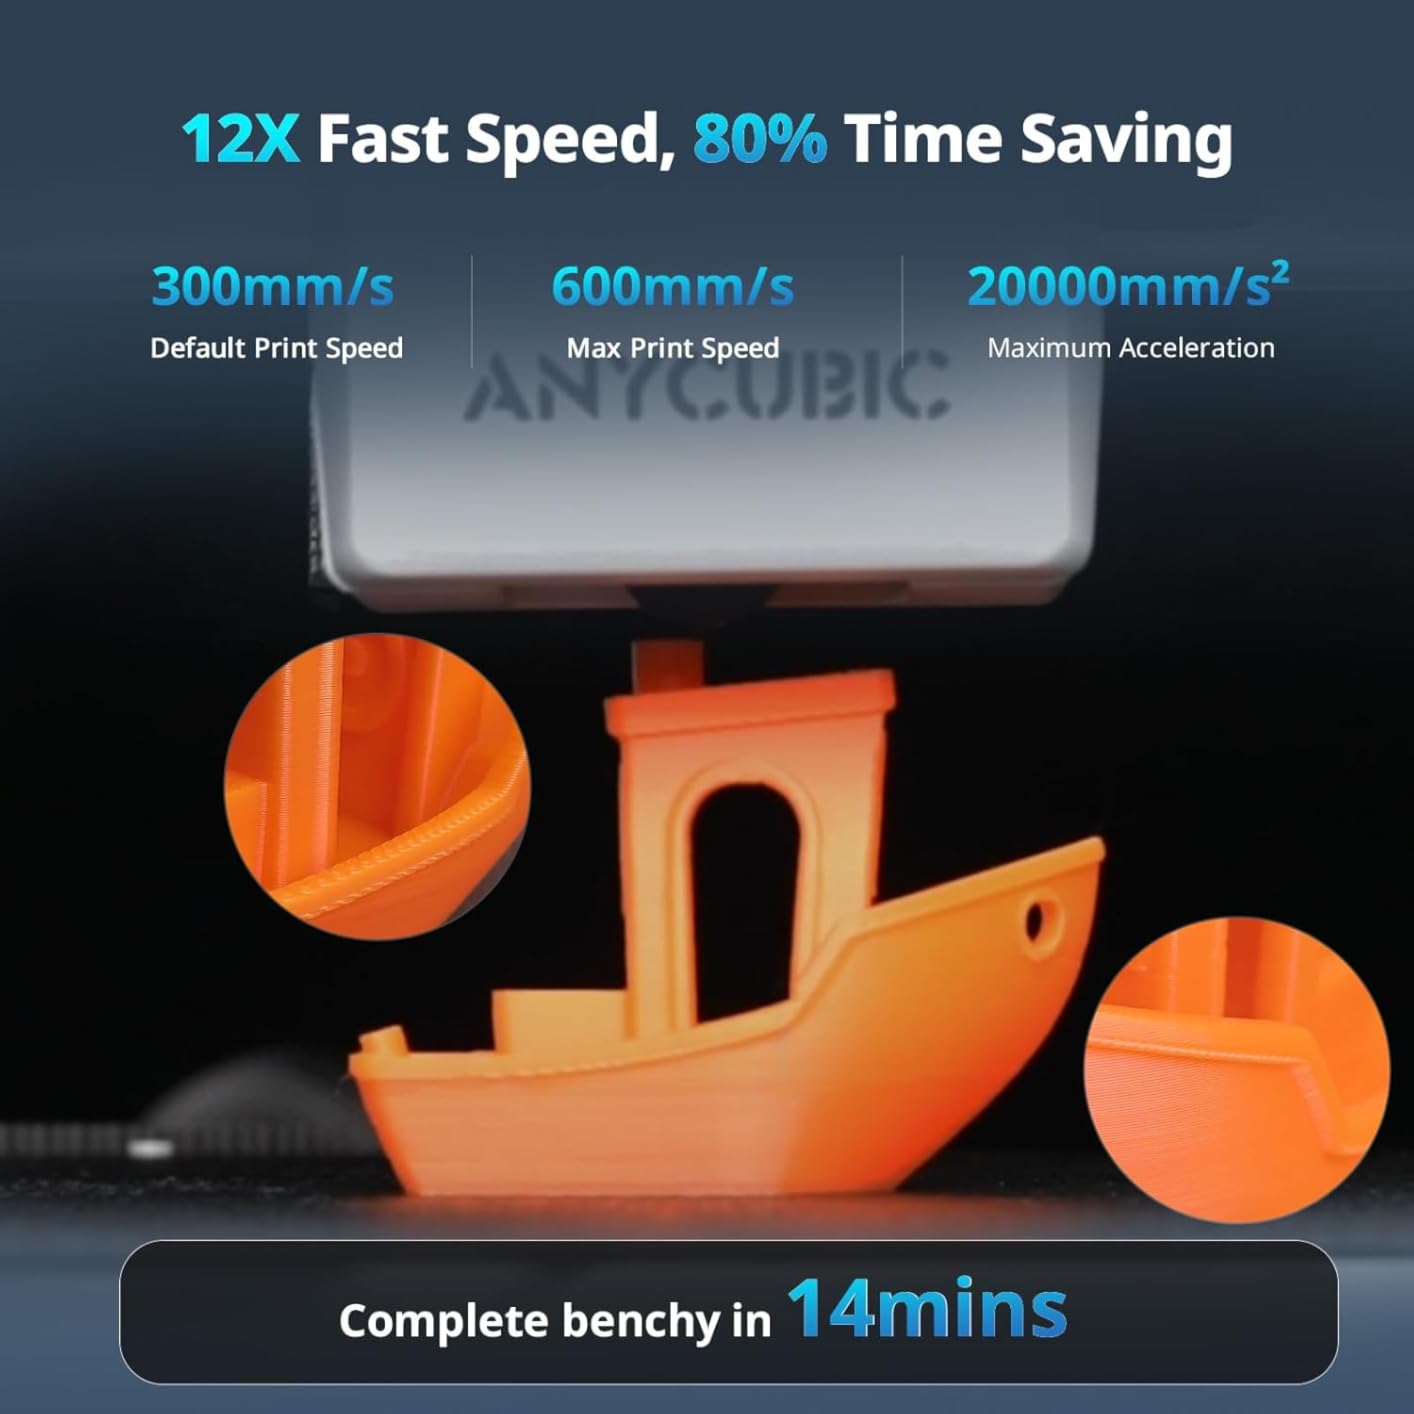
Connectivity is unusually good, with dual-band WiFi on both 2.4G and 5G plus wired LAN, and an AI camera with spaghetti detection watching the print. RFID filament detection identifies spools automatically, and it supports PLA, PETG, TPU, PVA and ASA.
Here is the catch nobody mentions. Multi-colour printing purges waste between colour changes, and the community complaint about every AMS-style unit is how much filament that purge consumes. If you are printing a single small object with two colours, the waste can exceed the material in the print. Our advice for anyone buying this machine is to plan multi-colour for larger parts.
What the Kobra X does better than the rest
It removes the accessory maths. Every other multi-colour route here starts at the printer price and adds a unit, and that second purchase is what pushes a bundle over the ceiling.
The 260mm build volume paired with the 300C nozzle makes it a strong fit for large functional parts in ASA, and only the fully enclosed Bambu P1S rivals that combination in this guide.
Where the Kobra X falls short
It launched recently, which means 284 reviews and limited long-term reliability data. Reviewers already report clogging and jamming, and warranty coverage that does not extend to jams, which is the most common mechanical failure in FDM printing.
Support is the other soft spot — some buyers describe it as effectively AI-only with limited human help. If you are comfortable troubleshooting, that is manageable. If you want a phone to call, this is not the machine.
8. ELEGOO Mars 5 Ultra — Best Resin Pick With AI Monitoring
ELEGOO Mars 5 Ultra Resin 3D Printer
7-inch 9K mono LCD
18 micron XY resolution
Up to 150mm/h with tilt release
AI camera with error detection
Residue and level alarms
Three months of Chitubox Pro included
Pros
- 9K mono screen at 18 micron XY resolution
- Tilt release cuts cycle time and film stress
- AI camera plus residue detection catches failures early
- Resin level and residue alarms prevent ruined plates
- WiFi cluster printing for multiple machines
Cons
- Lid has no hinges
- Camera gets blocked by large prints
- Small build plate
- Resin handling needs PPE and ventilation
Where the Photon Mono 4 is the cheaper resin route, the Mars 5 Ultra is the smarter one. The 7-inch 9K monochrome LCD gives XY resolution of 18 microns, and the extra automation is the difference: an AI camera watching for errors, a mechanical residue sensor, and resin level alarms that stop a plate being ruined by a run dry.
Tilt release lets it print at up to 150mm/h, which is fast for resin. WiFi cluster printing lets you queue jobs across multiple machines, a genuine benefit if you ever scale beyond one. Three months of Chitubox Pro is included, which covers the trial period when you are most likely to need professional slicing help.
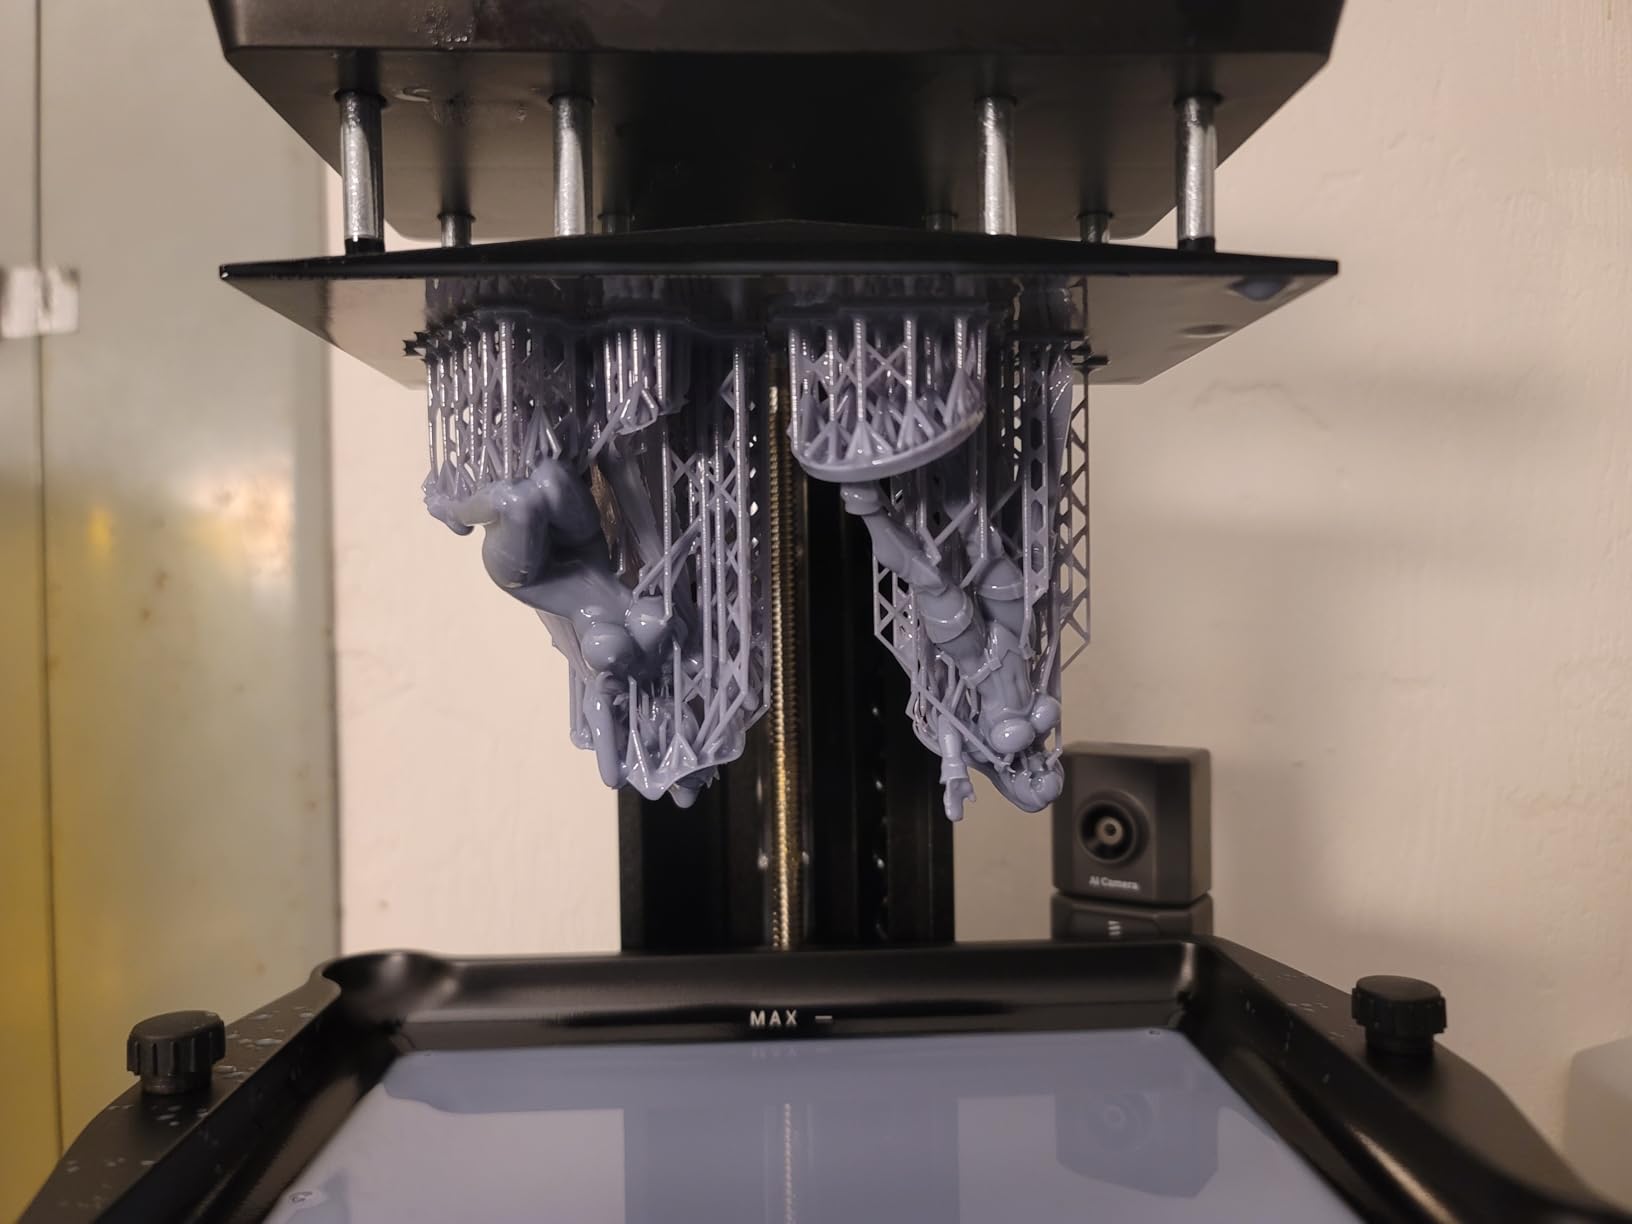
At 19.36 pounds it is heavier than the Anycubic resin machine and the camera can be blocked by taller prints, so position it with the build plate clear. Self-calibration handles the initial setup, and reviewers praise how little adjustment the machine needs once it is dialled in.
The workflow caveats are identical to the Photon Mono 4 and worth restating. Ventilation, gloves, washing and curing are part of every resin print, and the time budget runs 30 to 45 minutes of post-processing per job. If that sounds like a chore, buy FDM.
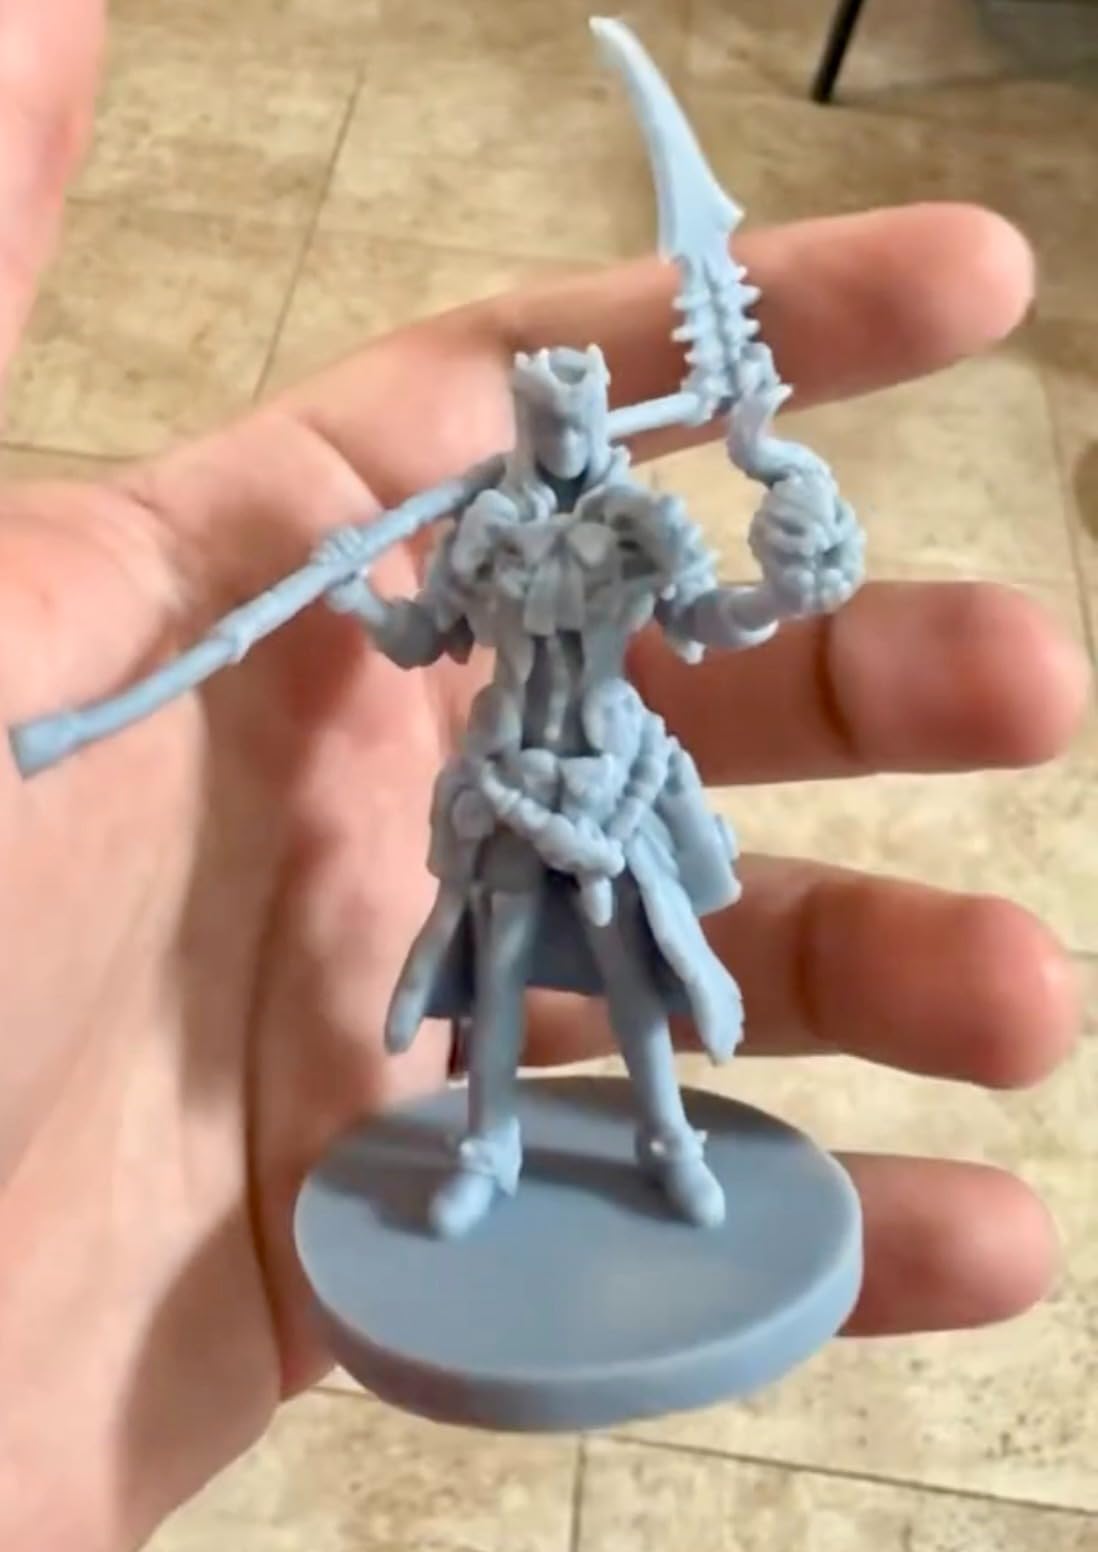
What the Mars 5 Ultra does better than the rest
The sensors are the real upgrade. Residue detection and level alarms catch the two failures that ruin a plate, and the AI camera catches everything else while you are at work.
Chitubox Pro access and cluster printing make it the better machine the moment you own more than one, or the moment you decide to print professionally rather than for fun.
Where the Mars 5 Ultra falls short
It costs more than the other resin option here while offering only marginally sharper resolution, so if detail is your sole priority the Photon Mono 4 is the cheaper way to the same result.
Reviewers report early screen failures on some units, and the unhinged lid and rounded resin spout are shared design flaws across this class — the spout in particular causes spills. The build plate is small.
9. FLASHFORGE AD5M — Best All-Metal CoreXY Frame
FLASHFORGE AD5M 3D Printer Fully Auto Calibration Print with 1-Click Max 600mm/s Speed, All-Metal CoreXY Structure Precise Printing, Easy-Maintenance Quick-Swap Nozzle, Print Size 220x220x220mm
All-metal CoreXY structure
600mm/s with one-click levelling
3-second quick release nozzle
Nozzles from 0.25mm to 0.8mm
Power loss recovery
22 pounds
Pros
- All-metal CoreXY frame resists flex under load
- 600mm/s with fully automatic levelling
- Three-second quick-release nozzle swap
- Four nozzle diameters from 0.25mm to 0.8mm
- Power loss recovery and Ethernet
- Wired Ethernet is more reliable than WiFi
Cons
- WiFi connectivity is spotty
- Best results with Flashforge filament
- Some machines reported dead on arrival
- Heating is a little slow
The AD5M is the AD5M Pro’s cheaper sibling, and the thing that carries over is the all-metal CoreXY structure. At 22 pounds it is lighter than the K1C and it holds its geometry better than the open-frame machines at the same price, which shows up directly in corner sharpness on tall prints.
It runs at 600mm/s with fully automatic one-click levelling, and the patent quick-release nozzle changes in three seconds. That is the feature maintenance-minded buyers care about, and the choice of 0.25mm, 0.4mm, 0.6mm and 0.8mm nozzles means you can move between fine detail and fast volumetric work without buying hardware.
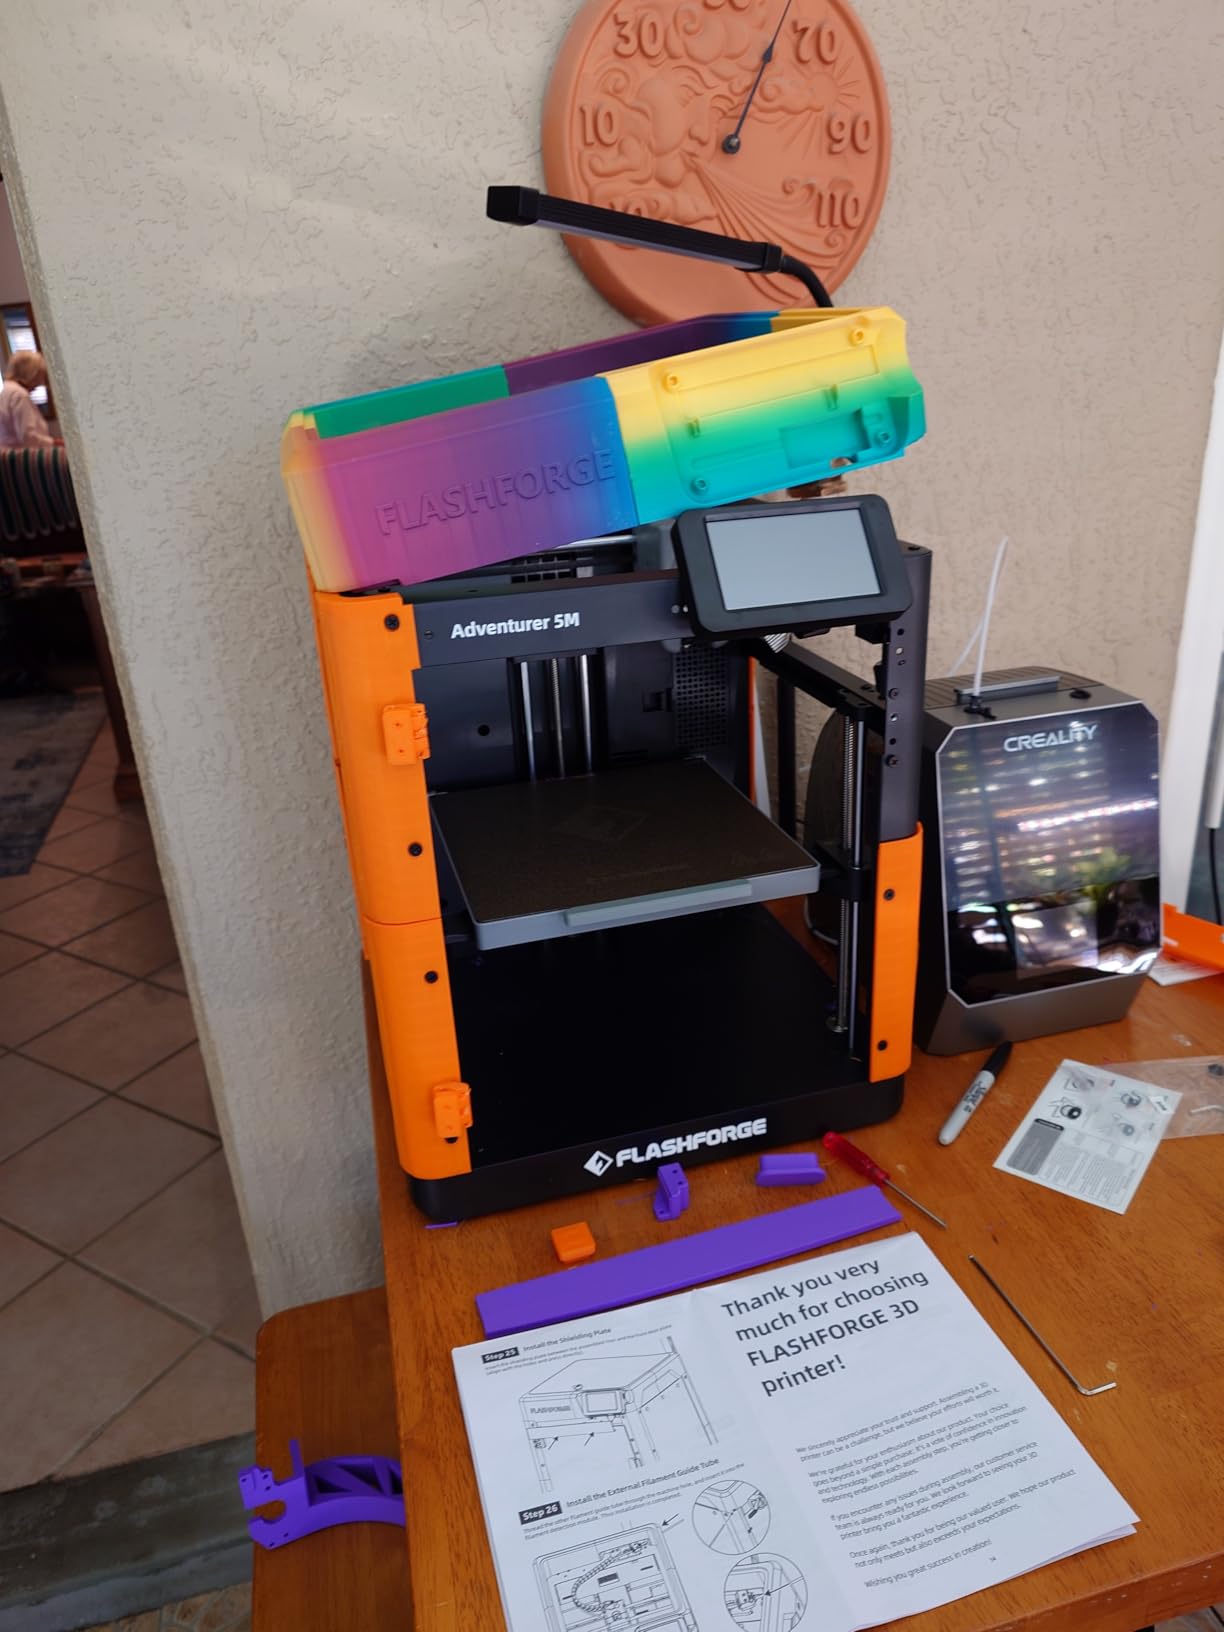
Dual-sided PEI steel plates, power loss recovery and Ethernet round out a feature list that is unusually complete at this price. The Flash Maker app handles remote monitoring, and the Orca-based Flashforge slicer is the tool to use rather than whatever comes bundled.
At 4.2 stars from 366 reviews it sits mid-pack on rating, but on hardware specification it is one of the stronger machines here. If you want a rigid frame and you are comfortable wiring up Ethernet, this is the pick.
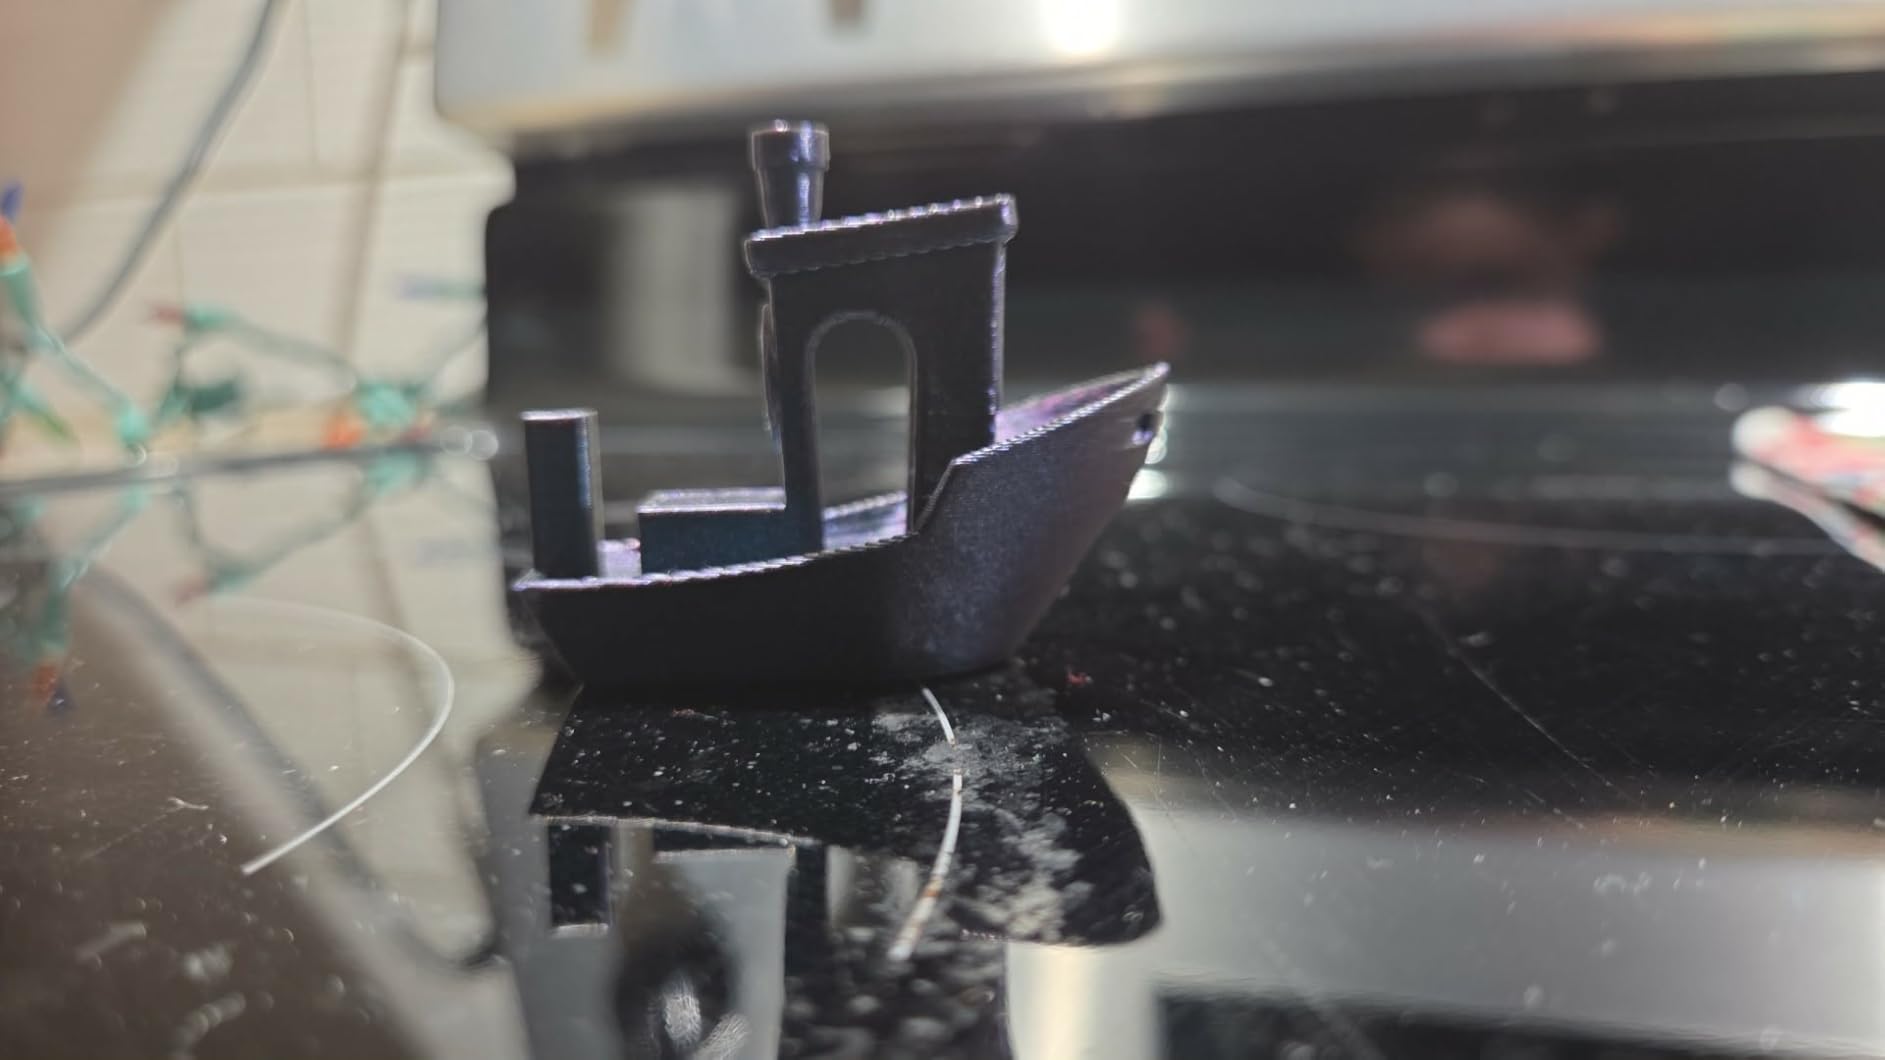
What the AD5M does better than the rest
The metal frame is the headline. Rigid gantries mean less ringing and ghosting at high accelerations, and it is the reason we recommend this over comparable open-frame machines.
The nozzle system is a genuine second advantage. A three-second swap across four diameters is a level of serviceability you would not expect at this price.
Where the AD5M falls short
WiFi is spotty on this machine and reviewers consistently recommend Ethernet. That is a poor experience if your printer lives in a room you do not want to run cable to.
Some machines reportedly arrived dead, heating runs a little slow, and it performs best with Flashforge’s own filament. The 5M Pro variant exists in the same family if you want more headroom.
10. Entina Tina2C — Best Starter Printer for Kids and STEM
Entina Tina2C 3D Printer for Beginners, Fully Assembled Starter Mini 3D Printer, Start in 8 Mins, App & WiFi Control, Auto Leveling, 3500+ Model Library, 25+ Creative DIY Modules for STEM, Home
Arrives fully assembled
Ready to print in 8 minutes
100mm cube build volume
2.4GHz WiFi plus TF card
Poloprint Cloud app
5.28 pounds
Pros
- Arrives fully assembled and prints within 8 minutes
- Poloprint Cloud app includes a 3500+ model library
- Works with Cura and Simplify3D
- Compatible with Windows
- macOS
- Linux and Chromebook
- Compact at 8 x 6.5 x 10 inches
- LED lighting and quiet operation
Cons
- 100mm cube is very small
- Only takes small filament spools
- Some machines failed after one to two months
- Retraction settings need tuning
The Tina2C is the only machine here that arrives fully assembled and printing in eight minutes. That single decision removes assembly, levelling and first-layer calibration from the buying experience entirely, which makes it the one to buy for a child, a classroom, or an adult who just wants to make things without learning any of the fiddly parts.
The app does the heavy lifting. Poloprint Cloud includes a library of more than 3,500 models and AI features that help a beginner go from an idea to a finished print, and there are 25 creative DIY modules built for STEM projects. You can also print from a TF card without any network at all.
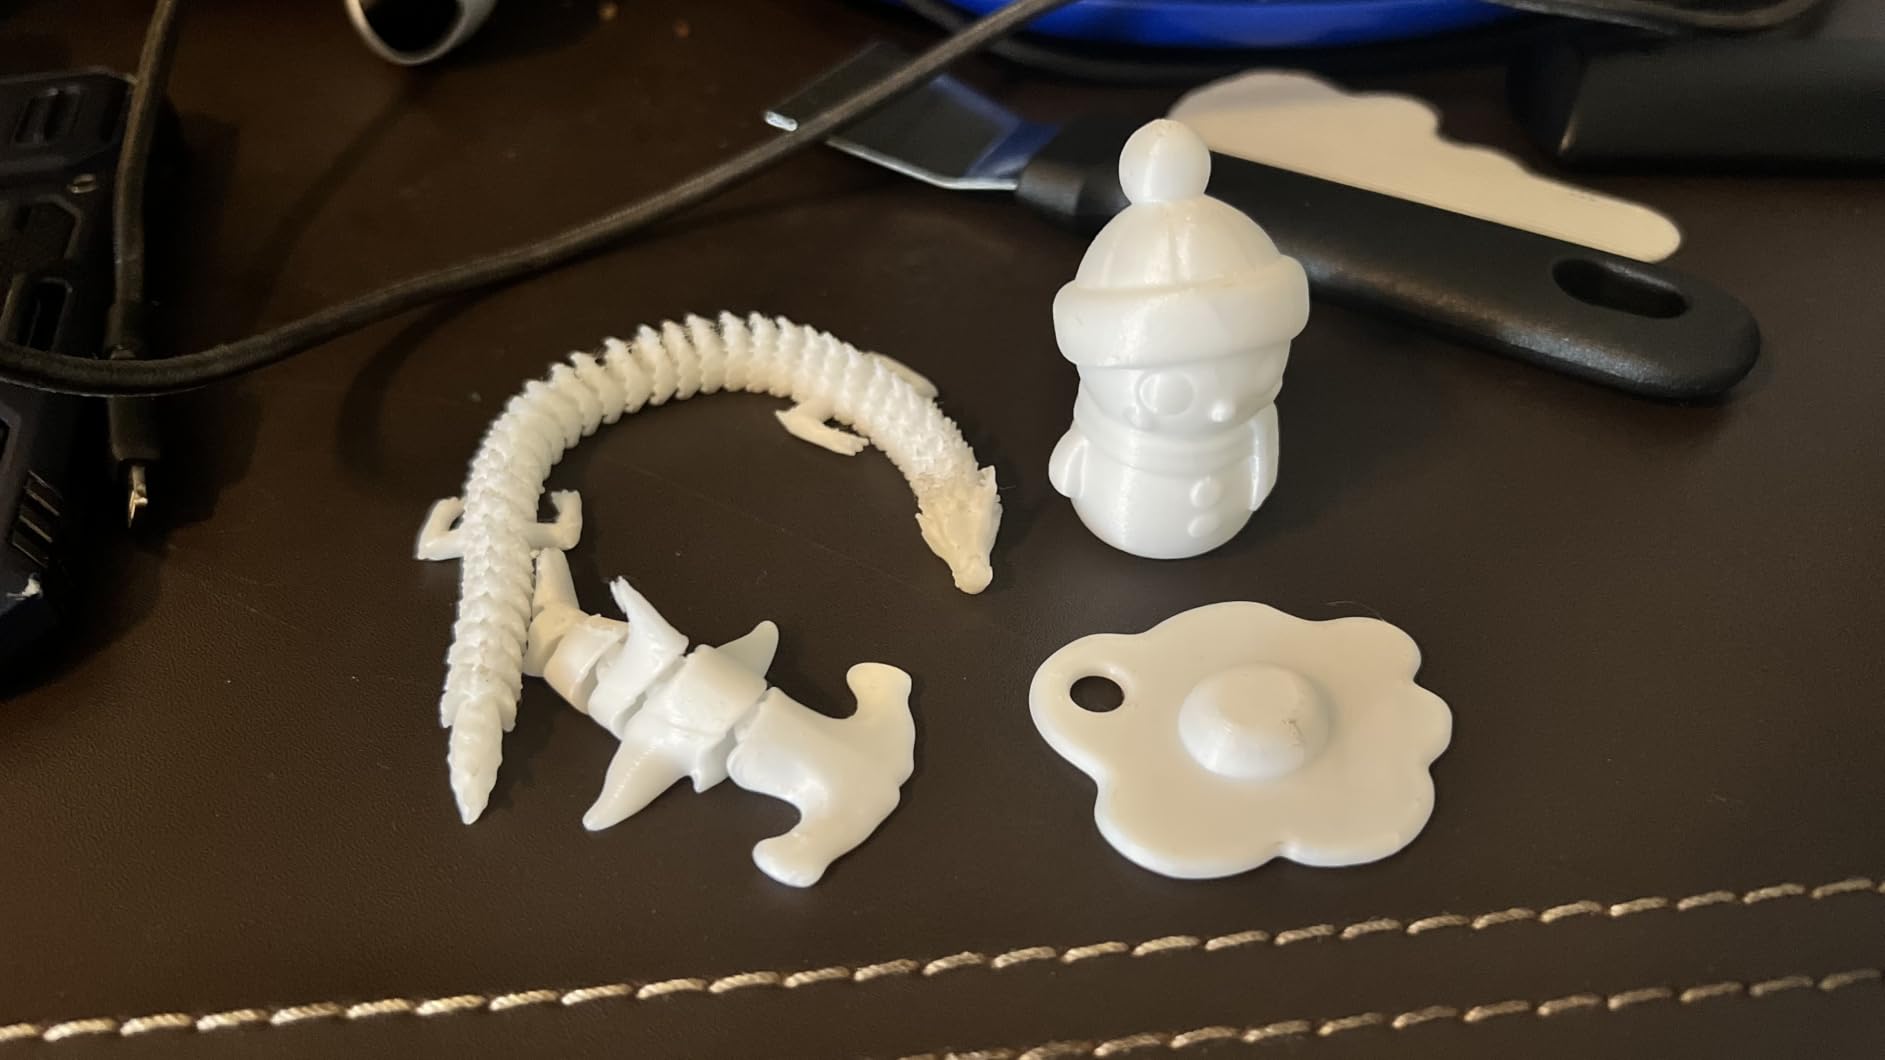
It is tiny at 5.28 pounds, self-cleaning nozzle, auto levelling, magnetic flexible build plate, and it runs quietly enough for a bedroom. Cross-platform support covers Windows, macOS, Linux and Chromebook, and it works with Cura and Simplify3D if you outgrow the app.
The catch is stated plainly on the spec sheet: a 100mm cube build volume. That is enough for keyrings, game pieces, small figures and mechanism demos. It is not enough for anything larger, so treat it as a first machine rather than a hobby printer.
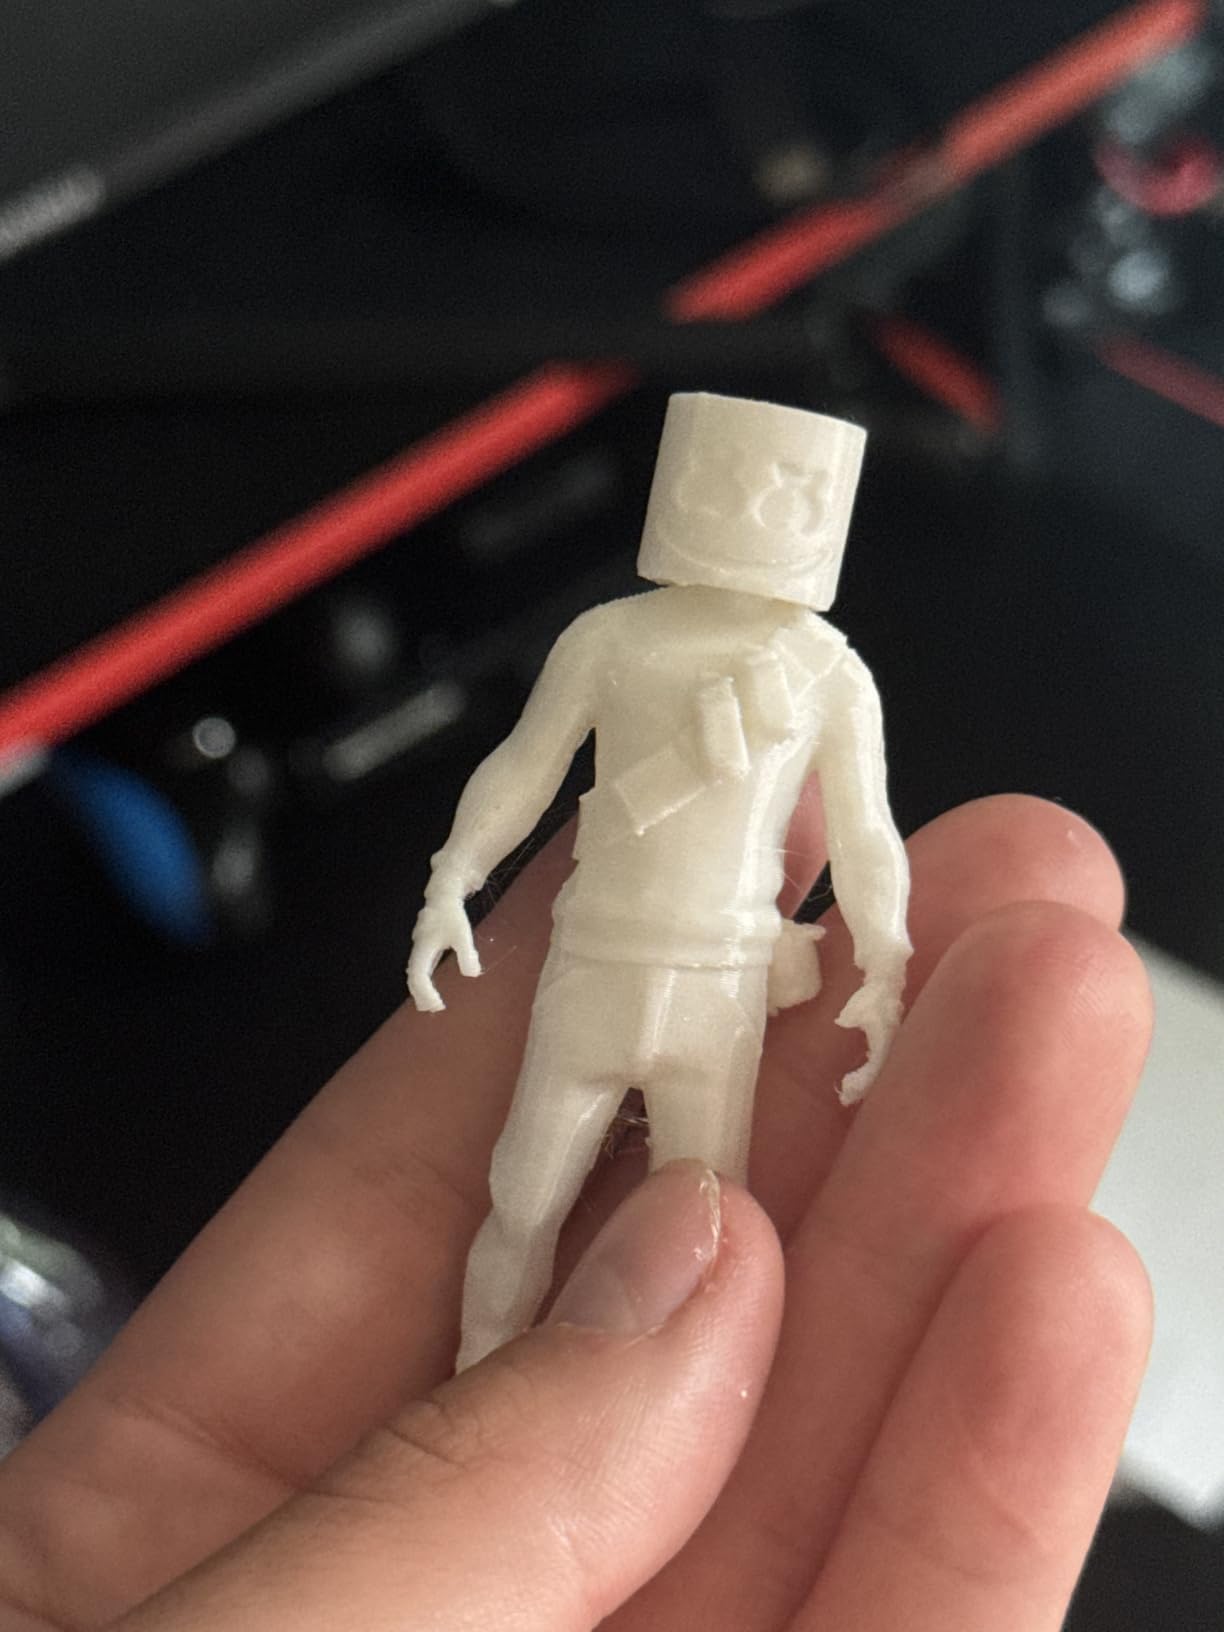
What the Tina2C does better than the rest
Time to first print is the number that matters here. The other machines in this guide all need unboxing, levelling and a calibration cycle before the first object appears, and this one is ready before the coffee is poured.
It is also by far the smallest and lightest machine here, so it works on a shelf, in a dorm or in a school bag of shared equipment.
Where the Tina2C falls short
The 100mm build volume is a hard ceiling that you will hit quickly. Once a child wants to print anything bigger, you will be buying again — which is a fine outcome, just not if you expected one machine to last.
Some machines failed after one or two months, retraction settings need tuning, and the app can have download problems. It is a good first printer, not a dependable workshop machine.
How to Choose a 3D Printer Under $500
Hardware is only half the decision. The rest is whether the machine suits the way you actually print, and the differences between ten similar-looking spec sheets come down to a handful of choices.
CoreXY, CoreXZ or bed slinger: what actually changes
A bed slinger moves the build plate to position the nozzle, which means the entire mass of the bed has to be accelerated and decelerated on every direction change. CoreXY keeps the bed still and moves only the lightweight print head on a gantry. CoreXZ adds a third driven axis above for speed and vertical accuracy at a higher complexity cost.
In practice CoreXY means faster, cleaner prints at a given setting, because less mass is reversing direction. The K1C, both FLASHFORGE machines, the P1S and the Kobra X all use CoreXY; the Ender 3 V3 SE and the Tina2C are bed slingers. That is the single biggest hardware difference on this list.
Enclosure: do you need one?
You need one for ABS and ASA. Those materials shrink as they cool, and moving air at the print edge makes that shrinkage uneven, which produces lifted corners and cracked layers. A closed chamber holds the temperature steady and gives ABS a chance to work. Only the P1S on this list is fully enclosed, though enclosures for open-frame machines exist as add-ons.
You do not need one for PLA or PETG in a normal room. If your prints are functional parts in PLA and you want the least hassle, an open frame is simpler to work in and cheaper to buy.
Build volume: size it to your projects
Bigger is not better, it is heavier and slower. The Kobra X at 260mm on a side is the most square bed in the group, which matters if you print cosplay helmets and shells. Our cosplay printer guide covers that sizing question in full.
The Tina2C at a 100mm cube is the counter-example. It is a genuinely good machine doing a genuinely small job, and buying it hoping to grow into larger prints is a common mistake.
Direct drive versus Bowden, and why TPU depends on it
A Bowden extruder pushes filament through a tube, which keeps the print head light but struggles with flexible material. Direct drive shortens that path, which is why every filament printer on this list uses one and why TPU is listed as supported rather than theoretical. If flexible phone cases and gaskets are on your list, a direct drive machine is not optional.
Multi-colour units and the purge waste nobody quotes
Multi-colour printing works by changing filament mid-print and purging the old colour before the new one arrives. That purge costs material, and on small prints the waste can rival the object itself. This is the most repeated complaint in forum threads about multi-colour printers.
Two routes exist here. Buy a single-colour printer and add a multi-material unit later, which spreads the cost, or buy a machine like the Kobra X with four colours built in. Neither avoids the waste. It only makes it easier to plan for.
Slicer software is the real difference
The slicer converts your model into instructions, and it is where most beginner frustration actually lives. Bambu Studio is consistently described as needing almost no manual tuning. Creality Print and Elegoo’s tools are criticised by reviewers for needing more intervention to produce a clean first layer.
That matters most if you are new. A machine that needs profile tuning every week will lose you faster than one that is 20% slower but prints correctly out of the box.
FDM or resin: pick the workflow, not the machine
Choose FDM if you want large parts, functional prototypes, minimal mess and cheap materials. Choose resin if you want miniature detail, smooth surfaces and jewellery, and you are willing to handle gloves, ventilation, alcohol washing and UV curing.
Budget 30 to 45 minutes of post-processing per resin print, and factor in a wash station. If the mess and the workflow sound unpleasant rather than satisfying, resin is the wrong hobby and no printer will change that.
First-print failures and how to fix them
Spaghetti and first-layer failure. The nozzle is too high, too low, or the plate is not clean. Wipe the plate with isopropyl alcohol, re-run auto levelling, and if you are printing PETG raise bed temperature a few degrees.
Ringing and ghosting. Repeated ripples after corners, caused by resonance in the frame. Run the machine’s resonance or input-shaping calibration and use an input-shaping profile in the slicer.
Layer shifts. The gantry is hitting something or a belt is loose. Check that nothing obstructs the rails and that the belts are tensioned.
Clogs and under-extrusion. Heat creep or a partial blockage in the nozzle. Remove and clear the nozzle, and for the quick-swap nozzles on the Bambu and FLASHFORGE machines the swap takes seconds.
Bed not sticking in resin. Level the plate properly, clean it, and confirm your exposure settings match the resin. Under-exposure causes this more often than anything else.
When it makes sense to spend more than 500 dollars
This budget covers one major decision well: multi-colour or an enclosure. Everything else — CoreXY motion, auto levelling, resonance compensation, direct drive — is now standard here.
Stepping up buys you larger build volumes for genuinely oversized parts, dual extruders that print two materials without purge waste, better cameras and monitoring, and multi-colour units with far less waste per change. If you need ABS at scale or multi-material parts in one go, the ceiling is the binding constraint rather than the machine.
Frequently Asked Questions
What is the best 3D printer under 500 dollars?
The Creality K1C is the best 3D printer under 500 dollars for most people. It is a CoreXY machine rated at 600mm/s with 20000mm/s2 acceleration, one-tap calibration and an AI camera for live monitoring. Buy the Bambu Lab A1 instead if you want the least tinkering and the highest rating, and the Anycubic Kobra X if four-colour printing is your priority.
Which 3D printer has the largest print size?
Among the picks under 500 dollars, the Anycubic Kobra X has the largest cube build volume we could confirm, at 260mm on a side, with a hardened steel nozzle that reaches 300C. The Bambu Lab P1S also offers a large plate suited to cosplay shells and big functional parts. The smallest is the Entina Tina2C at a 100mm cube.
How much do 3D printers start at?
Entry filament printers in this bracket start at the Creality Ender 3 V3 SE, while the Entina Tina2C arrives fully assembled so a first-time buyer never touches a hex key. On the resin side, the ANYCUBIC Photon Mono 4 is the most affordable route to miniature detail. What has changed most is the baseline: auto levelling and direct drive are now standard on entry machines rather than upgrades.
Are 3D printers getting cheaper?
Yes. Features that were flagship-only a few years ago, including automatic bed levelling, resonance compensation, direct drive extruders and CoreXY motion, now appear on entry machines. Printers that once cost several times more sit inside this budget, and bundles with multi-colour units are increasingly common at this price.
What are the most common 3D print failures and how do you fix them?
The most common failures are first-layer adhesion problems, ringing or ghosting after corners, layer shifts, clogs and under-extrusion, and bed adhesion failures in resin. Fix adhesion by cleaning the plate and re-running auto levelling. Fix ringing by running resonance calibration and using input shaping. Fix layer shifts by checking for obstructions and belt tension. Fix clogs by clearing or swapping the nozzle.
Do I need an enclosed 3D printer under 500 dollars?
You only need one for ABS and ASA, which warp in moving air, or for PETG if you want consistent results in a draught. For PLA in a normal room, an open frame is simpler and cheaper. Inside this budget the Bambu Lab P1S is the fully enclosed option, and enclosures for open-frame machines exist as add-ons.
Which 3D Printer Should You Buy in 2026
The Creality K1C is our pick for most people in 2026. It combines a rigid metal CoreXY frame, 600mm/s motion, one-tap calibration and a camera that catches failed prints, and at 2,728 reviews it has the largest body of owner feedback of any machine in this guide. That combination of speed, sensors and proven reliability is what makes it the best 3D printer under 500 dollars overall.
The other picks solve specific problems. Buy the Bambu Lab A1 if you want the least involvement and the best-rated experience here. Buy the Bambu Lab P1S if ABS or ASA is on your list and you need an enclosed chamber. Buy the Anycubic Kobra X if four colours out of the box matters more than anything else.
On value, the FLASHFORGE Adventurer 5M gets you CoreXY speed and acceleration for a fraction of the K1C cost. On resin detail, the ANYCUBIC Photon Mono 4 or the ELEGOO Mars 5 Ultra will produce miniature detail no filament machine here can reach. And if your budget is genuinely tight, the Creality Ender 3 V3 SE or the Entina Tina2C will teach you everything you need to know for the least money.
One last piece of advice. Print a calibration model and something you actually want on day one, not a test cube you will never look at. Every machine on this list performs better on the second job than the first, and that is normal.