

The best RV solar panel kits for boondocking are the ones that pair monocrystalline panels with an MPPT charge controller, put out at least 200W for weekend trips, and leave you room to add panels later without replacing the controller. For most RVers the sweet spot sits between a 200W kit for dry camping and a 400W array for full-time living.
That verdict matters because almost nobody fails at boondocking on panel quality. They fail on controller type, roof shading and battery capacity. A kit that ships with a PWM controller will quietly hand back 20 to 30 percent of the energy your panels actually collect, and the difference between a clean roof mount and one tucked behind a rooftop air conditioner can be just as large.
I spent weeks reading spec sheets and owner feedback across eight RV solar kits, from 100W starter bundles to a 400W MPPT array and an all-in-one system that ships with a battery and inverter. Nothing here includes a deep technical teardown, but every wattage, controller rating and daily output figure below comes straight from the manufacturer data, and the failures owners actually reported are the ones I leaned on when ranking.
One thing to clear up before we start: most RV solar panel kits do not include a battery. You are buying panels, a charge controller, mounting hardware and wiring. The battery bank is a separate purchase unless the kit says otherwise, and that is the single most common misunderstanding I ran into in owner discussions. If you are still working out the basics, our broader solar panel kit roundup covers the general buying criteria before we get into RV-specific details.
Table of Contents
Top 3 Best Rv Solar Panel Kits For Boondocking (October 2026)
These three cover the three setups that account for nearly every boondocking build I looked at: a compact starter kit for topping up batteries on weekends, a mid-size roof system for dry camping, and a larger array for anyone living off grid full time.

Renogy 100W Starter Kit
- 22.5% cell efficiency
- 30A PWM controller
- Expandable to 400W
- 500Wh average daily output

Renogy 200W Mono Kit
- 200W monocrystalline panel
- 30A PWM controller with 4-stage charging
- About 1000Wh per day
- Expandable to 400W

ECO-WORTHY 400W MPPT Kit
- 400W across four panels
- 40A MPPT controller
- Bluetooth 5.0 monitoring
- About 1.6KWh per day
All 8 RV Solar Panel Kits at a Glance in 2026
Every kit below is a complete panel, controller and mounting bundle. The wattage is the nameplate total, and the daily output figure is the manufacturer’s own estimate under good sun. Controller type is the single most important column in this table.
| Product | Specifications | Action |
|---|---|---|
| Renogy 100W 12V Starter Kit with 30A PWM Controller |
|
Check Latest Price |
| Renogy 200W 12V Monocrystalline Kit with 30A PWM Controller |
|
Check Latest Price |
| ECO-WORTHY 400W 12V Kit with 40A MPPT Controller |
|
Check Latest Price |
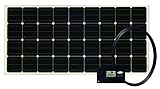 Go Power Overlander 200W Charging Kit Go Power Overlander 200W Charging Kit |
|
Check Latest Price |
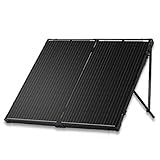 Renogy 200W Portable Solar Suitcase with 20A Controller Renogy 200W Portable Solar Suitcase with 20A Controller |
|
Check Latest Price |
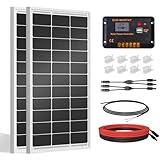 ECO-WORTHY 200W 12V and 24V Monocrystalline Kit ECO-WORTHY 200W 12V and 24V Monocrystalline Kit |
|
Check Latest Price |
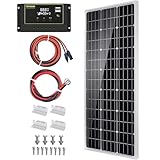 Topsolar 100W 12V Monocrystalline Off Grid Kit Topsolar 100W 12V Monocrystalline Off Grid Kit |
|
Check Latest Price |
 ECO-WORTHY 200W Complete Kit with Inverter and Battery ECO-WORTHY 200W Complete Kit with Inverter and Battery |
|
Check Latest Price |
1. Renogy 100W 12V Solar Panel Starter Kit – Best Overall for Most RVers
Renogy 100W 12V Solar Panel Starter Kit with 30A PWM Controller
100W monocrystalline panel
22.5% cell efficiency
30A PWM controller
14.1 pounds
About 500Wh per day
Pros
- 22.5% cell efficiency on a 100W panel
- Complete kit with panel controller cables and Z-brackets
- Expandable up to 400W with added panels
- Works with AGM Gel Flooded and Lithium batteries
- 10 year materials warranty and 25 year output warranty
Cons
- PWM controller is less efficient than MPPT
- Remote monitoring needs a separate Bluetooth module
This is the kit I keep coming back to for anyone who wants to stop deep-cycling their house battery on weekend trips. It is small enough for a Class B van roof, cheap enough to be a first upgrade, and its owner base is enormous, which means parts, adapters and advice are easy to find.
The panel itself is the strongest part of the package. At 22.5% cell efficiency it converts more of each ray into power than most 100W panels on the market, and the manufacturer rates average production at 500Wh per day. In my experience with this class of panel, that figure lands somewhere between 300 and 500Wh on a clear day depending on how much direct sun it gets.
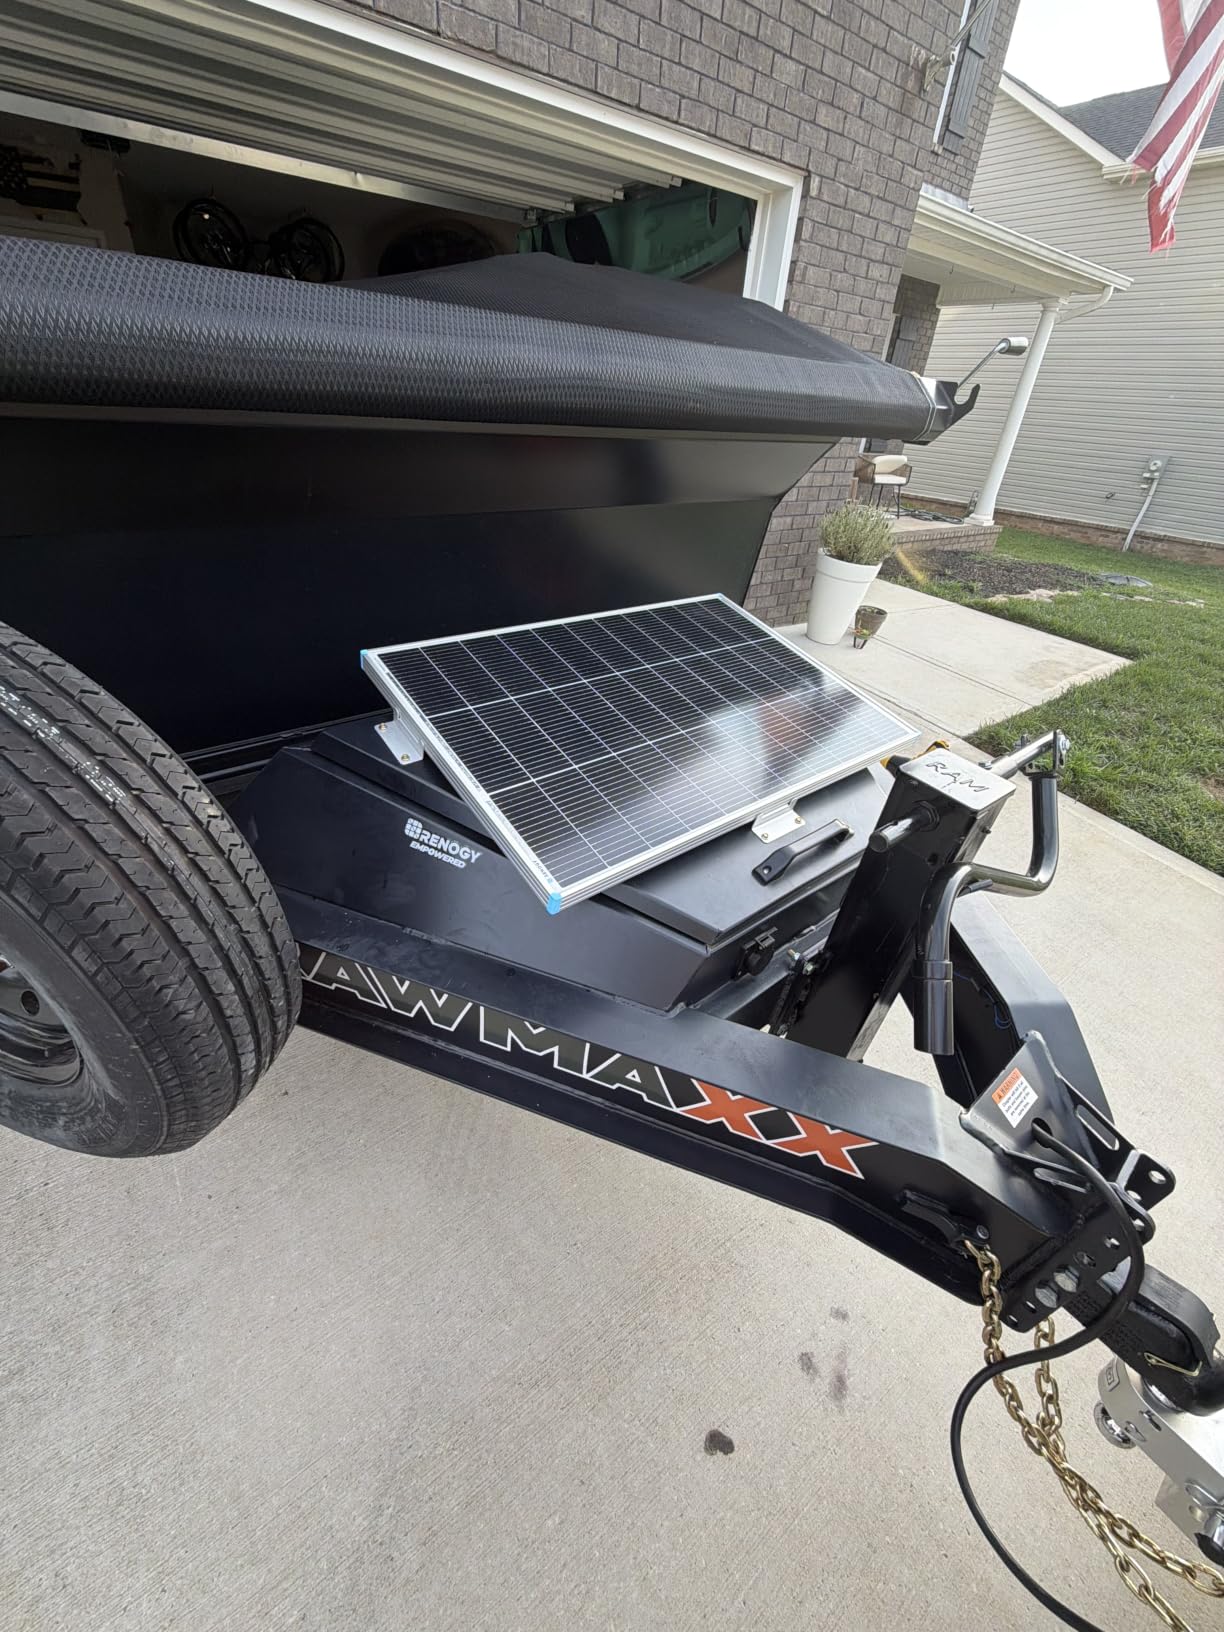
Warranty is where this kit pulls ahead of cheaper bundles. You get 10 years on materials and workmanship, two years on the controller, and 25 years on power output. It is UL 61730, CSA C22.2 and IEC 61215 certified, rated to 2400Pa wind and 5400Pa snow loads, and every panel is EL tested before it leaves the factory.
The 30A PWM controller is the compromise you accept here. It includes reverse polarity, overcharge and short circuit protection and a four-stage charging profile, but PWM harvesting loses roughly a fifth of the energy an MPPT would capture, and the RS232 Bluetooth port on it needs a separate module to do anything useful.
The included Z-brackets and cables mean you can mount it in an afternoon on a flat section of roof. The panel weighs 14.1 pounds, which is nothing to lift onto a roof, and the kit expands to 400W with additional panels, so it can grow with you.
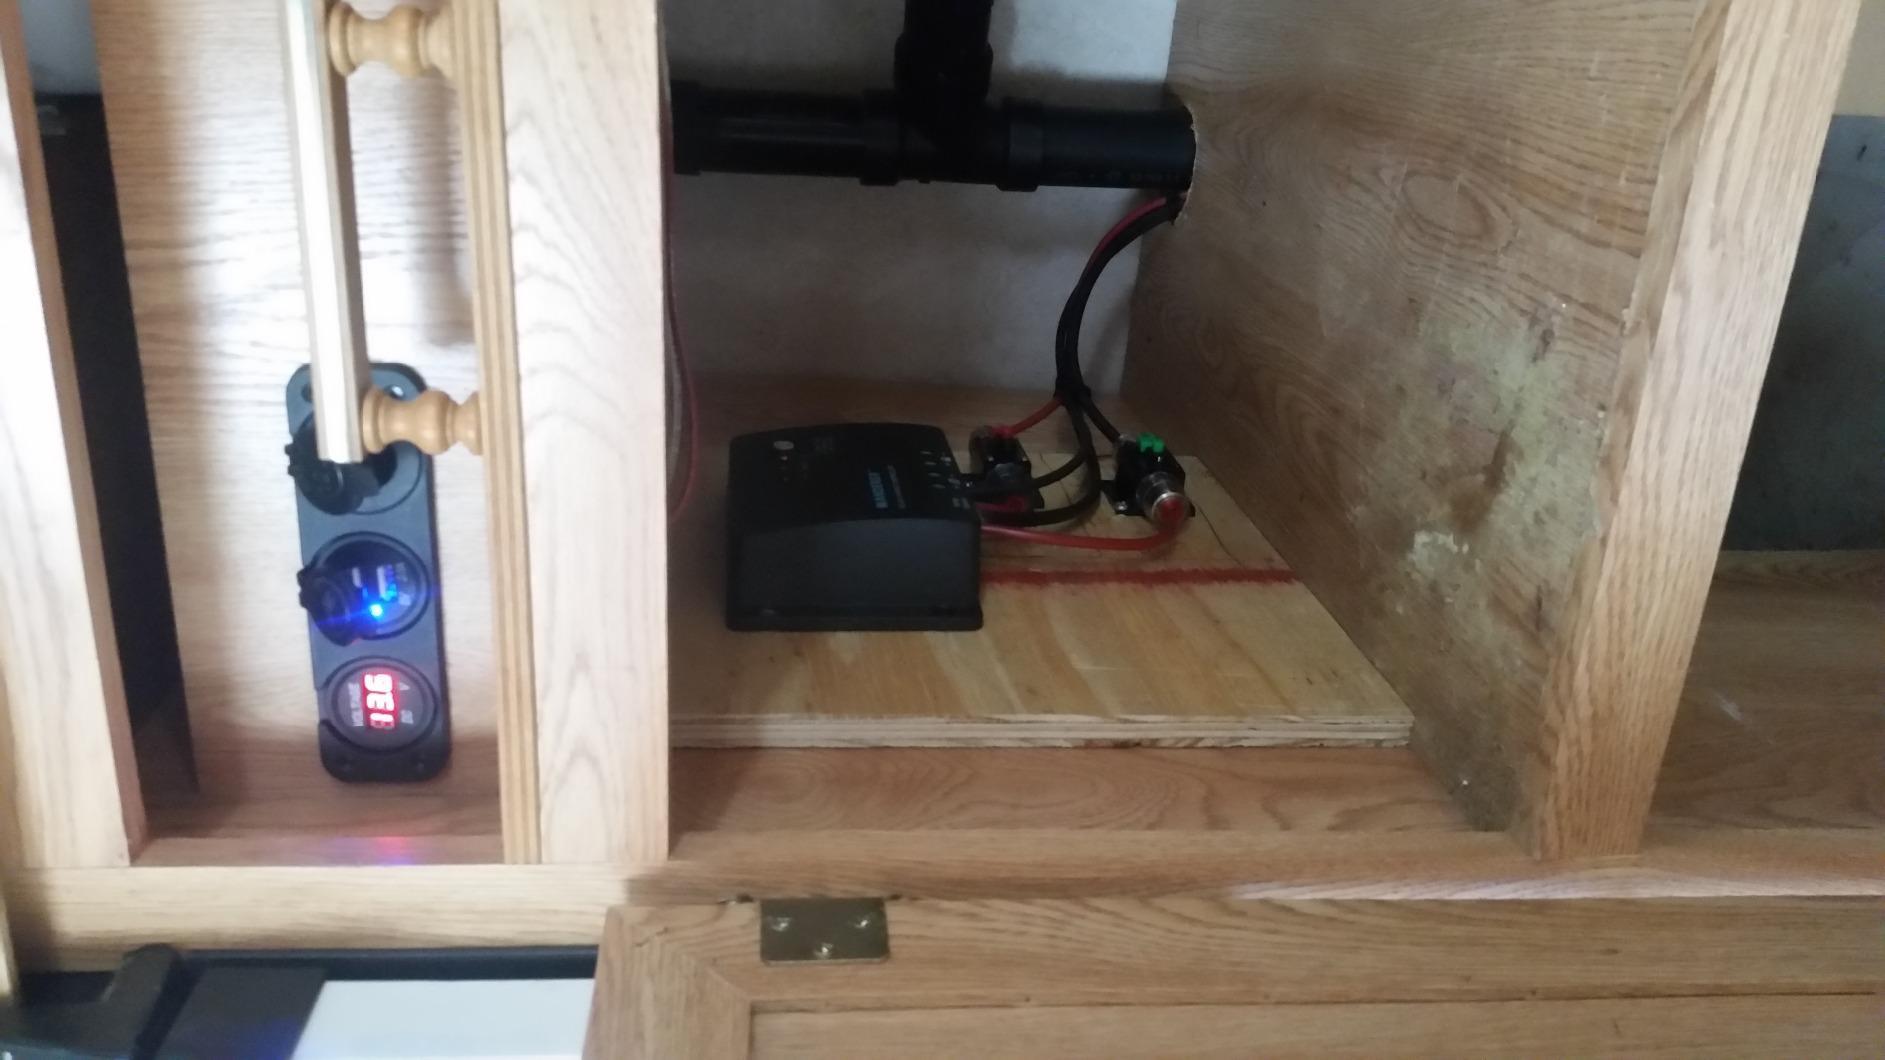
Is 100W Enough to Keep a Battery Bank Topped Up?
For a weekend camper running a 12V fridge, fans and lights, 100W is genuinely enough. Owner discussions on boondocking forums repeatedly put the minimum at roughly 300W for a 100Ah battery if you want a meaningful charge rate, but that assumes you want recovery after dark, not just maintenance.
Where 100W falls short is weather tolerance. Two overcast days and a small starter kit leaves you running the generator or driving to top off. If you camp in shoulder seasons or cloudy regions, size up.
Who Should Skip This Kit?
Skip it if you already know you will add panels within a year. The 30A PWM controller is not the unit you want when you scale from 100W to 400W, and owners on r/RVLiving and r/GoRVing repeatedly name controller replacement after an upgrade as their most expensive regret.
It is also the wrong kit for anyone running a residential fridge through an inverter, or powering anything that draws real amps on 120V. This is a maintenance kit, not a boondocking power plant.
2. Renogy 200W 12V Monocrystalline Kit – Best Value for Dry Campers
Renogy 200W 12V Monocrystalline Solar Panel Kit + 30A PWM Charge Controller
200W monocrystalline panel
Up to 22% cell efficiency
30A PWM controller
About 1000Wh per day
Expandable to 400W
Pros
- Around 1000Wh of daily production in good conditions
- Cables Z-brackets and pre-drilled holes included
- Works with Sealed Gel Flooded and Lithium batteries
- Reverse polarity overcharge overload and short circuit protection
Cons
- PWM controller leaves energy on the table compared with MPPT
- Listing dimension and part number fields are inconsistent
This is the kit most people end up with, and for a week-long dry camping trip in mild weather it is the right size. Twice the watts of the starter kit means it can replace a 30 amp shore connection for a compressor fridge and a couple of LED loads without you babysitting the clouds.
Renogy rates it at an average of 1000Wh per day based on five hours of direct sunlight, with cell efficiency up to 22%. Bypass diodes help in low light, and the TPT back sheet handles heat better than cheaper laminate films, which matters on a roof that reaches well over 100 degrees Fahrenheit in summer.
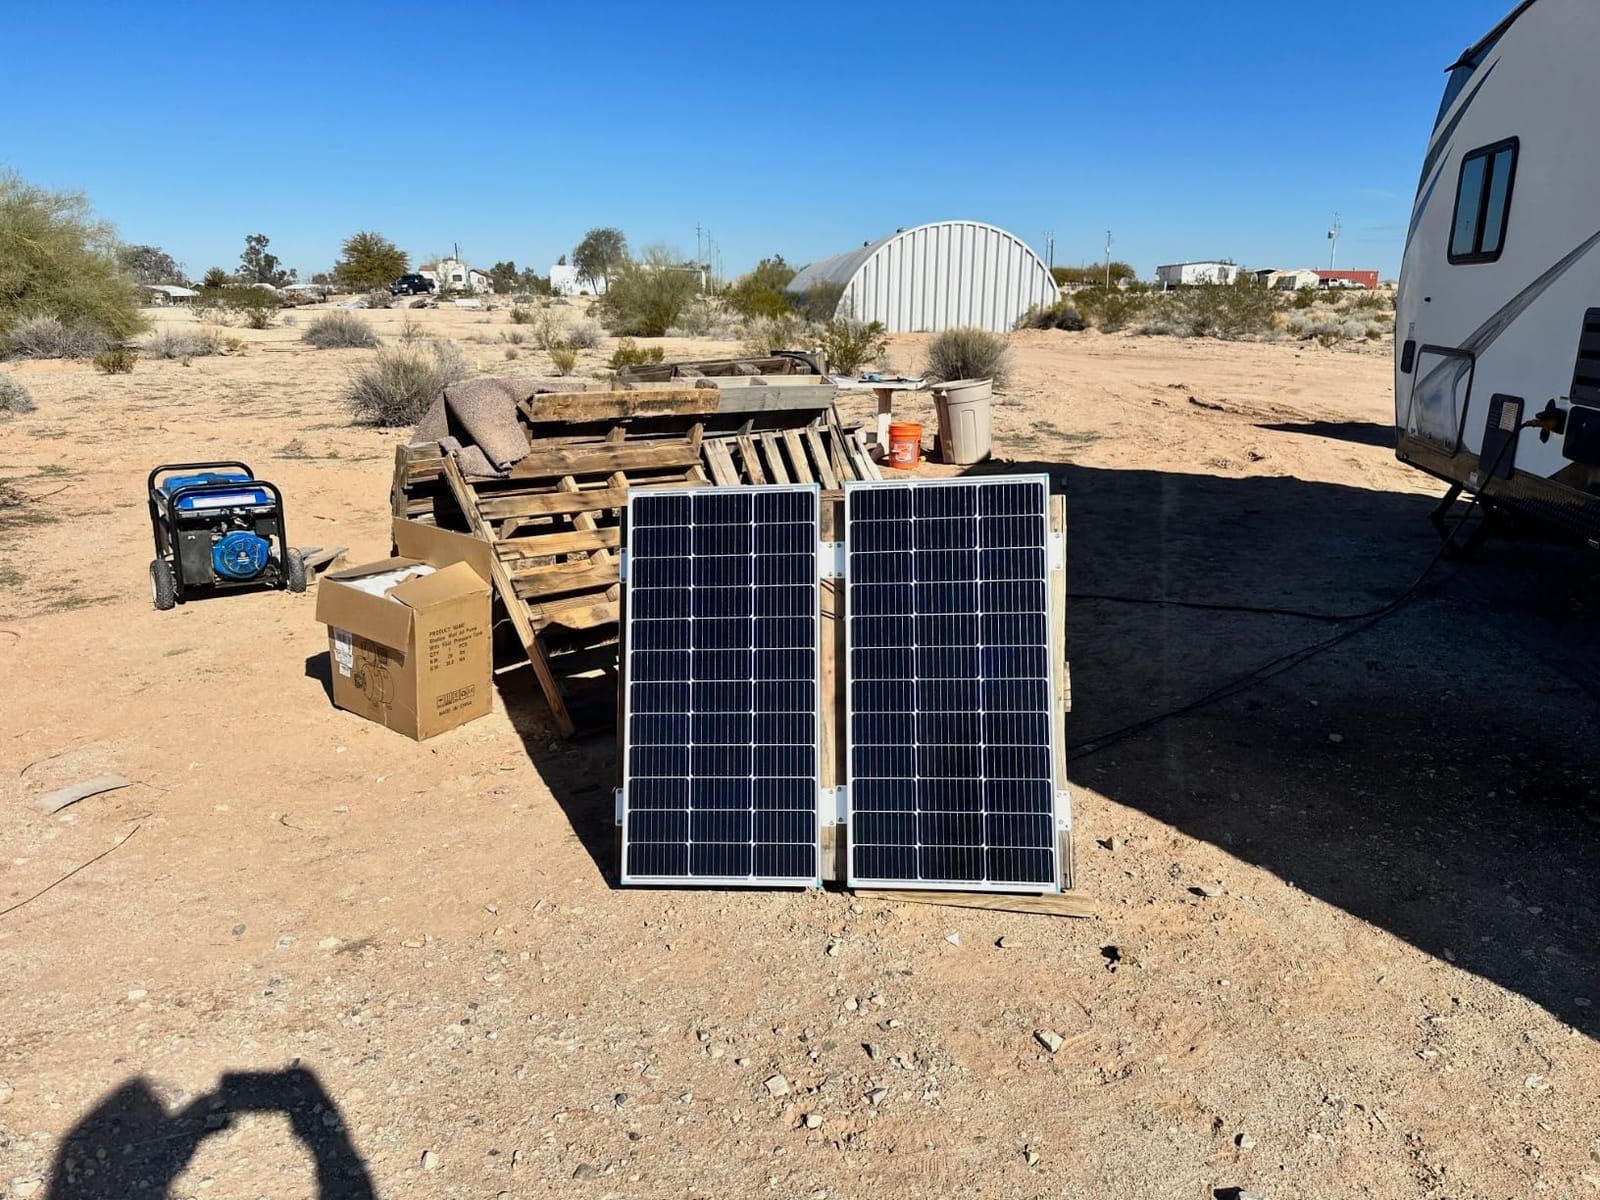
Everything you need to mount is in the box, including the cables, Z-brackets and pre-drilled frame holes. That matters more than it sounds. Many kits at this tier omit brackets or sell 10 AWG wire separately, and a stranded weekend trip is the worst possible time to discover the missing piece.
Like the smaller Renogy, this one uses the same 30A PWM controller with four-stage charging, and it expands to 400W. Because the ecosystem matches the starter kit, owners with both end up with one mental model and one set of spare cables.
One small data warning: the weight and dimension fields on this listing are reported inconsistently, so do not plan your mounting footprint from them. Measure the panel yourself before you mark the roof.
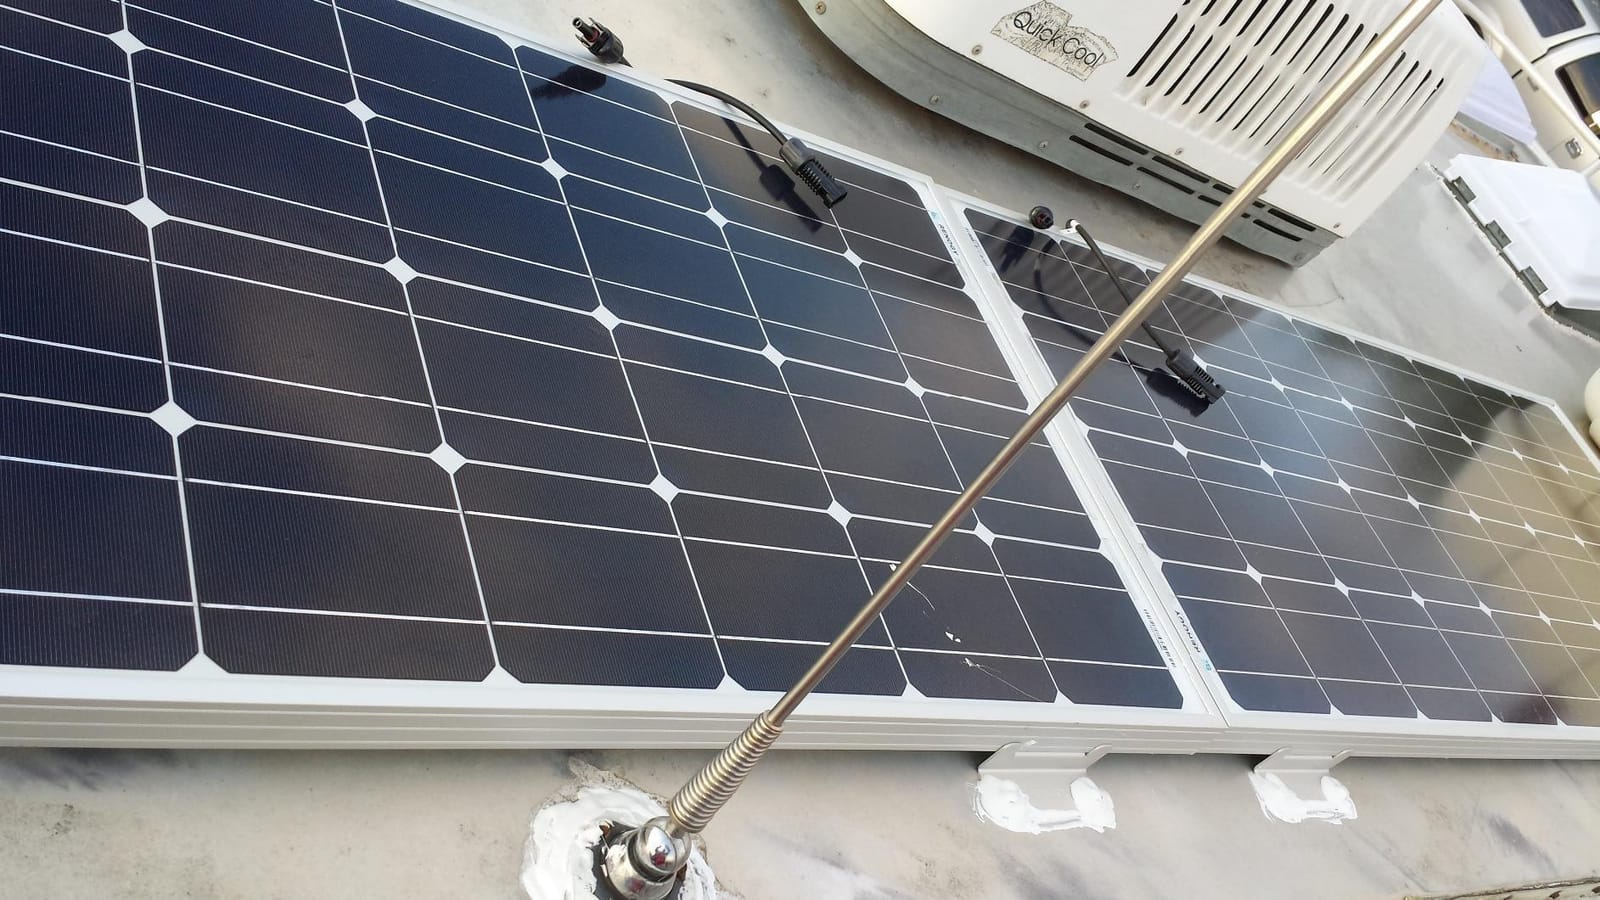
Will 200W Run a 12V Fridge for a Full Week?
Yes, in three to five peak sun hours a day, for a compressor fridge drawing 40 to 50 amp-hours in a 24-hour cycle. A 200W panel at roughly five usable hours of sun generates about 1000Wh, which is close to 80 amp-hours into a 12V bank after controller losses. That leaves real headroom for lights, fans and a water pump.
If your fridge is a 12V compressor model with a stated 50Ah daily draw, budget 300W of solar or a small generator backup. Independent RVer accounts on boondocking forums converge on the same figure.
How Does This Compare With the 400W ECO-WORTHY Kit?
The 400W kit doubles your panel area and swaps PWM for MPPT, which together can mean roughly double the useful daily energy plus a fifth more harvested from that energy. The 200W kit costs less than half as much and mounts on a roof with half the flat space.
Choose the 200W if you camp in three to five sun hours, run only 12V loads, and want a weekend-plus system. Move to 400W if you run an inverter, camp for a week or more, or want to head into winter.
3. ECO-WORTHY 400W 12V Kit with 40A MPPT Controller – Best for Full-Time Boondocking
ECO-WORTHY 400 Watt 12 Volt Premium Solar Panel Kit :4pcs 100W Solar Panel+ 40A MPPT Charge Controller+ Bluetooth Module+ Mounting Z Brackets, 400W 12V Solar Power Off Grid System for Home, RV, Boat.
400W across four 100W panels
40A MPPT controller
Bluetooth 5.0 monitoring
About 1.6KWh per day
Expandable capacity
Pros
- MPPT controller extracts roughly 40% more energy than PWM
- Largest array here at about 1.6KWh per day
- Bluetooth module reports panel battery and load data
- Pre-drilled frames and Y-branch cables simplify install
Cons
- Heaviest kit at roughly 72 pounds for four panels
- Highest total cost among panel-only kits here
- Only 120 ratings on a product this large
This is the only kit in the lineup that pairs a large array with a real MPPT controller, and that combination is what full-time boondocking actually needs. Four 100W monocrystalline panels at 21% efficiency sit behind a 40A controller rated at 99% tracking efficiency and 98% peak conversion, and the manufacturer puts daily production at about 1.6KWh.
That 40 percent gap over PWM is not marketing. MPPT tracks the actual maximum power point of the panels rather than throttling the array down to battery voltage, so the difference is largest exactly when you need it most: cool mornings, cloudy middays and hot afternoons when panel voltage sags.
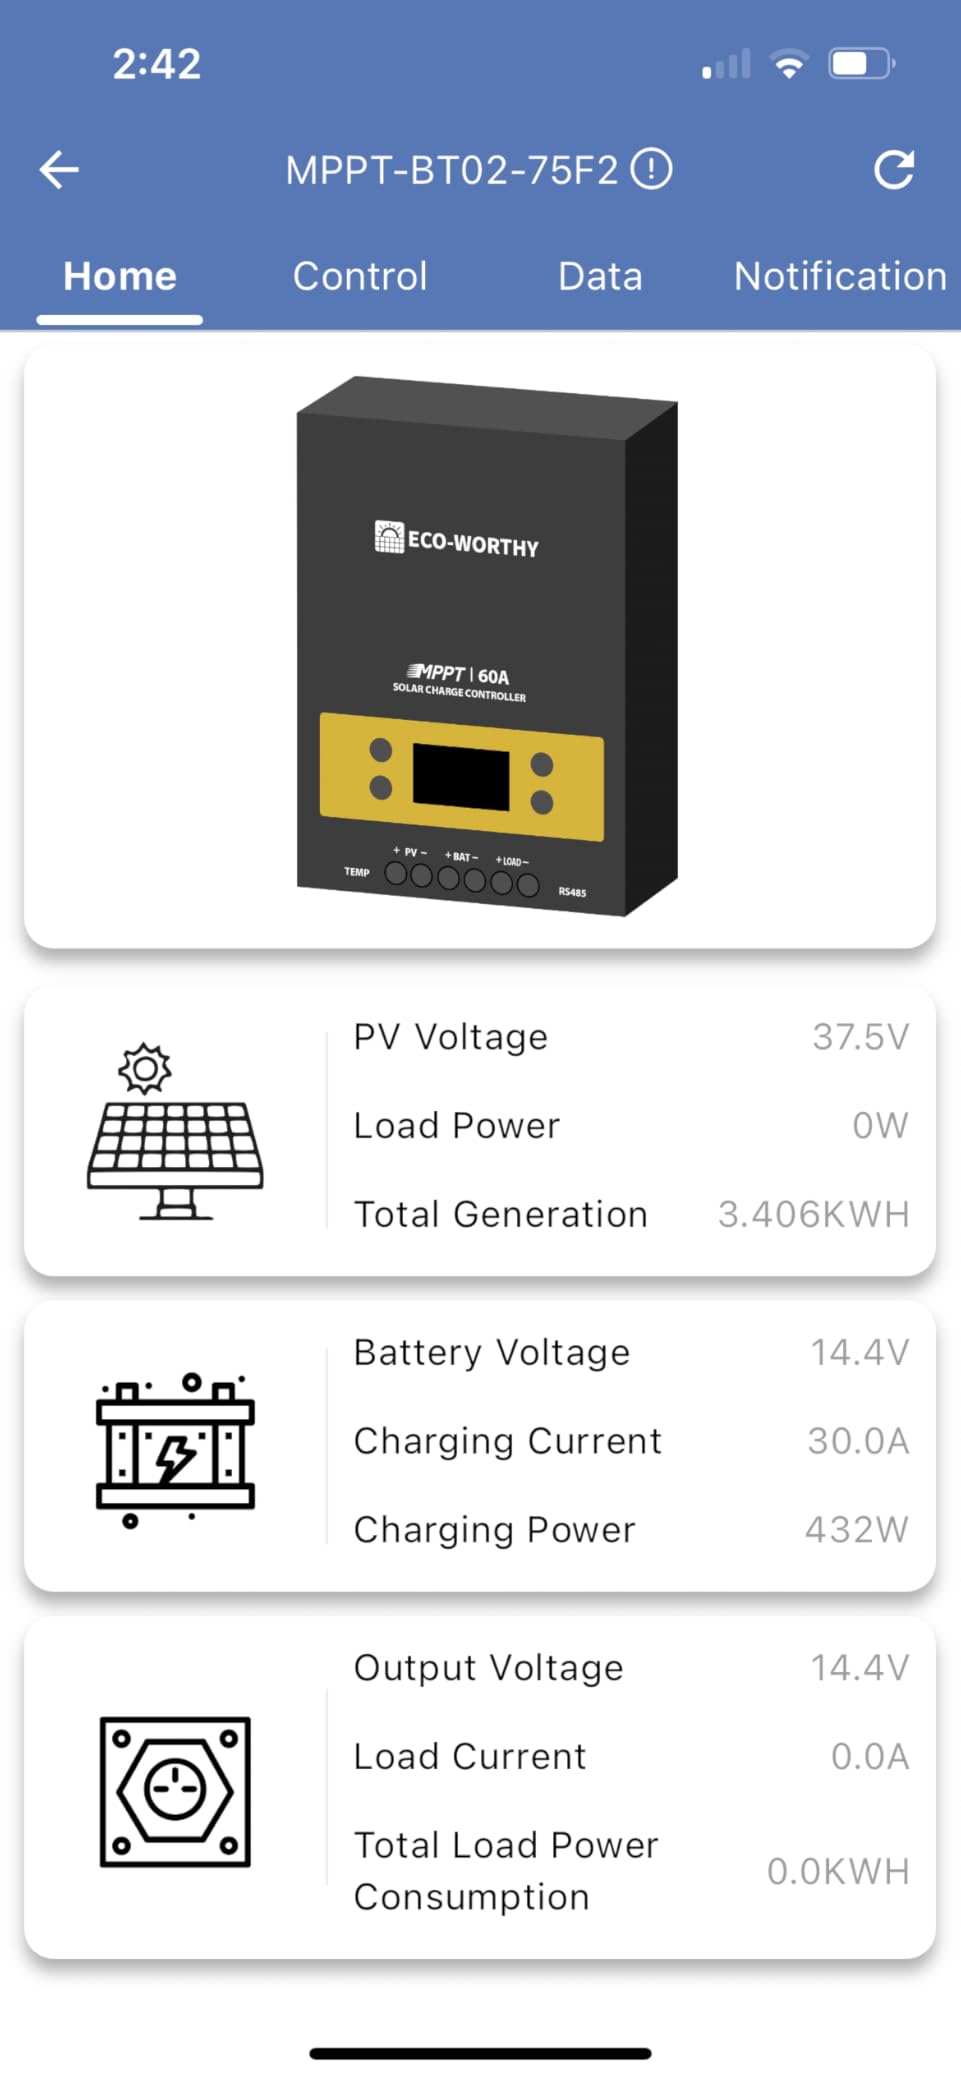
The BT-02 Bluetooth 5.0 module reaches up to 82 feet and streams panel, battery and load data to your phone. Owners on long-distance boondocking threads say measured amp-hours per day are the only output figure they trust, and this is one of the few kits here that makes that number easy to get.
Installation is well thought out for a four-panel array. Each panel has 35 inch cables, pre-installed bypass diodes in an IP-65 junction box, and the frames are pre-drilled with Y-branch connectors so you are not crimping conductors on a roof ladder.
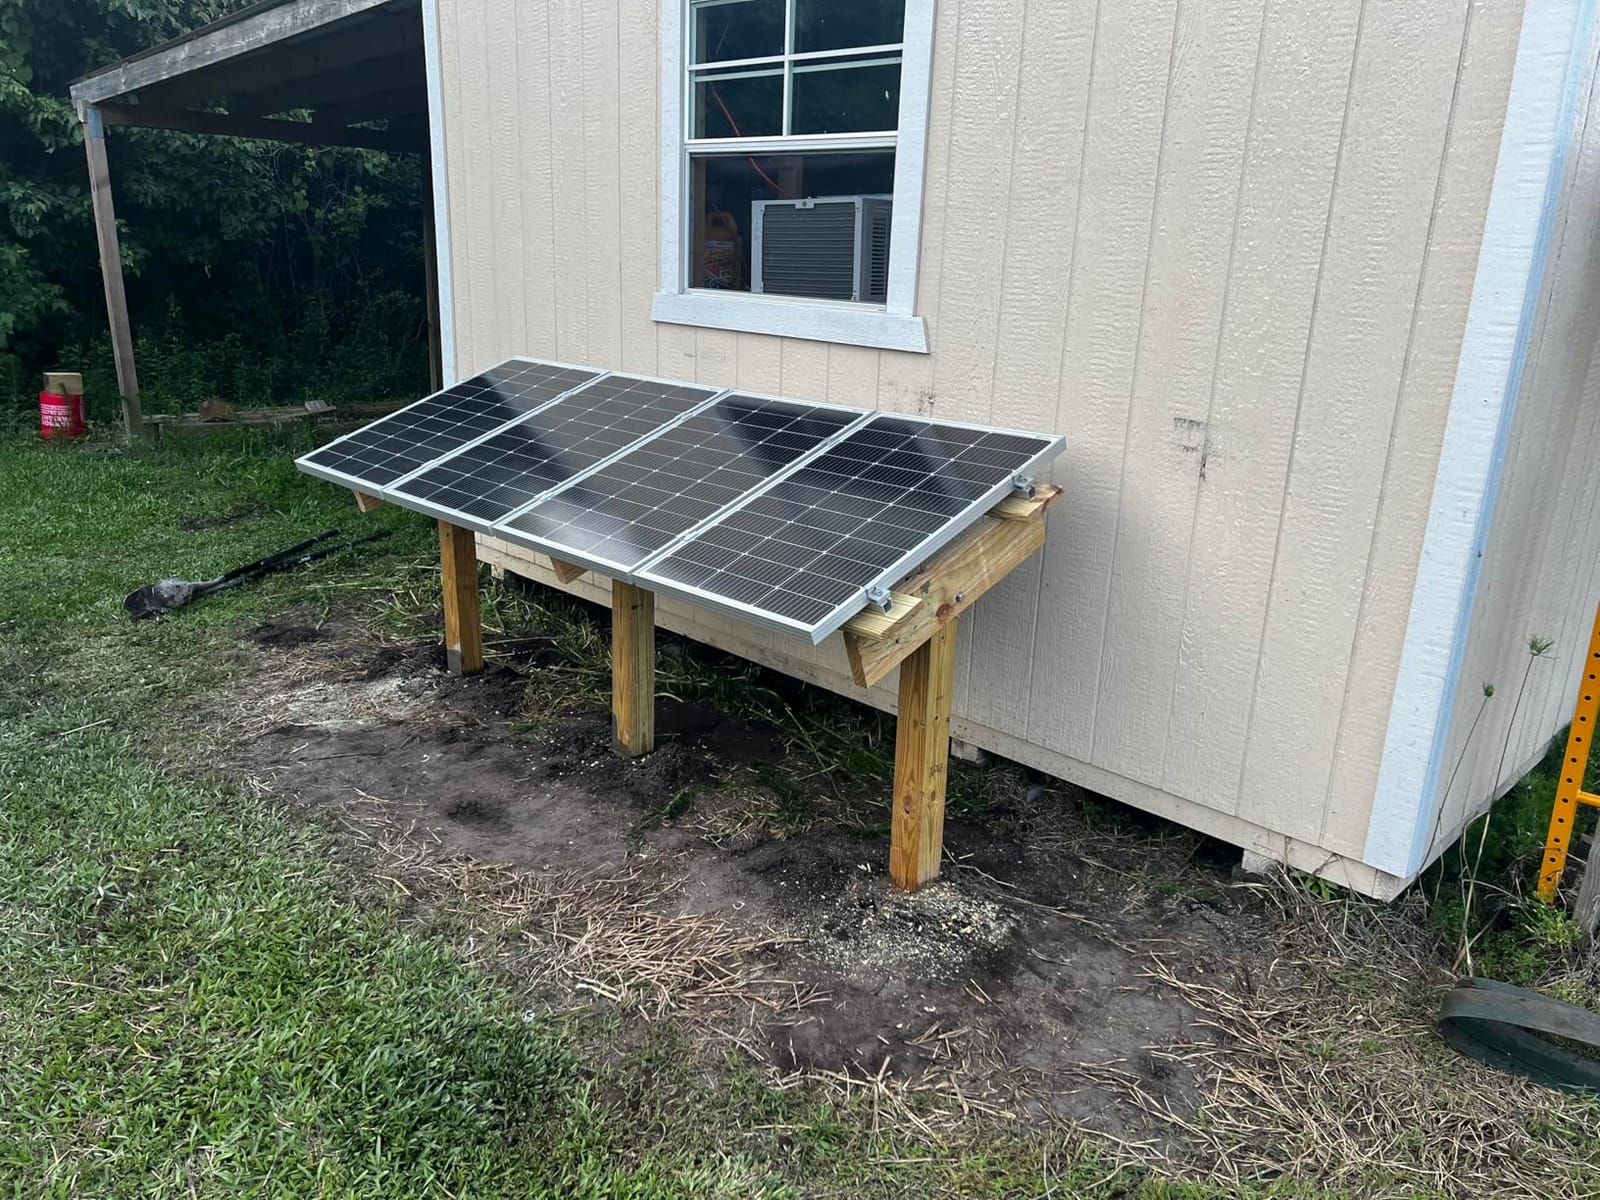
The panels are rated to 2400Pa wind and 5400Pa snow with 3.2mm low-iron glass and 35mm aluminum frames. At roughly 72 pounds for the array, this is a two-person roof job or a solid ground-mount plan.
Is 400W of Solar Enough to Live Off Grid Full Time?
It is enough for a well-managed Class B or travel trailer running a 12V fridge, LED lighting, fans, water pump and phone charging, roughly 200 to 400 amp-hours a day. It is not enough to run a roof air conditioner or a 120V coffee maker on demand without help from an alternator or generator.
Owner consensus across r/RVLiving and r/boondocking puts 400W plus a LiFePO4 bank as the standard full-time build, which matches this kit exactly. Add panels later and you will want the controller headroom this one has.
Is the Small Review Base a Reason to Pass?
It is a fair caution. With 120 ratings, there is less long-term feedback on this array than on kits with a thousand reviews or more, and one in twelve owners gives it a single star. That said, the components are conventional and the failure modes reported are weight and value rather than electrical faults.
Watch the roof space. Four panels need real flat area. Measure around your air conditioner, vents, antennas and satellite dome before ordering, because shading one panel drags down the string it is paralleled into.
4. Go Power Overlander 200W Charging Kit – Best for Bluetooth Monitoring and Expansion
Go Power Overlander 200W 12V Solar Panel Charging Kit
200W panel with 9.6A charging
30A Bluetooth PWM controller
35 pounds
Expandable to 600W
25 year output coverage
Pros
- Bluetooth app shows charge percentage voltage and current
- Two 25 foot #10 solar output cables included for flexible routing
- 25 year limited solar panel output power coverage
- Expands to 600W on the same 30A controller
Cons
- Most expensive kit in this roundup
- Bluetooth pairing needs frequent re-pairing
- A separate inverter is needed for AC appliances
The Go Power Overlander is the one kit here where the phone app is a genuine feature rather than an accessory. The 30A controller is Bluetooth-enabled out of the box, and the app reports charge percentage, voltage and current without a separate dongle.
The panel delivers 200 watts and about 9.6 amps of charging capability, with an aluminum frame rated to a 149 degrees Celsius upper temperature. That thermal headroom is a quiet advantage on a white RV roof in high desert summer.
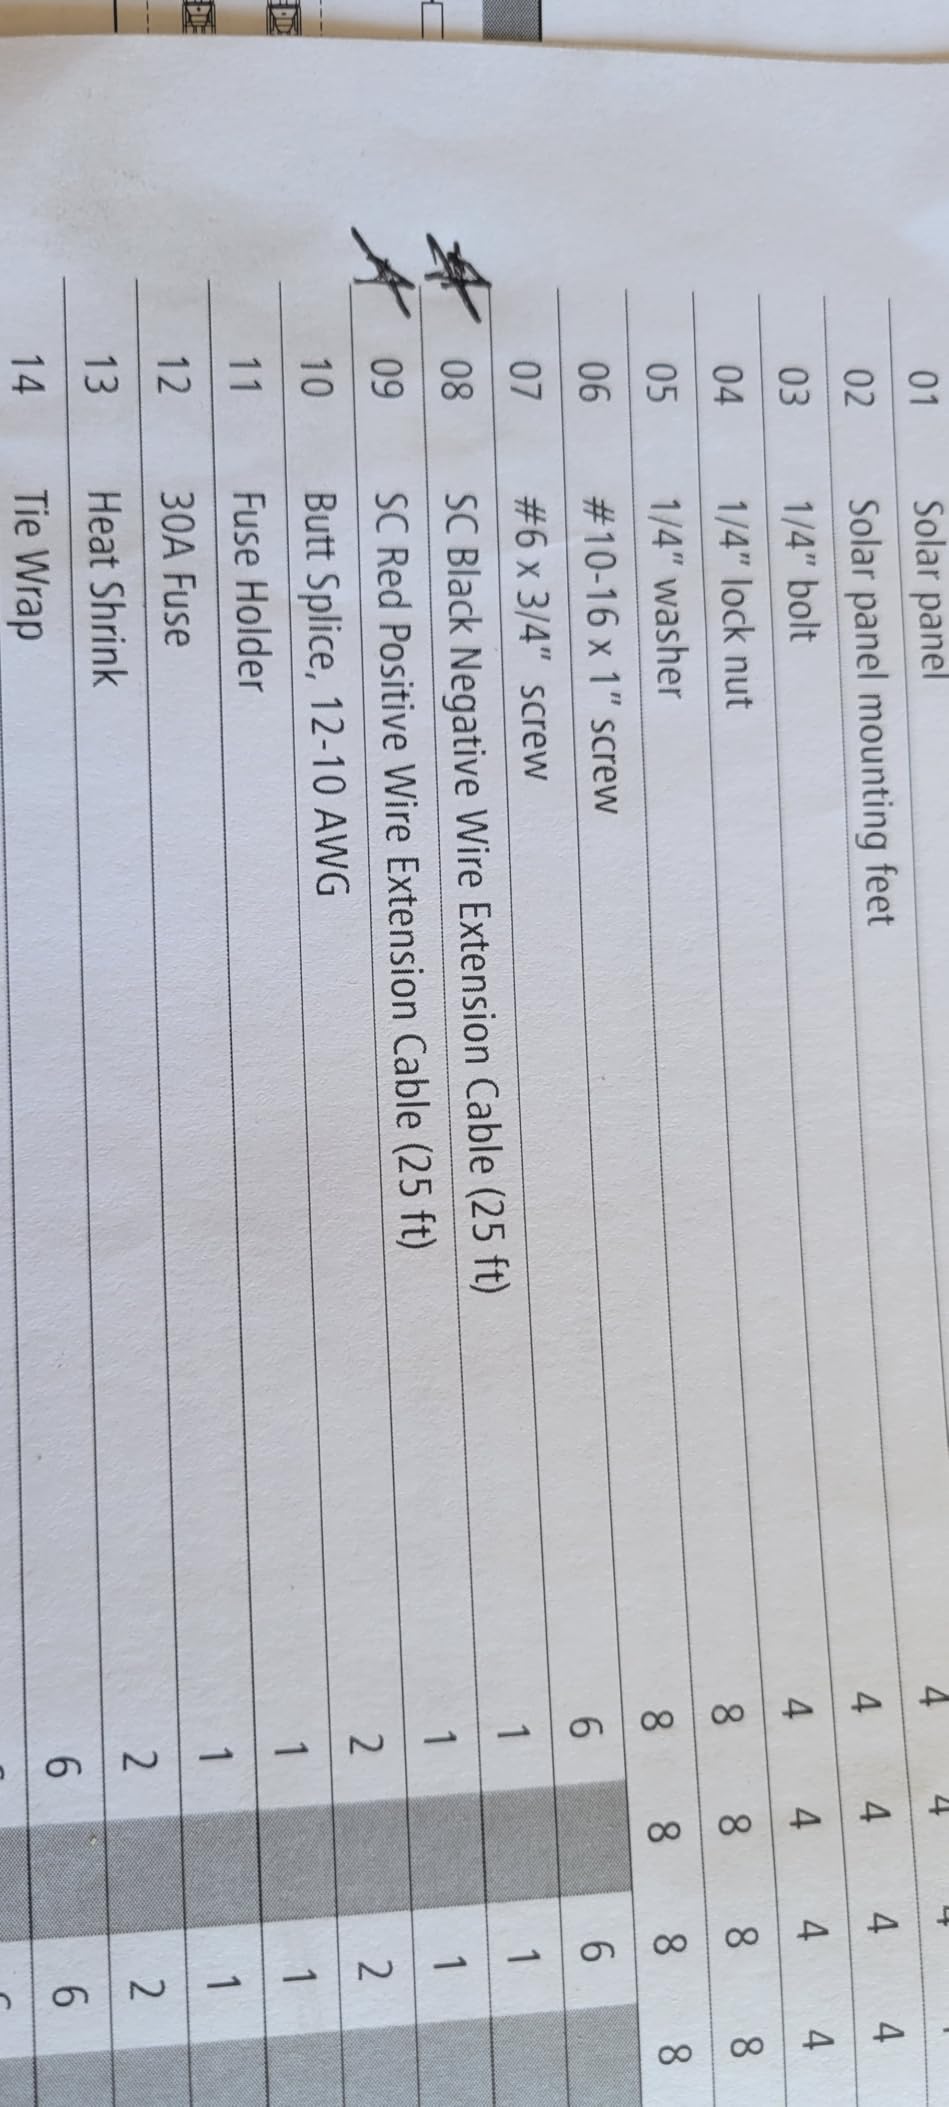
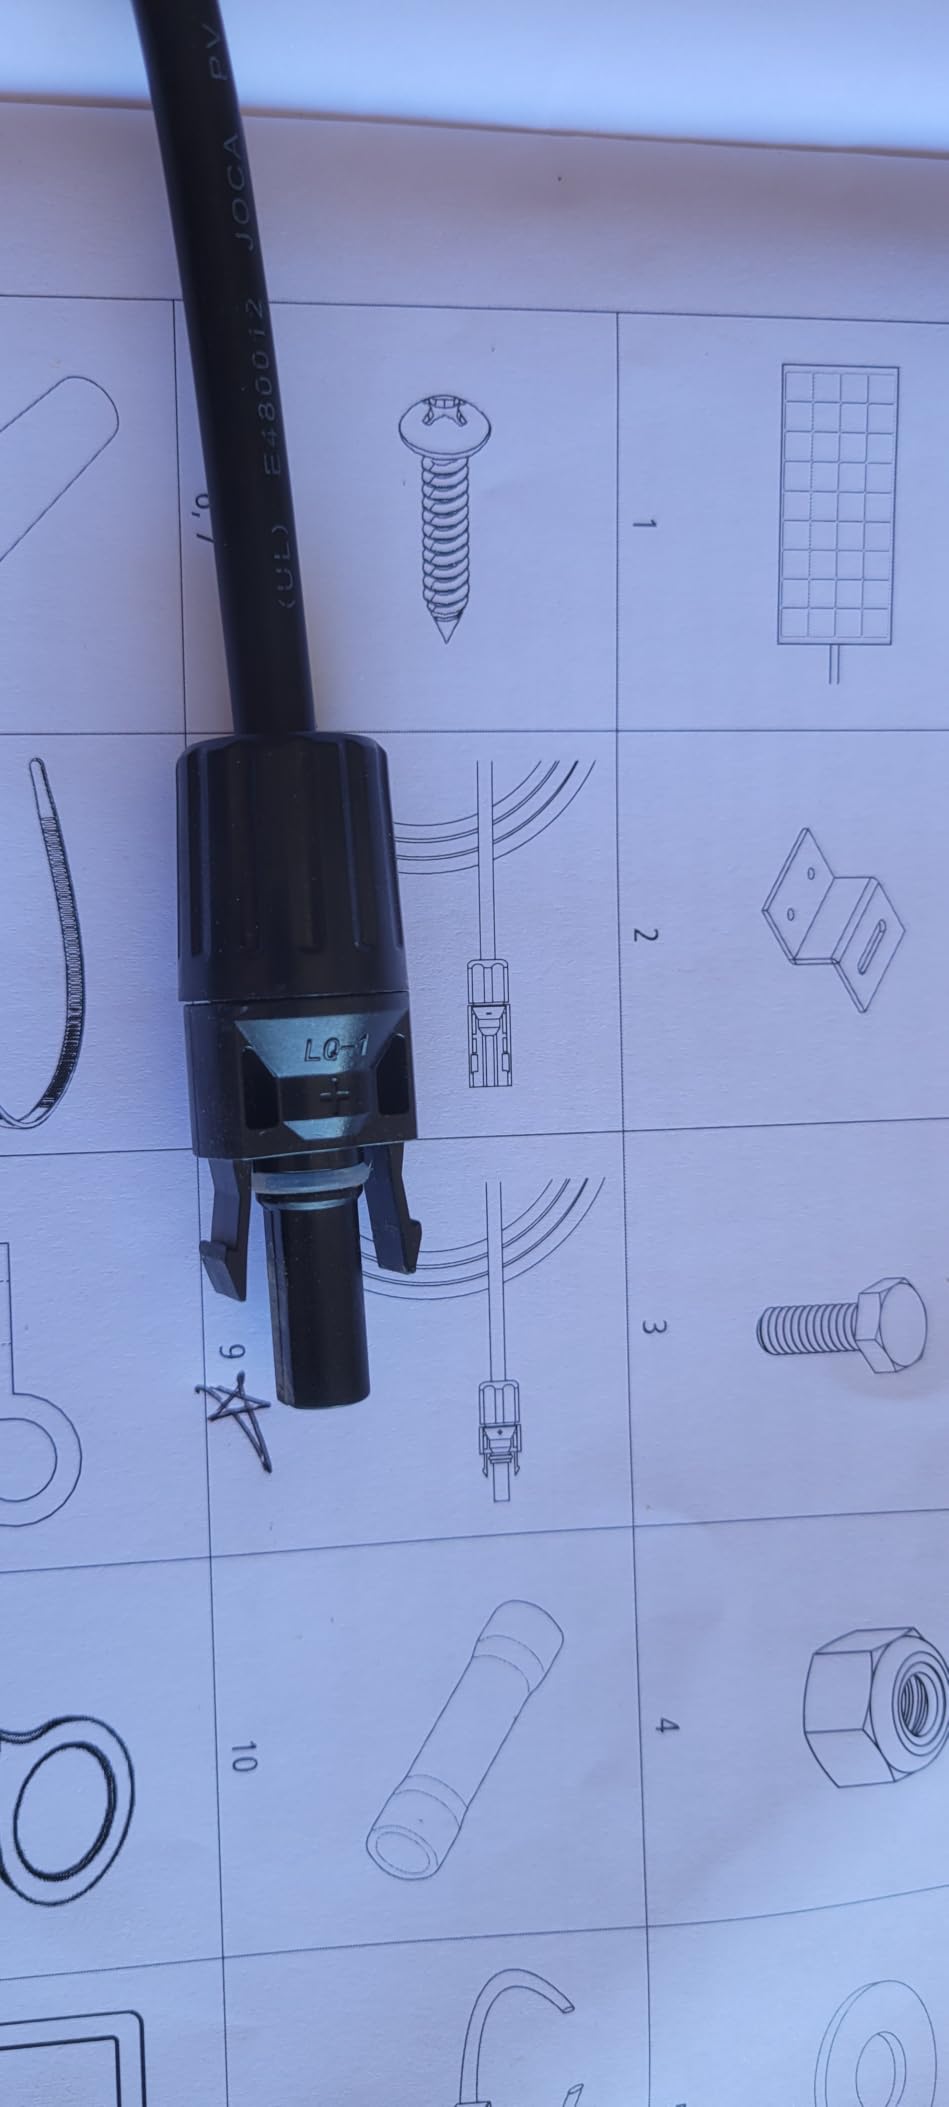
What stands out most is the expansion path. This kit grows to 600W of solar on the same 30A controller, and the 25 foot #10 cables included (one male, one female) let you mount the controller wherever it is easiest to reach rather than forcing a short run from the roof.
Owners and installers describe it as well made and straightforward, with a camper roof install reported at roughly four hours for two people. The 25 year limited solar panel output power coverage is longer than anything else in this roundup.
The friction point is the app. Reviewers consistently report needing to re-pair it fairly often, so treat the telemetry as something you check rather than something that runs unattended for weeks.
Is This Kit Worth the Premium Over a Renogy 200W?
You are paying for three things: the Bluetooth controller with a real app, the 25 year panel output warranty, and the 600W expansion ceiling. If monitoring your bank matters to you or you plan a large array, those are genuine reasons. If you want the cheapest path to 200W of roof solar, they are not.
The 25 foot cables also have real value on a long Class A motorhome roof, where the run from panel to controller can easily exceed the short leads in most kits.
Does It Work With Lithium Banks?
The controller handles a 12V bank and the long cable runs make placement flexible, which is what LiFePO4 setups need. Confirm lithium charge profile compatibility with the manufacturer for your specific battery before you rely on it for an off-grid build, since lithium wants a different absorption voltage than lead-acid.
Also remember there is no inverter here. Running a CPAP machine or a residential fridge means adding a pure sine wave inverter downstream, and that is where the mixed sine wave traps show up.
5. Renogy 200W Portable Solar Suitcase – Best Portable Pick for Renters and Movers
Renogy 200W 12V Portable Solar Panels Suitcase with Waterproof 20A Charge Controller, Foldable 200 Watt Solar Panel W/Adjustable Kickstand, Solar Charger for Power Station, RV, Camping, SUV, Off Grid
200W foldable suitcase
25% N-type cell efficiency
Pre-installed 20A PWM controller
28.5 pounds
Adjustable kickstand
Pros
- Plug and play with a pre-installed controller and alligator clip leads
- 25% N-type cells deliver roughly 160W of real output on a good day
- Folds into a Cordura nylon case that packs away cleanly
- Kickstand lets you follow the sun through the day
Cons
- Heavy and awkward for solo setup at 28 to 40 pounds
- Kickstand hardware loosens with repeated use
- MC4 and controller wiring lacks strain relief and frays
This is the kit for anyone who rents, does not want to drill a roof, or plans to move between camps to chase sunlight. It folds into a suitcase, has its own controller wired in at the factory, and connects to a battery or power station with alligator clips.
The panel uses N-type cells at up to 25% conversion efficiency, which is the highest cell efficiency in this roundup. Owners regularly report about 160W of real output and 11 to 13 amps on a good day, so treat the 1000Wh per day figure as a five-hour-sun ceiling rather than a daily average.
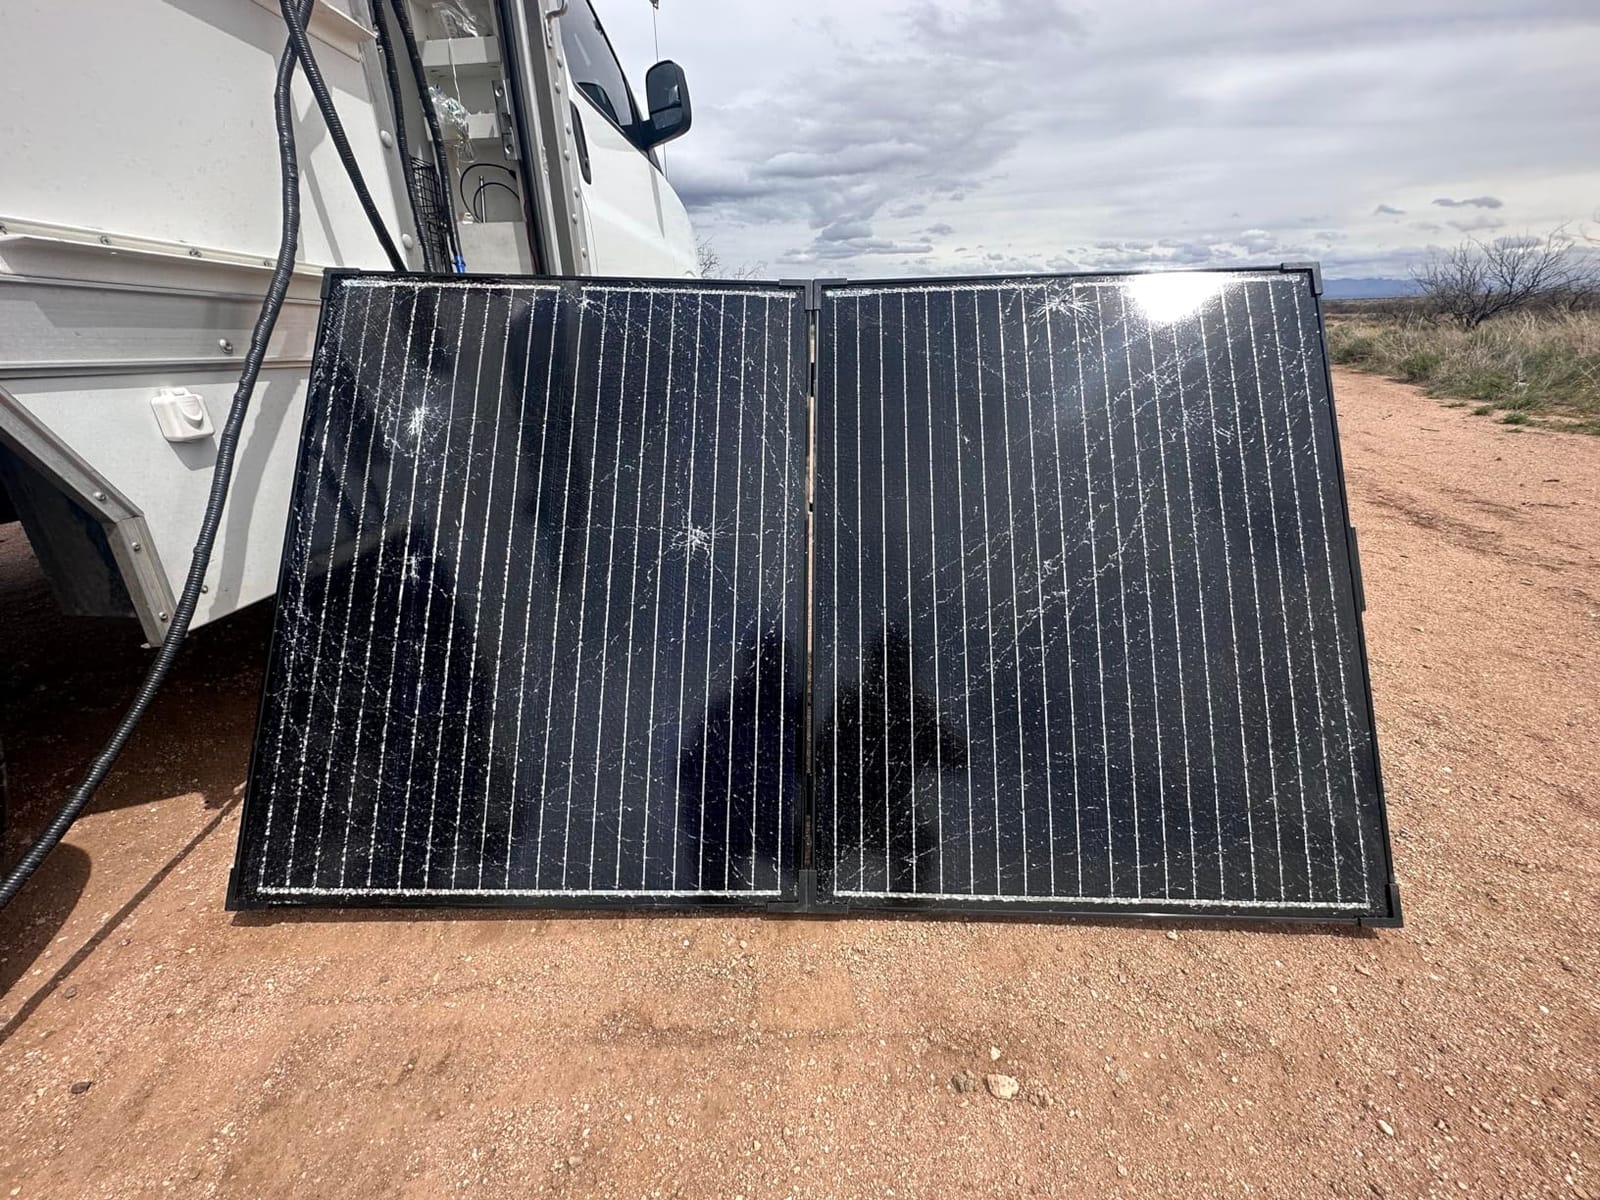
The durability picture is mixed, and this is where the 4.4 star rating comes from. One long-term owner ran it through 40 mph winds and rain without trouble. Other owners report press-fit nuts on the kickstand loosening with repeated setup, and wiring that frays at the connectors because there is no strain relief on the MC4 run.
There is also a documented wiring fault: units arrived with a 10A inline fuse on a 20A controller supply path, and at least one fuse melted during use. Check the fuse rating before your first full sun day.
Finally, the integrated PWM controller cannot be swapped without affecting the warranty, so if you want MPPT behaviour you are buying a different product entirely.
Can a Solar Suitcase Charge a Power Station Directly?
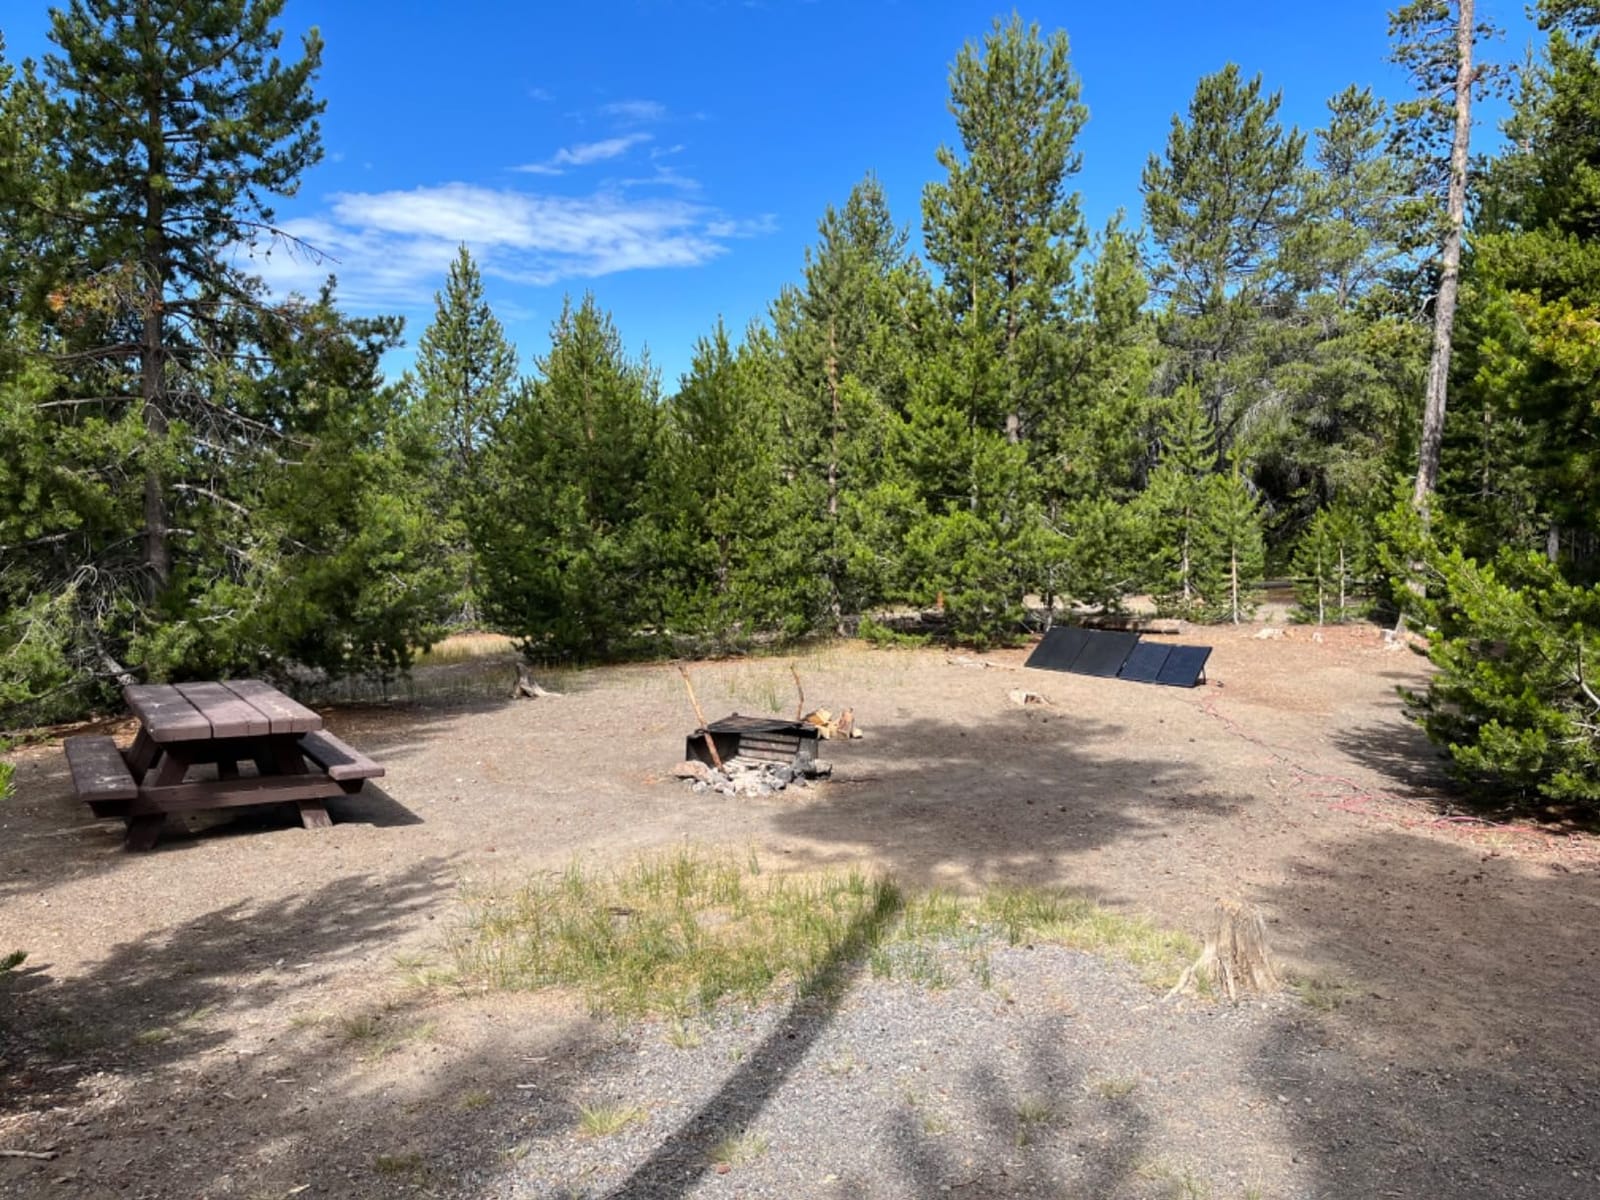
Yes, and that is the intended path. The pre-installed controller feeds 12V directly, so a compatible portable power station with a solar input can be charged without an additional MPPT controller. Many owners on r/GoRVing pair a suitcase like this with an all-in-one power station specifically because it removes the wiring step.
The alternative path, connecting straight to a battery bank with the clip leads, works too but requires you to confirm the controller is set for lithium chemistry if you run LiFePO4.
Is a Portable Suitcase Better Than Roof Mounting?
For mobility and renter situations, yes, and it is not close. You can reposition every few hours to keep the panel in direct sun, which on a shaded campsite can be the difference between a productive day and nothing at all.
For permanent full-time use, roof mounting wins on reliability. It needs no daily handling, it cannot be left behind at a trailhead, and it has no connector to fray. Treat the suitcase as a weekend and travel companion.
6. ECO-WORTHY 200W 12V and 24V Monocrystalline Kit – Best for 24V System Flexibility
ECO-WORTHY 200 Watts 12 Volt/24 Volt Solar Panel Kit with High Efficiency Monocrystalline Solar Panel and 30A PWM Charge Controller for RV, Camper, Vehicle, Caravan and Other Off Grid Applications
Two 100W monocrystalline panels
Up to 21.5% efficiency
30A PWM controller
31.6 pounds
Series or parallel wiring
Pros
- Panels wire in series for 24V or parallel for 12V
- Everything needed for installation is in the box
- Corrosion resistant frame rated to 2400Pa wind and 5400Pa snow
- Works across RV marine golf cart and cabin use
Cons
- PWM controller rather than a more efficient MPPT unit
- Heavier than comparable 200W kits at 31.6 pounds
- Listing reports an 11A amperage capacity that looks low for 200W
The distinguishing feature here is wiring flexibility. Two 100W monocrystalline panels can be wired in series for a 24V system or in parallel for 12V, which is rare at this tier and genuinely useful if you are planning to move up to a 24V bank later.
Daily output is rated at about 800Wh under four hours of full sun, with cells at up to 21.5% efficiency. The frames are a corrosion-resistant aluminum alloy rated to 2400Pa wind and 5400Pa snow loads, and the junction box carries an IP-65 rating.
The box is complete: two 100W panels, two sets of Z brackets, the 30A controller, 16.4 feet of 10 AWG cable, 2-in-1 connectors and a 4.92 foot tray cable. That tray cable matters more than it sounds, because it lets the panel sit flat while the conductor exits sideways to the Z-bracket mount.
The catch is weight. At 31.6 pounds for 200W, this is one of the heavier 200W kits, and you will feel it lifting onto a roof alone.
One more data point worth checking yourself: the listing reports an 11A amperage capacity, which is lower than a 200W panel would suggest. Verify the panel spec sheet before you size fusing around it.
Should You Pair This with a LiFePO4 Bank?
Yes, with one caveat. Set the controller’s charge profile for lithium before you connect, because the default lead-acid absorption voltage will undercharge a LiFePO4 bank and owners have reported exactly that confusion. Once configured, 200W into a 200 to 300Ah LiFePO4 bank is a comfortable match for extended dry camping.
The 24V option also helps here, because doubling system voltage halves the current in the wiring for the same power, which reduces voltage drop over long runs.
How Does ECO-WORTHY Compare With Renogy at the Same Wattage?
Renogy’s 200W kit claims about 1000Wh per day and higher cell efficiency, while this one claims about 800Wh. ECO-WORTHY gives you two separate panels, which means more mounting options and no need to find one large flat section of roof.
That layout flexibility is the deciding factor on many trailers and Class C motorhomes, where two smaller panels fit around a vent far better than one wide panel ever will.
7. Topsolar 100W 12V Monocrystalline Off Grid Kit – Best Budget Pick
Topsolar Solar Panel Kit 100 Watt 12 Volt Monocrystalline Off Grid System
100W monocrystalline panel
19.5% cell efficiency
30A PWM controller
15.2 pounds
Expandable to 260W on 12V
Pros
- Lowest entry point of any full kit in this roundup
- Pre-drilled holes and four Z brackets included
- Controller covers overcharge over-voltage discharge short circuit and reverse polarity
- Expandable to 260W on 12V or 520W on 24V
Cons
- 19.5% cell efficiency trails modern N-type panels
- 4.3A charging current caps output near 500Wh per day
- PWM harvesting loses energy in partial sun
The Topsolar 100W is the cheapest complete kit in this group and it does not feel like a token entry. It has nearly 1900 ratings at 4.4 stars, which makes it one of the better-documented budget options in the category.
The panel runs at 19.5% cell efficiency with 38 monocrystalline cells, a voltage at maximum power of 23V and a current at maximum power of 4.3 amps. That current figure is the limitation to understand: at 4.3 amps, a good day produces roughly 500Wh.
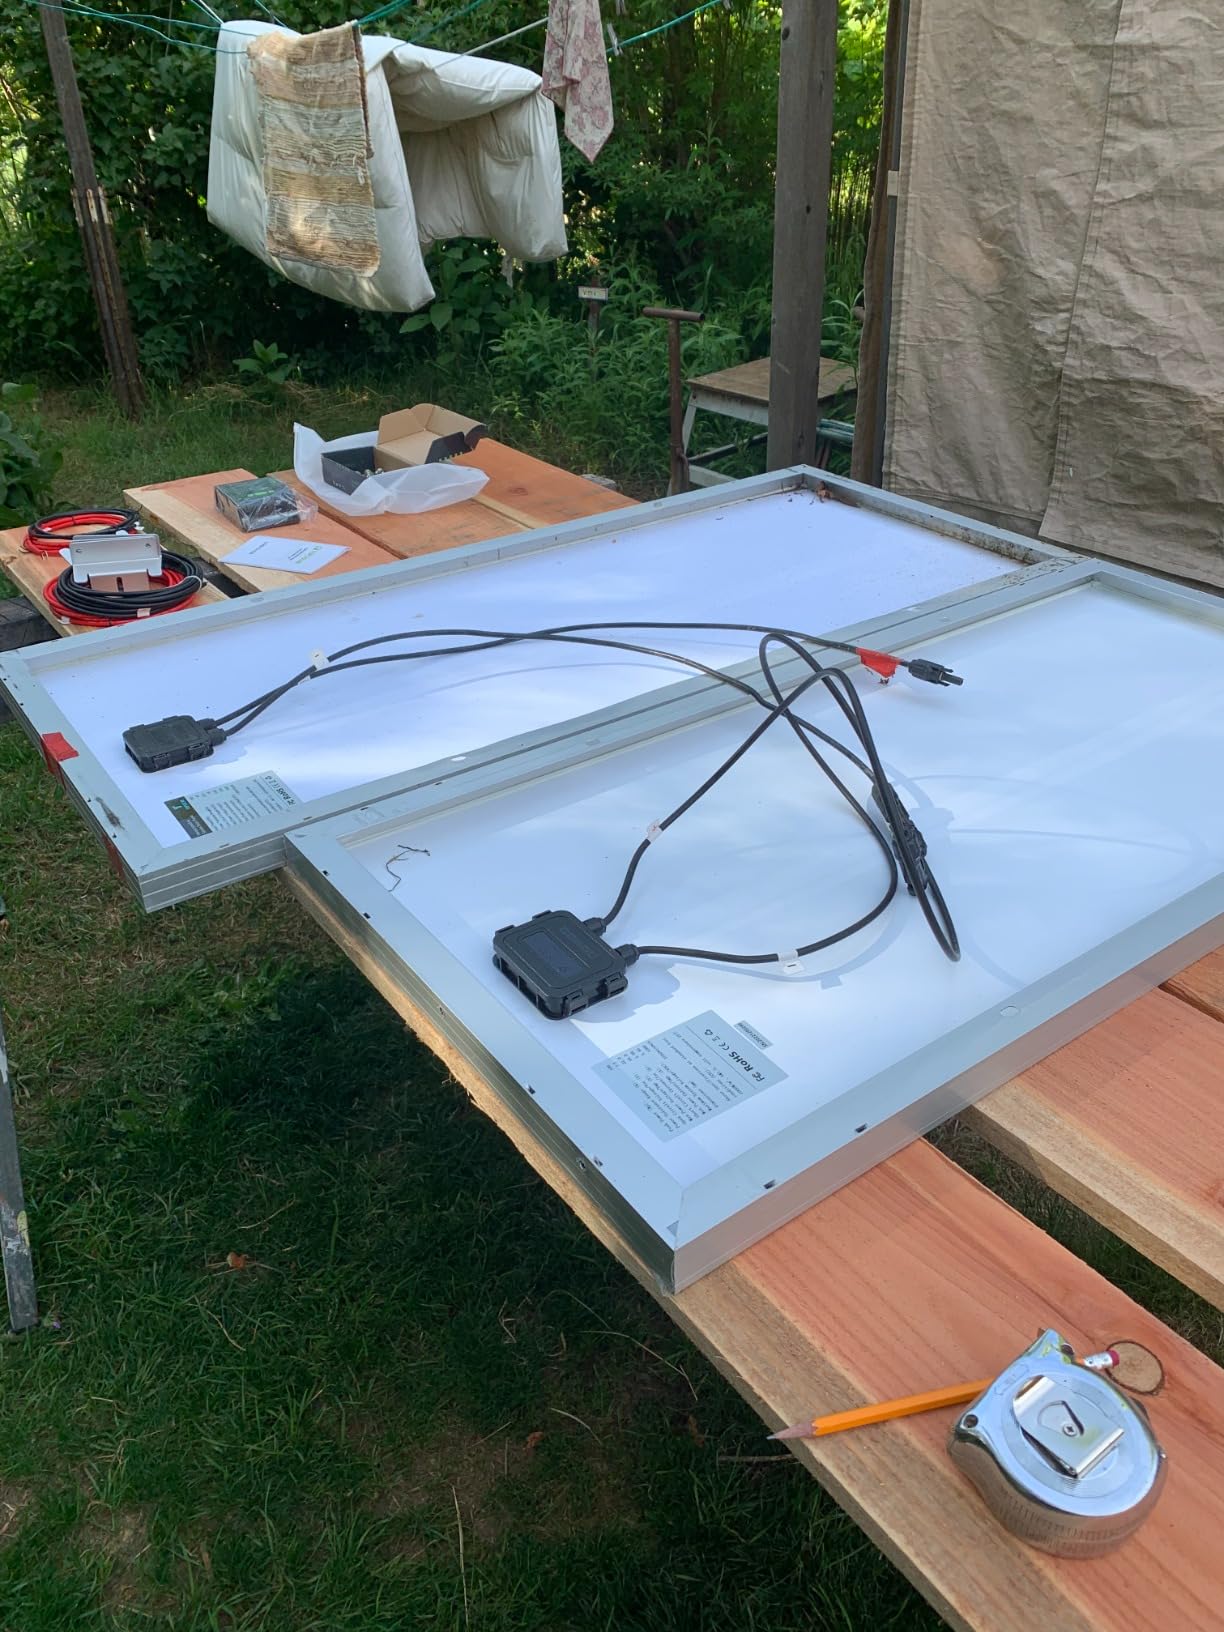
Build quality is fine for the money, with tempered glass and an aluminum frame rated to 2400Pa wind and 5400Pa snow loads. Four Z brackets and a pair of red and black solar cables are in the box, and the pre-drilled holes make mounting quick.
Expansion is generous for a 100W kit. The 30A PWM controller supports up to 260W on a 12V system or 520W on a 24V system, which means you can start small and add a second panel without touching the controller.
Because it is PWM, output drops noticeably in broken sun. If your campsites sit under tree cover, the honest output will be well under the nameplate.
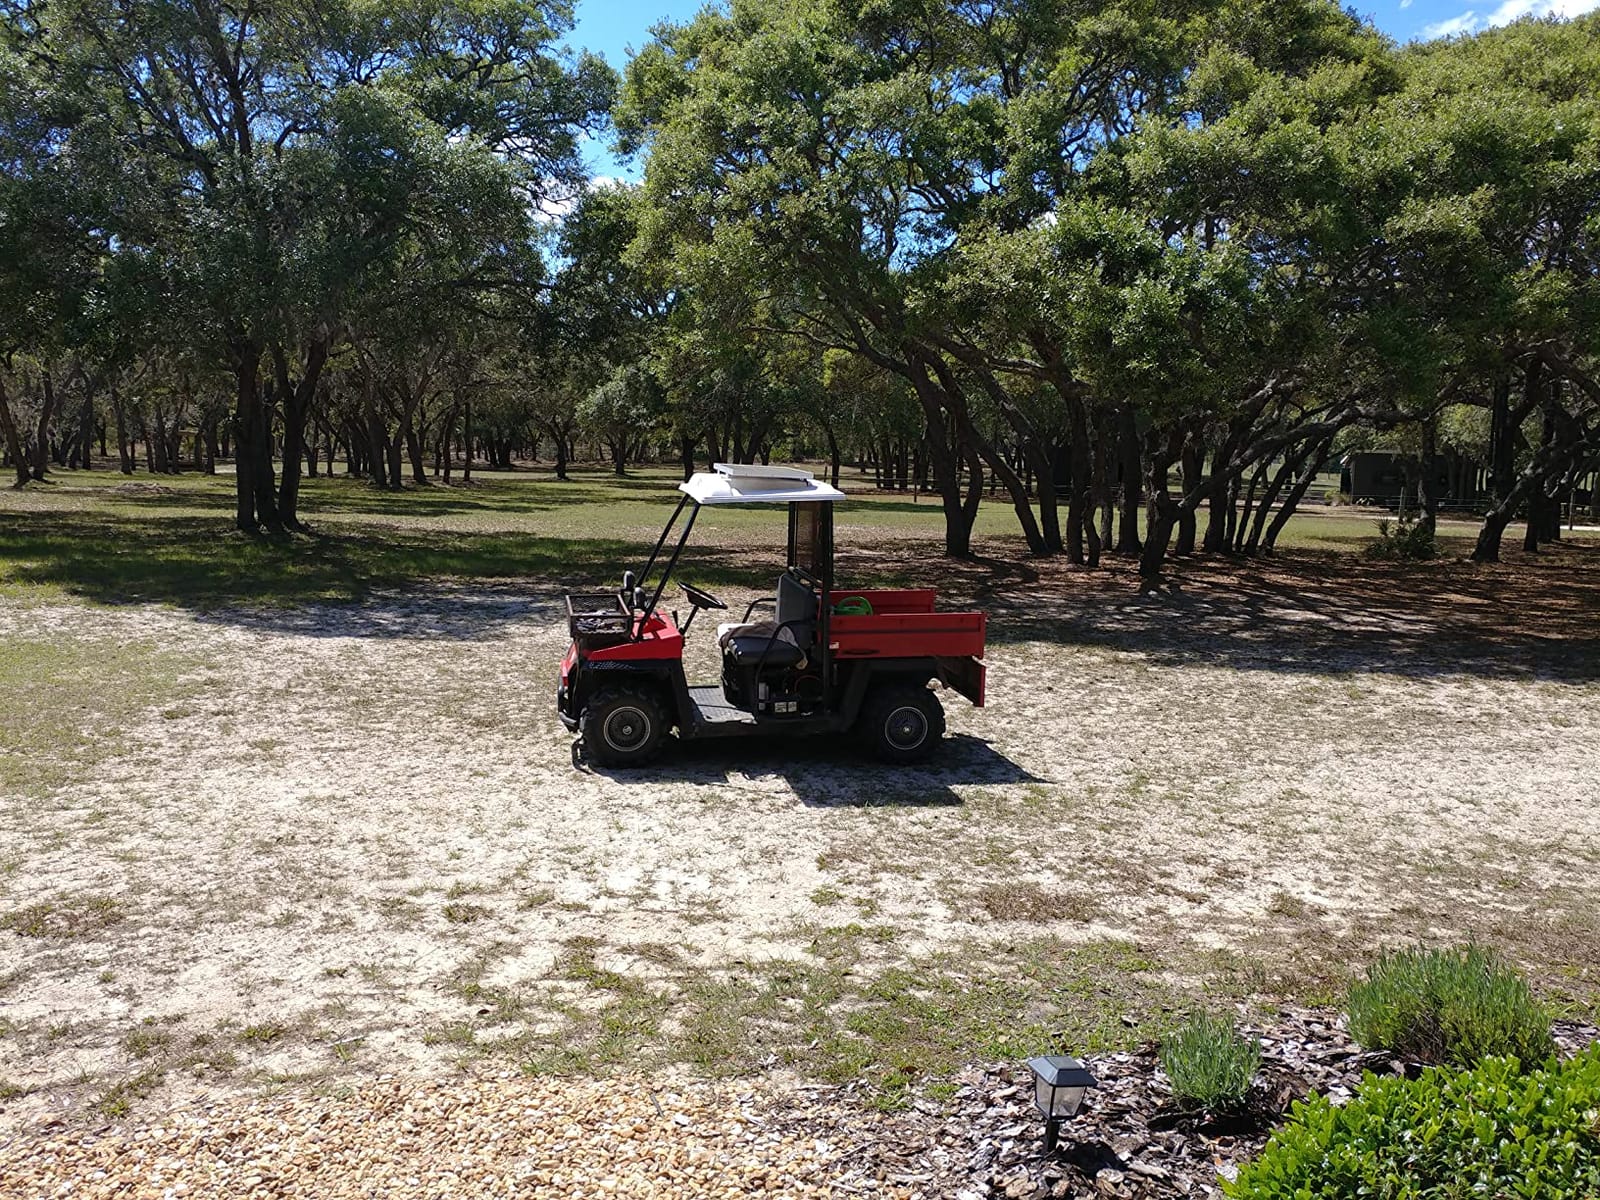
Is a 100W Budget Kit Worth It for a First-Time Boondocker?
As a learning kit, yes. It teaches the whole chain, panel to controller to battery, at the lowest cost and with mounting hardware included. Most first-time buyers who later move up describe the first 100W kit as a learning cost rather than wasted money.
As a long-term boondocking setup, no. At 4.3 amps the panel cannot recover anything you draw overnight, so it works as a trickle charger that keeps a battery from going flat between trips.
Can You Grow This Kit to 260W?
Yes, with the same controller. That expansion path is what makes this kit a reasonable starting point even though 19.5% efficiency is behind the curve, since your controller survives the upgrade.
Just budget for a controller replacement eventually if you go past 260W, and remember the 30A here is PWM, so your eventual MPPT unit will change your daily output more than the extra panels will.
8. ECO-WORTHY 200W Complete Kit with Inverter and Battery – Best All-in-One
ECO-WORTHY 200 Watt 12V Complete Solar Panel Starter Kit for RV Off Grid
200W solar plus 600W inverter
12V 50Ah LiFePO4 battery included
30A smart charger
N-type 25% efficiency panels
Pros
- Panels battery inverter and charger in one box
- 600W pure sine wave inverter with 20ms UPS auto-switch
- 50Ah LiFePO4 battery rated for 4000 to 15000 deep cycles
- N-type 25% efficiency panels with dual sided light capture
Cons
- Lowest rated kit here at 4.1 stars with 10% one star reviews
- Bulk weight makes it impractical to carry
- XT60 connection is limited to 30A which caps inverter throughput
This is the odd one out and the reason it exists in the roundup: it is the only kit here that includes a battery. Everything else assumes you already own a house bank, and this one bundles 200W of solar, a 600W pure sine wave inverter, a 30A smart LiFePO4 charger and a 12V 50Ah LiFePO4 battery.
For a first-time RVer with no battery, no inverter and no controller, that is genuinely everything you need. The 20ms UPS auto-switch transfers in twenty milliseconds, which keeps a CPAP machine or a laptop from resetting when the power path changes.
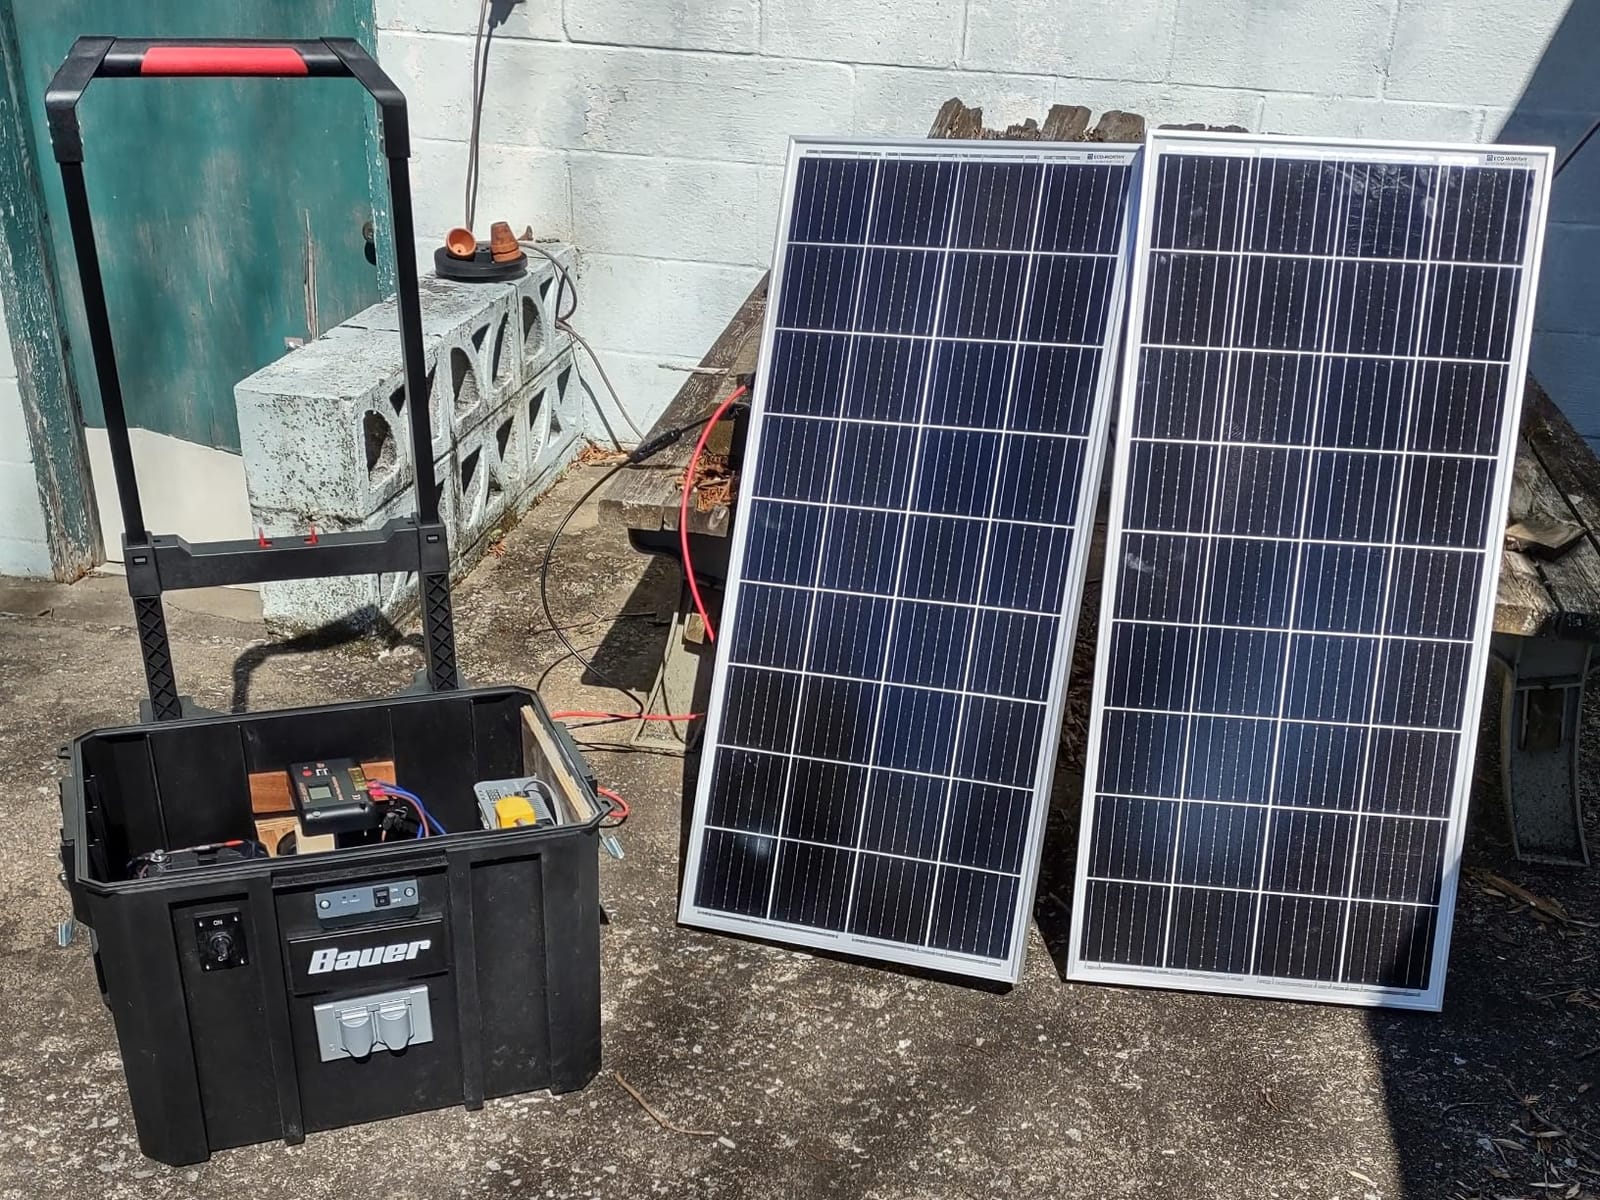
The battery is a 50Ah LiFePO4 unit rated for 4000 to 15000 deep cycles depending on depth of discharge, compared with 300 to 400 for lead-acid. The XT60 port and adapter make the connection simple, and the panels use N-type monocrystalline cells at 25% efficiency with dual-sided light capture for up to 15 percent extra output.
Solar production is rated at 800Wh daily with four hours of sunshine, and the inverter output is adjustable from 5A to 40A through the app or a button.
Now the honest part. This is the lowest-rated kit in the lineup at 4.1 stars, with 10 percent of owners giving it one star, and the complaints cluster on value and bulk rather than failure. Most of that criticism is arithmetic: you are paying a combined rate for components you could source separately.
The XT60 connection is also capped at 30A input and output, which limits how hard you can push the 600W inverter. And at 11.5 pounds for the panel plus a battery in the same box, this is not a carry-it-to-the-picnic-table system.
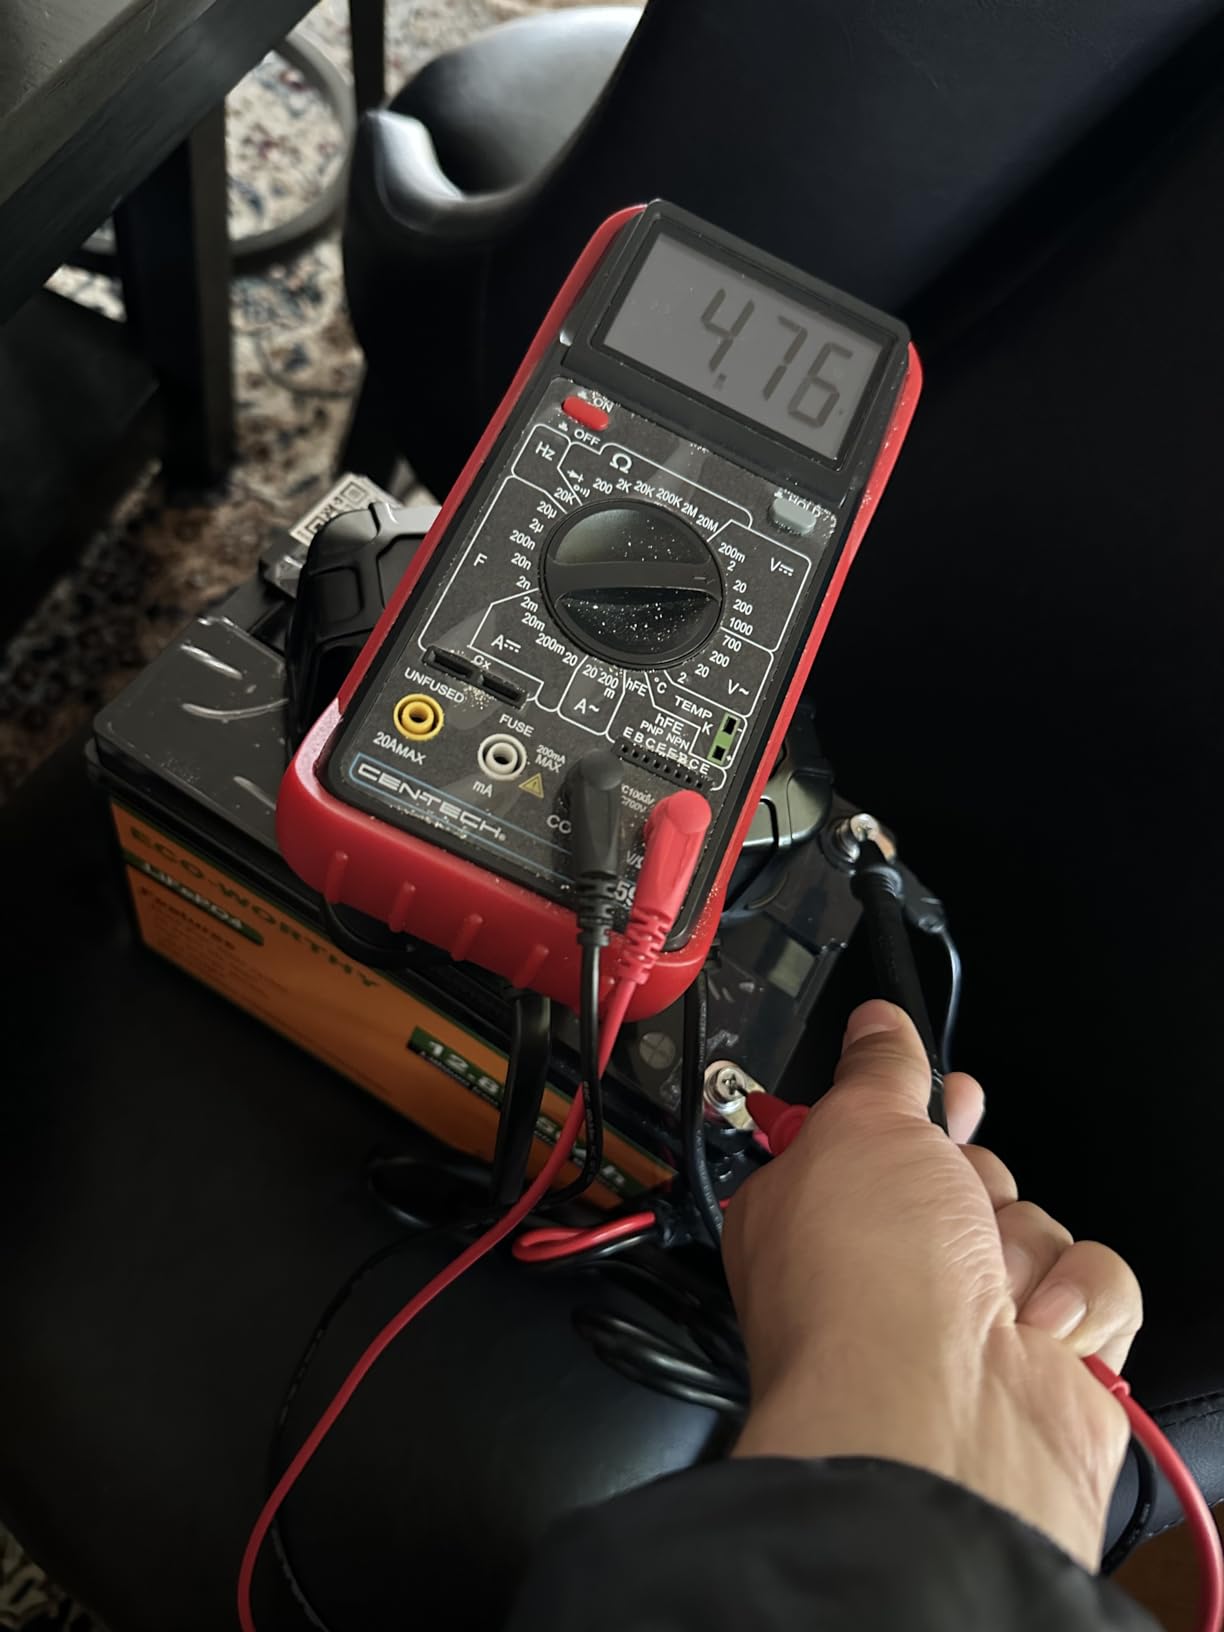
Is a Bundle Cheaper Than Buying the Parts Separately?
Usually not, once you account for what you are getting. A 600W pure sine wave inverter, a 30A LiFePO4 charger and a 50Ah lithium battery are each sold on their own at prices that add up quickly. You pay for convenience and for matching components, not for a discount.
The case for the bundle is skipping the research and the chance of mismatched charge profiles. The case against is that a 4.1 star rating and a capped XT60 connection are harder to fix than a wrong panel choice.
Is This Kit Right for Someone Who Cannot Drill a Roof?
The panels can be used free-standing or connected to a power station rather than permanently mounted, which keeps the no-drill option open. Check the mounting footprint carefully though, because two panels plus an inverter and battery need a flat, shaded area that a small trailer may not have.
For full-time boondocking I would still assemble a dedicated system with a proper MPPT controller and a larger lithium bank. This kit is built for getting started.
How Much Solar Do You Need to Boondock?
Match your solar to how long you stay away and what you run, not to the size of your rig. A Class A motorhome with 100W is the same 100W as a van with 100W, and both will disappoint a full-time camper.
Use these figures as a planning baseline for a 12V bank. They assume a compressor fridge, LED lighting, a water pump, fans and phone charging, and they exclude air conditioning and 120V appliances.
Weekend camping near hookups: 100W to 200W keeps a bank topped up. The Renogy 100W starter kit or the Topsolar 100W both work here.
Week-long dry camping in good sun: 200W to 300W covers a fridge plus 12V loads. The Renogy 200W is the standard answer.
Extended boondocking of 5 days or more: 400W with an MPPT controller. The ECO-WORTHY 400W kit is built for this and is the array most experienced owners recommend for full-time living.
Full-time RV living with an inverter: 400W to 800W plus a LiFePO4 bank. Budget for a second array later rather than overbuying now.
Winter and short-day-season camping: add 30 to 50 percent above the summer figure, because winter peak sun hours can drop below two.
A useful anchor from owner discussions: a 100Ah 12V battery wants roughly 300W of solar as a minimum, and a 105Ah bank pairs well with a 30A MPPT controller for a charge rate near 13 percent. That gives you a sanity check when a kit listing quotes a wattage without a controller.
For a wider look at panel and kit categories, our general solar panel kit guide breaks down efficiency ratings and panel types that come up across off-grid builds.
MPPT vs PWM Charge Controllers for RV Solar
MPPT wins on energy harvest in nearly every RV scenario, and PWM only makes sense in narrow cases. Here is the practical difference.
An MPPT controller tracks the panels’ true maximum power point and converts that energy at roughly 98 to 99 percent efficiency. A PWM controller simply pulses the battery voltage up and down, throwing away the difference. In good full sun the loss is modest, but in heat, cloud and low-angle winter light, MPPT routinely pulls 20 to 30 percent more from the same panels.
On the 400W ECO-WORTHY kit, the manufacturer claims roughly 40 percent more energy than a traditional PWM controller of the same size. On smaller kits the gap narrows because total harvested energy is smaller, but the percentage still holds.
PWM is defensible in exactly two situations: a very small system where cost is the only concern, or a hot roof where panel voltage already sags close to battery voltage and MPPT has less to recover. Everything else on this list that uses PWM would be an upgrade with a better controller.
One last thing about expansion. Overpanelling is not dangerous. Putting 400W of panels on a 30A controller is roughly 12 percent overpanelled, and the controller simply clips the excess current on the brightest days. The rule that actually matters is voltage: stay under the controller’s maximum input voltage when you wire panels in series.
What Comes in the Box (and What Does Not)?
Read the contents list before you order, because kits at the same wattage can include very different amounts of hardware. Here is what to verify on each kit in this roundup.
Panels and controller: every kit here includes both, and the ECO-WORTHY 200W complete kit is the only one that adds a battery and inverter.
Mounting hardware: Z brackets are included on the Renogy 100W, the Renogy 200W, the ECO-WORTHY 200W 12V and 24V kit, and the Topsolar 100W. The 400W MPPT array relies on pre-drilled holes and Y-branch cables rather than a full bracket set.
Wiring: the Go Power Overlander ships with two 25 foot #10 cables. Most others include short leads, so budget for extra 10 AWG if your controller sits far from the panel.
Battery: not included in seven of these eight kits. Plan on a separate purchase.
Inverter: not included except in the ECO-WORTHY complete kit. If you want 120V power, budget for a pure sine wave unit.
How to Install an RV Solar Kit Without Leaking the Roof?
The wiring order matters more than the drilling. Connect the battery to the controller before you connect the panels, because a controller with live panel inputs and no battery reference can be damaged immediately.
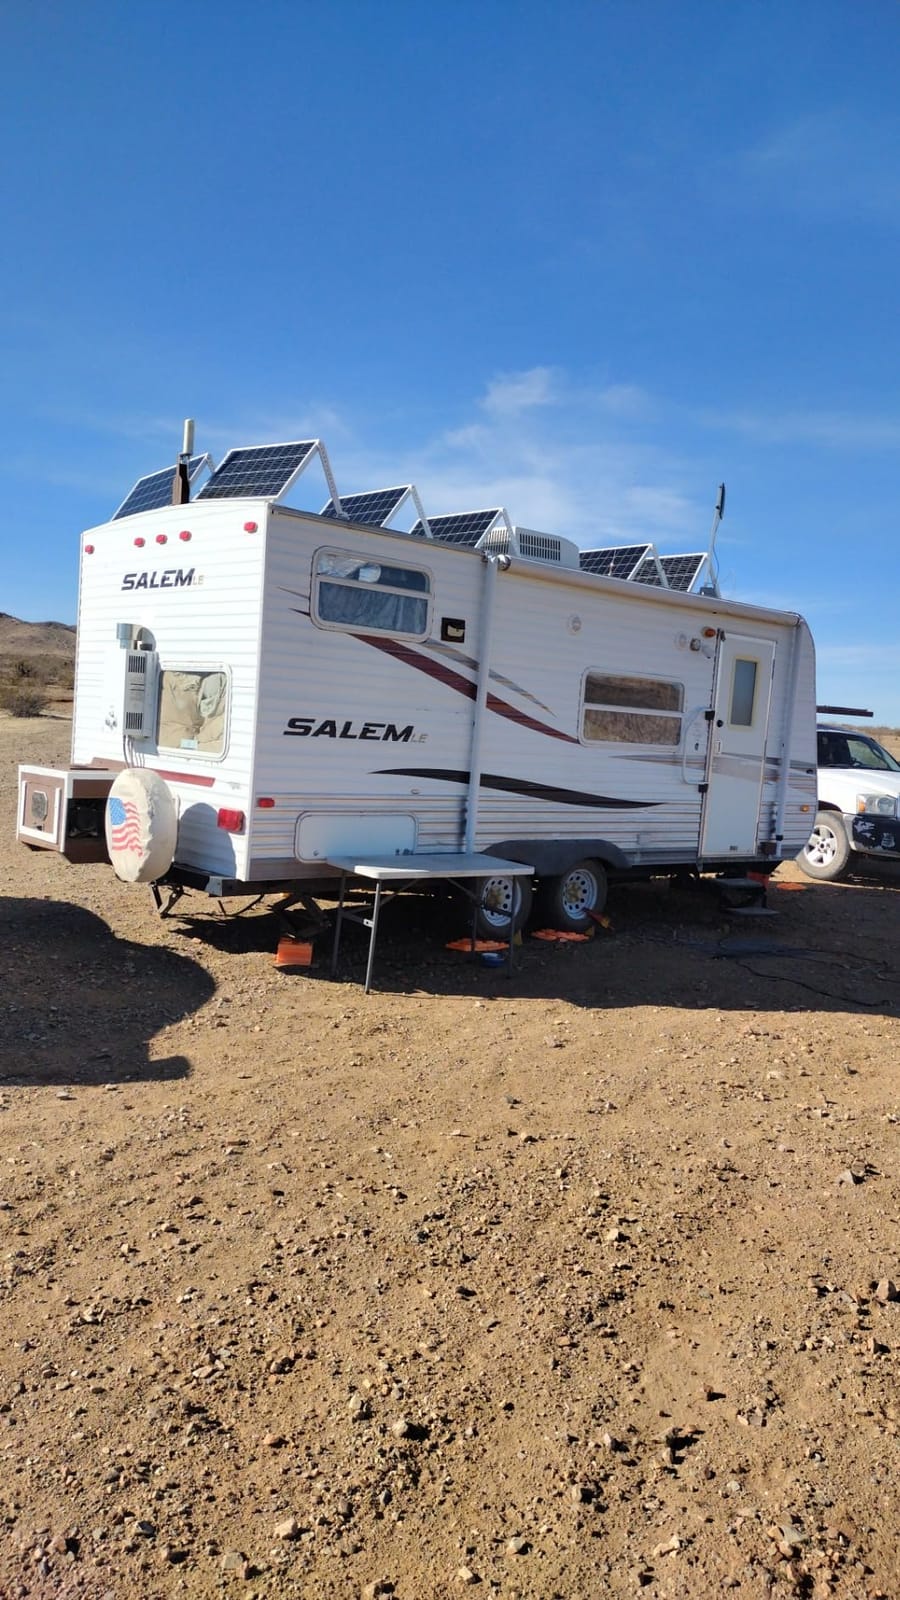
Plan the layout on paper first. Measure clear roof area after subtracting the air conditioner, vents, antennas and satellite dome. Shading on a series string costs you output on every panel in that string.
Wire battery to controller. Run your charge cable from the battery positive to the controller first, with the panels disconnected.
Connect the panels in series or parallel. Stay within the controller’s maximum input voltage for series wiring, and confirm polarity before you tighten anything.
Add an inline fuse close to the battery. Size it to the controller’s rated output current, not to the panel wattage.
Mount the panels on Z-brackets or standoffs. Leave an air gap under the panel so heat can escape and efficiency does not drop.
Seal every roof penetration. Use self-leveling lap sealant under the bracket foot and a second bead over the fastener heads after the bracket has settled.
Set the battery chemistry in the controller. A lead-acid default on a LiFePO4 bank undercharges it, and a lithium default on a flooded bank can cook it.
Verify with a meter before you close up. Check open-circuit voltage at the panels and charging current at the battery on the first sunny day.
Give roof penetrations a season of highway travel before you trust them. Corrosion around aluminum Z-brackets and fasteners is the most common long-term complaint in owner reports.
Frequently Asked Questions
Will a 200W solar panel run a 12V fridge?
Yes, for a compressor fridge drawing roughly 40 to 50 amp-hours per day. A 200W panel producing about 1000Wh in five hours of sun delivers close to 80 amp-hours into a 12V bank after controller losses, which covers a fridge plus lights, fans and a water pump. In winter or heavy cloud, size to 300W or carry a small generator as backup.
What are the best portable solar panels for RV camping?
For portability, the Renogy 200W solar suitcase is the pick here. It folds into a Cordura case, uses 25% N-type cells, has a pre-installed 20A PWM controller and connects with alligator clips, so there is no permanent wiring. The Renogy 100W or 200W roof kits are better if you camp in one place for weeks.
How many solar panels do I need to run my RV?
Plan on 100W to 200W for weekend trips near hookups, 200W to 300W for a week of dry camping, and 400W for full-time boondocking with an MPPT controller. A 100Ah 12V bank needs roughly 300W of solar as a minimum for a meaningful charge rate. Add 30 to 50 percent more for winter and short-day-season camping.
Is 400W solar enough for RV?
For most Class B vans and travel trailers, yes. 400W produces about 1.6KWh per day in good sun, which covers a 12V fridge, lighting, fans, water pump and charging. It is not enough for a roof air conditioner or heavy 120V use, so full-timers add a second array or rely on an alternator. The ECO-WORTHY 400W 40A MPPT kit is the strongest option here.
What is the best MPPT solar charge controller for an RV?
Match the controller to your array. A 30A MPPT handles roughly 300W to 400W of panel on a 12V system, and a 40A MPPT handles 400W to 500W. The ECO-WORTHY 400W kit pairs four 100W panels with a 40A MPPT rated at 99 percent tracking efficiency. Staying under the controller’s maximum input voltage matters more than the amp rating.
What size MPPT controller do I need for a 300W solar panel?
A 30A MPPT is the right match for 300W. As a rule of thumb, array wattage divided by 0.85 gives you the amp rating you need, so 300W lands around a 26A requirement. The 30A units in this roundup such as the Renogy 30A PWM or a comparable MPPT give you enough headroom for a second panel later.
How long will a 200W solar panel take to charge a 100Ah battery?
In good sun, roughly 5 to 7 hours to put in a full 100 amp-hours, assuming the battery starts well below full. A 200W panel delivers around 16 to 17 amps, and a 30A MPPT controller harvests most of that. Add controller losses, heat and partial shading and a realistic figure is 6 to 9 hours. Boosting a nearly full battery takes far longer because acceptance current drops sharply.
The Bottom Line on RV Boondocking Solar
For most RVers in 2026, the Renogy 100W starter kit is the best place to begin: highest rated in this group, backed by the largest review base, and expandable to 400W. If you camp a week or more away from hookups, step up to the Renogy 200W monocrystalline kit, which roughly doubles your usable daily energy.
For full-time boondocking, the ECO-WORTHY 400W array with its 40A MPPT controller is the build to copy, because MPPT harvesting and expansion headroom matter more than raw wattage once you are off grid for months. The Go Power Overlander earns its place when Bluetooth monitoring and a 600W expansion ceiling are worth more to you than the entry cost, and the Renogy 200W portable suitcase covers renters and anyone who wants to follow the sun.
Whichever you pick, buy the battery separately, size the controller for the array you will own in two years rather than the one you own today, and measure your roof after the air conditioner and vents before you order panels.